To remove bark effectively before splitting, choose sharp tools like grafting knives or chisels for control, and keep them well-maintained. Score around the area to prevent tearing and gently pry the bark away in small sections, especially if the wood is moist. Timing is vital—wait several months after felled before removal to guarantee proper drying. If you want to master safe techniques and ideal timing, there’s more to discover below.
Key Takeaways
- Wait several months after felling to allow proper moisture loss before bark removal.
- Use sharp, precise tools like grafting knives or chisels to gently score and loosen bark.
- Moisten dry or stubborn bark to facilitate easier peeling without tearing.
- Remove loose bark in small sections gradually to prevent damage to the underlying wood.
- Ensure wood is sufficiently dried and moisture levels are monitored for optimal timing.
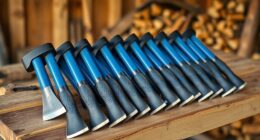
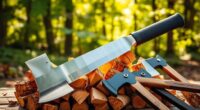
Choosing the Right Tools for Bark Removal
Choosing the right tools for bark removal is vital to guarantee the job is done efficiently and without damaging the tree. You need sharp, precise instruments that allow for controlled cuts, such as a grafting knife or a chisel. Avoid using dull tools, which can tear or crush the bark instead of cutting cleanly. A pruning saw can be useful for larger areas, but ensure it has fine teeth for smoother cuts. Keep your tools sharp and well-maintained to prevent unnecessary stress on the tree. Select tools with comfortable grips to reduce fatigue and improve control. Using the correct tools not only makes your work easier but also minimizes the risk of harming the tree’s underlying tissues. Proper equipment is a critical first step in successful bark removal. Additionally, ensuring your tools are well-maintained can prevent contamination and infection, promoting healthier healing for the tree. Regular cleaning and sharpening of tools help maintain their effectiveness and prevent rust, which can compromise the quality of your cuts. Maintaining your tools can also extend their lifespan and ensure consistent performance over time. Moreover, choosing tools with ergonomic design can help reduce strain during prolonged work sessions. Remember that appropriate tool selection can also minimize damage to the bark, supporting the tree’s recovery process.
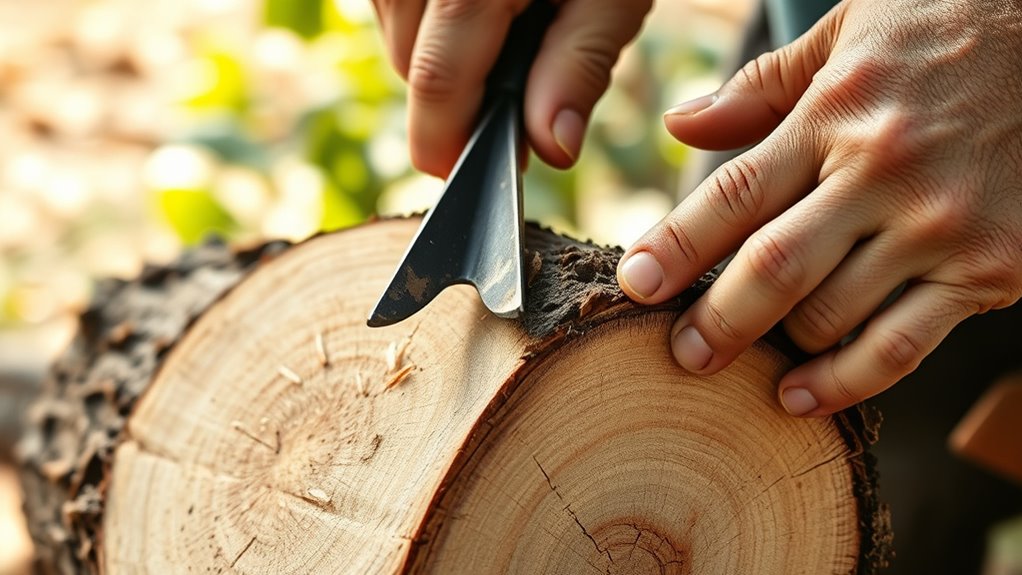
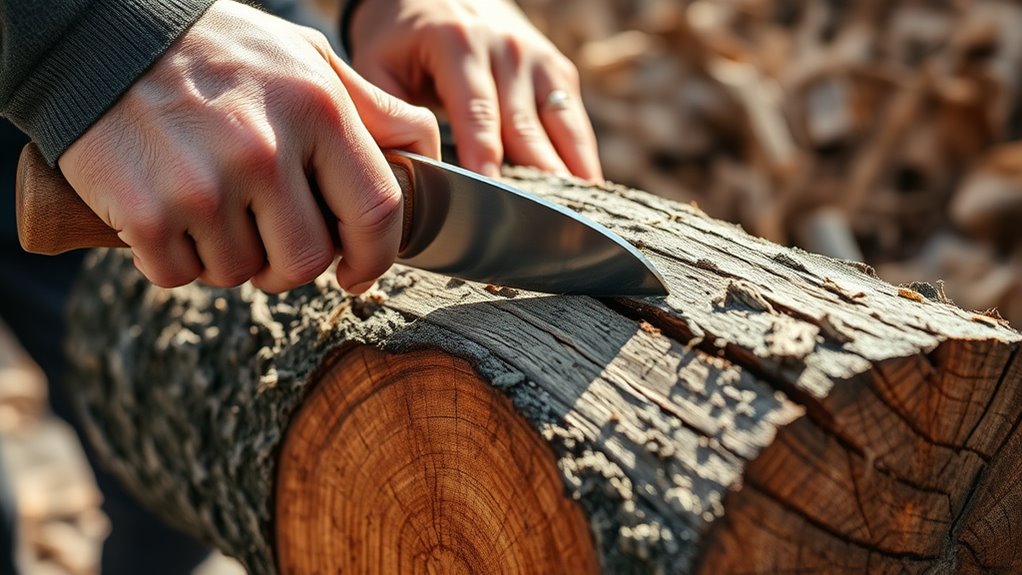
Techniques for Loosening and Removing Bark Safely

To loosen and remove bark safely, start by gently scoring the edges around the area you plan to strip. This creates a defined boundary, reducing the risk of damaging the underlying wood. Use a sharp chisel or gouge, applying even pressure to avoid gouging the wood. Once scored, work the tool between the bark and wood, carefully prying it away. Keep these tips in mind:
- Work gradually to prevent tearing the bark unevenly
- Use a mallet to tap the tool for better leverage
- Maintain consistent angles for cleaner removal
- Moisten the bark if it’s particularly dry or stubborn
- Remove loose bark in small sections to control the process
- Remember that understanding the principles of the Law of Attraction can help maintain a positive mindset during challenging projects.
Following these techniques ensures safe, effective bark removal without harming the wood underneath.
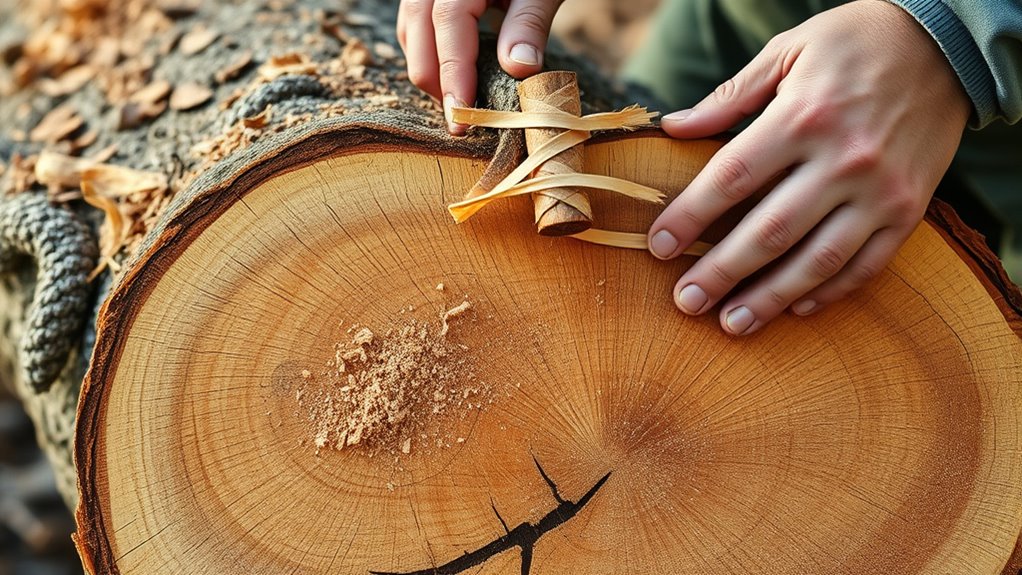
Timing Your Bark Removal for Optimal Drying

Timing your bark removal correctly can considerably improve the drying process and the overall quality of your wood. If you remove the bark too early, the wood stays moist longer, risking mold and decay. Wait until the wood has dried enough, typically several months after felling, to ensure proper moisture loss. Proper user consent management ensures that your preferences are respected when handling cookies related to this process. Additionally, monitoring ambient humidity levels can help determine the best time to remove bark, as lower humidity promotes faster drying. Being aware of the moisture content in the wood can further aid in selecting the optimal timing for bark removal. Regularly checking wood moisture levels with a moisture meter can provide more precise guidance for timing.
Tips for Handling Different Types of Wood
Handling different types of wood requires understanding their unique characteristics and adjusting your bark removal techniques accordingly. Softwoods like pine are easier to strip, so gentle scraping and slow peeling work best. Hardwoods such as oak demand more force and careful effort to avoid damaging the wood beneath. Moist or green wood is more pliable but prone to tearing, so work gradually and with sharp tools. Dry wood tends to split cleanly, making bark removal simpler, while wet wood may require longer drying time afterward. Recognizing patterns of behavior can also help in choosing the right approach, as different wood conditions may reflect underlying issues similar to relationship dynamics. Additionally, understanding the noise levels of modern heat pumps can inform how to select equipment that minimizes disturbance during operation. Being mindful of the type of paint used can further influence removal strategies, especially if the bark has adhered strongly or is peeling unevenly. Moreover, considering the moisture content of the wood can guide the timing and method of bark removal to prevent damage and ensure a cleaner finish. Proper assessment of wood density can also help determine the appropriate amount of force needed during extraction, reducing the risk of splitting or tearing.
- Use a sharp, sturdy tool suited for the wood type
- Apply consistent, moderate pressure to avoid tearing
- Work gradually, especially with green or moist wood
- Test a small area before full removal
- Adjust your technique based on wood hardness and condition
Safety Precautions During Bark Removal
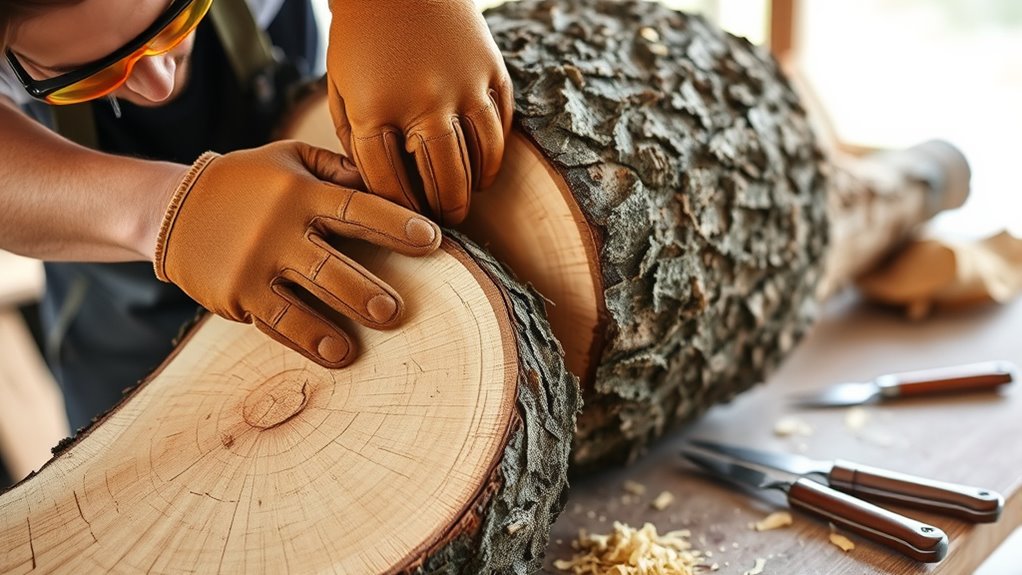
Ensuring safety during bark removal is essential to prevent injuries and accidents. Always wear protective gear, including gloves, safety glasses, and sturdy clothing, to shield yourself from splinters and flying debris. Use sharp tools, like draw knives or bark spuds, properly maintained to reduce the risk of slips or cuts. Work in a well-ventilated area, especially if you’re using chemical bark removers. Keep your workspace organized and free of clutter to avoid trips. Maintain a stable stance and control your movements, especially when applying force. Be cautious around uneven or slippery surfaces. Take your time and avoid rushing, as haste increases the chance of accidents. Prioritizing safety ensures a smoother bark removal process without injury. AI-powered virtual reality tools can also assist in planning and practicing safe removal techniques before starting the actual work. Additionally, understanding proper technique can significantly reduce the risk of mishaps. Incorporating safety equipment such as dust masks or hearing protection can further minimize health risks during the process.
Frequently Asked Questions
How Do I Identify When Bark Removal Is Necessary Before Splitting?
When you’re planning to split wood, you need to know if bark removal is necessary. Look for signs like loose or peeling bark, which indicates it’s ready to come off. If the bark is tightly bonded, leave it intact, as it helps protect the wood during splitting. Also, consider whether the bark’s presence affects your splitting tools’ effectiveness. Removing bark at the right time makes splitting easier and more efficient.
Can Bark Removal Affect the Overall Quality of the Split Wood?
Did you know that improper bark removal can decrease the quality of your split wood? When you remove bark correctly, it helps prevent mold and pests, ensuring your wood dries faster and burns cleaner. If done poorly, it can lead to uneven splits and compromised wood integrity. So, take your time, follow proper techniques, and you’ll enjoy better-burning, high-quality split wood that lasts longer and performs better.
What Environmental Conditions Best Support Effective Bark Removal?
Environmental conditions play a key role in bark removal. You’ll get better results when the weather is dry and warm, as moisture makes bark stick tighter. Avoid wet or rainy days, since dampness hampers the process. Choose a mild, sunny day to verify the wood is dry and the bark can be removed easily. Proper conditions make your bark removal safer and more efficient, leading to cleaner, higher-quality split wood.
Are There Eco-Friendly Methods for Removing Bark Without Chemicals?
Yes, you can remove bark eco-friendly without chemicals. You might try using hot water or steam to loosen it, making it easier to peel away. Mechanical methods, like gently scraping with a hand tool, also work well and don’t harm the environment. Just make sure you apply these techniques carefully to avoid damaging the wood underneath. These natural approaches keep your process sustainable while effectively removing bark.
How Long Should I Wait After Bark Removal Before Splitting the Wood?
Think of your firewood as a sleeping giant, waiting to wake up. After removing the bark, give the wood about 4 to 6 weeks to dry and stabilize. This waiting period allows moisture to escape, preventing cracks and warping when you split it. Keep the wood in a dry, well-ventilated area. Rushing the process can turn your firewood into a frustrating puzzle, so patience pays off.
Conclusion
By following these tips, you’ll master the art of bark removal before splitting, ensuring your wood dries properly and maintains quality. Choose the right tools, use safe techniques, and time your work wisely—think like a seasoned craftsman from the Renaissance. Remember, patience and care are your allies, much like an old blacksmith tending their forge. With these steps, you’ll prepare your logs perfectly, turning raw timber into a masterpiece of your own making.