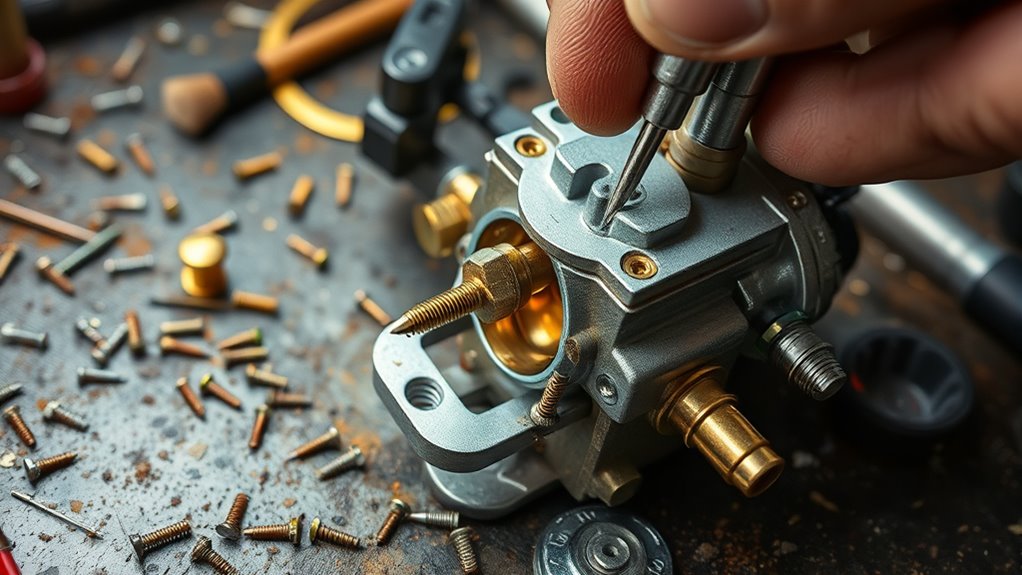
To rebuild your log splitter carburetor, start by gathering the right tools, replacement parts, and cleaning supplies. Safely disconnect and remove the carburetor, then disassemble its components carefully, inspecting for damage or wear. Clean all parts thoroughly with carb cleaner and replace anything worn or broken. Reassemble the carburetor precisely, reinstall it, and test the engine’s performance. If you follow these steps, you’ll get your log splitter running smoothly again.
Key Takeaways
- Gather necessary tools, replacement parts, and cleaning supplies; prepare a safe, organized workspace before starting.
- Remove the carburetor carefully by disconnecting fuel lines, linkages, and mounting bolts, noting their positions.
- Disassemble the carburetor, clean internal passages with carb cleaner and compressed air, and inspect for clogs or damage.
- Replace worn or damaged components like gaskets, jets, and float; ensure all parts are clean and properly assembled.
- Reinstall the carburetor, connect fuel lines and linkages, then adjust for proper mixture and test engine operation.
Gathering the Necessary Tools and Parts

Before you begin rebuilding the carburetor, you need to gather all the essential tools and parts. Start with screwdrivers, pliers, and a clean workspace. You’ll also need replacement parts like a new choke assembly, gaskets, and jets. Check the fuel mixture to verify it’s fresh; old fuel can clog the carburetor. Having a carburetor cleaner and a small container for soaking parts will make cleaning easier. Make sure to have a parts tray or small containers to keep screws and tiny components organized. Confirm that you have the correct replacement parts specific to your log splitter model. Gathering everything beforehand prevents interruptions and helps you work efficiently. Proper tools and parts assure you can rebuild the carburetor correctly and restore peak performance. Additionally, understanding the importance of carburetor maintenance can help prolong the lifespan of your equipment.
Preparing Your Workspace Safely
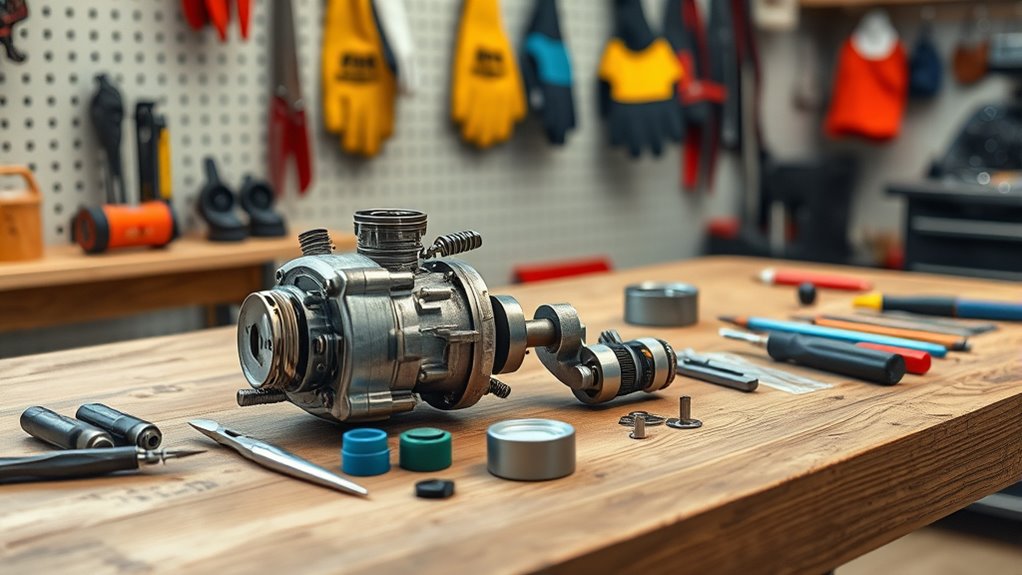
To work safely on rebuilding your carburetor, you need to set up a clean, organized workspace that minimizes hazards. Clear your area of clutter to prevent accidents and ensure easy access to tools and parts. Always wear safety goggles to protect your eyes from fuel splashes, debris, or small parts that might fly during disassembly. Work gloves are essential to shield your hands from sharp edges, chemicals, and hot surfaces. Keep a fire extinguisher nearby, as fuel and fumes pose fire risks. Make sure your workspace is well-ventilated to avoid inhaling fumes. Proper lighting helps you see small components clearly. Additionally, using protective safety equipment enhances your safety during this process. By preparing your workspace with these safety measures, you reduce the risk of injury and work more efficiently.
Removing the Carburetor From the Log Splitter
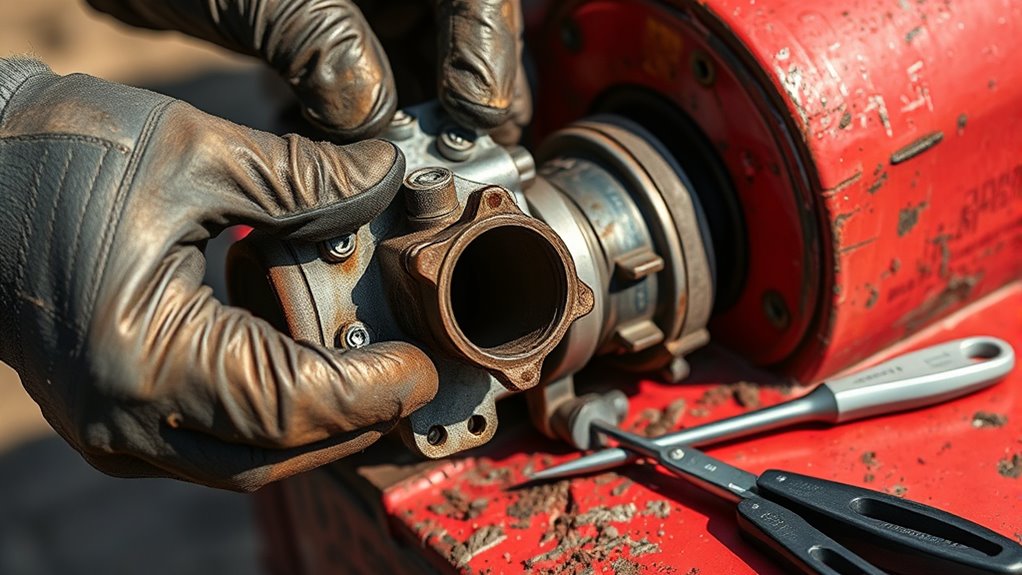
To remove the carburetor, start by safely disconnecting the fuel lines to prevent leaks. Then, carefully remove the mounting bolts and detach the linkages and throttle components. Making sure these steps are done carefully guarantees a smooth removal process. Additionally, inspecting the carburetor for trust issues or signs of wear can help prevent future problems during reassembly.
Disconnect Fuel Lines Safely
Are you ready to disconnect the fuel lines without causing a mess or safety hazard? First, turn off the log splitter and let it cool down. Wear safety gloves and eye protection to prevent injury. Before starting, place a container or rags underneath the fuel line to catch any residual fuel. When performing the fuel line disconnection, carefully loosen the fittings using the proper tools—avoid using excessive force. Gently pull the fuel line free once the clamp or fitting is loosened. Remember, fuel lines may still contain fuel, so handle with care to prevent leaks or spills. Following these safety precautions helps prevent fire hazards and keeps your workspace clean during the fuel line removal process. For additional safety, consult your equipment’s safety guidelines to ensure proper procedures are followed.
Remove Mounting Bolts Carefully
Careful removal of the mounting bolts is essential to prevent damaging the carburetor or surrounding components. Before loosening, check the manufacturer’s torque specifications to avoid over-tightening or stripping the bolts. Use the appropriate tools, such as a socket or wrench, and turn slowly to prevent sudden stresses. Keep track of the mounting bolts and their positions, as they may differ in size or length. Applying even pressure ensures the bolts come out smoothly. If a bolt resists, avoid forcing it; instead, double-check for corrosion or debris. Once all bolts are removed, gently lift the carburetor away from the mounting surface. Taking your time during this step minimizes damage and sets a solid foundation for successful rebuilding. Understanding the refrigeration cycle can also help in diagnosing any issues that might arise during reassembly.
Detach Linkages and Throttle
Before removing the carburetor from the log splitter, you need to detach the linkages and throttle assembly. Carefully disconnect the throttle linkage, noting its original position for proper throttle calibration later. Use pliers if necessary to release any clips or fasteners holding the linkages in place. Check for any linkage adjustment screws that might need loosening to free the components. Once detached, gently remove the carburetor, ensuring the linkages don’t get damaged. Remember, accurate linkage adjustment during reassembly is essential for proper operation. Keep track of all parts and their positions. This process ensures smooth throttle calibration later, preventing issues like stalling or irregular engine speeds. Taking your time now will make reinstallation and fine-tuning much easier. Proper carburetor maintenance can extend the lifespan of your engine and improve performance.
Disassembling the Carburetor Components
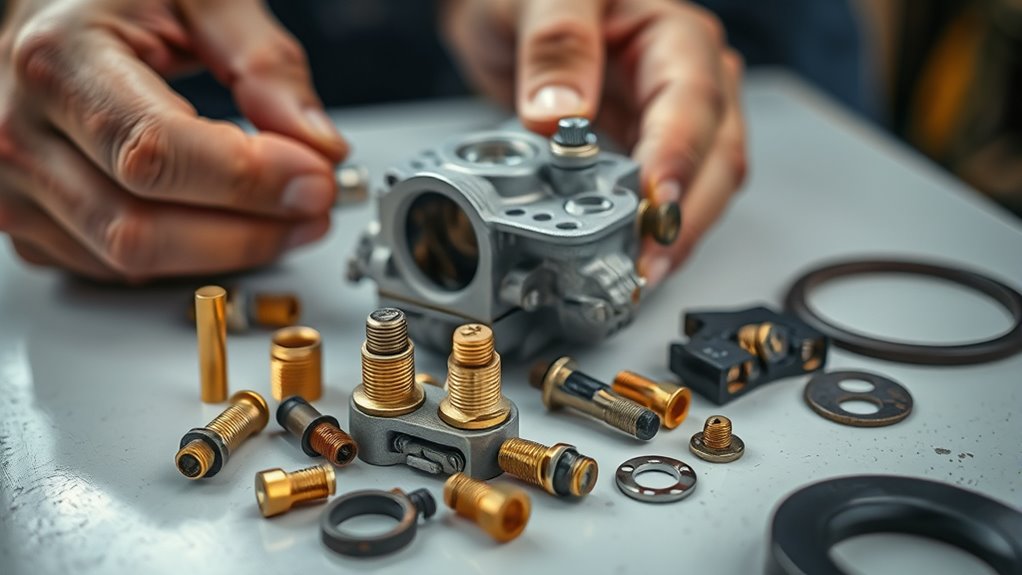
Start by removing the external parts like the throttle and choke plates to access the internal components. Carefully disassemble the carburetor, paying close attention to internal passages and jets. As you do, inspect each piece for signs of damage or wear that could affect performance. If any issues are found, consult rebuilding guidelines to ensure proper repair procedures.
Removing External Parts
Have you ever wondered how to begin disassembling a carburetor? Start by disconnecting the fuel line carefully to prevent spills or damage. Next, locate the mounting bolts securing the carburetor to the engine. Using the appropriate screwdriver or socket wrench, remove these bolts and set them aside. With the mounting bolts out, gently lift the carburetor away from the engine. Be mindful of any remaining connections or hoses that might still be attached. Removing these external parts clears the way for internal disassembly and inspection. Keep track of all small parts and hardware to avoid losing anything. This step simplifies accessing the internal components later, making your rebuild process smoother and more efficient. Additionally, understanding the carburetor components can help you identify which parts may need cleaning or replacement during your rebuild.
Dissecting Internal Passages
To effectively dissect the internal passages of your carburetor, carefully remove the main body and float bowl to expose the internal components. As you do this, pay close attention to the small channels that control fuel flow and air mixture. Using a fine brush or compressed air, gently clear out any debris, varnish, or obstructions blocking these passages. Confirm that the pathways for fuel and air are clean and unobstructed, ensuring proper mixture delivery. Remember, even minor blockages can disrupt fuel flow or alter the air mixture, leading to poor engine performance. Additionally, understanding the design of internal passages can help you identify potential problem areas more effectively. Take your time, and do not force any parts apart. A thorough cleaning of these internal passages is essential for the carburetor to function efficiently after reassembly.
Inspecting for Damage
After removing the main body and float bowl, carefully examine each disassembled component for signs of damage or wear. Look for cracks, corrosion, or warping, especially on the throttle plate and choke mechanism, which directly affect choke operation. Check the jets and passages for clogs or erosion that could disrupt the fuel mixture. Inspect the needle and seat for any damage that might cause leaks or poor fuel flow. Pay close attention to the condition of the float and its hinge, ensuring it moves freely without sticking. Damaged or worn parts can lead to inconsistent engine performance or difficulty starting. Ensuring proper carburetor maintenance and replacing compromised components ensures the carburetor maintains proper fuel mixture ratios and reliable choke operation, preventing future issues during operation.
Cleaning and Inspecting the Parts
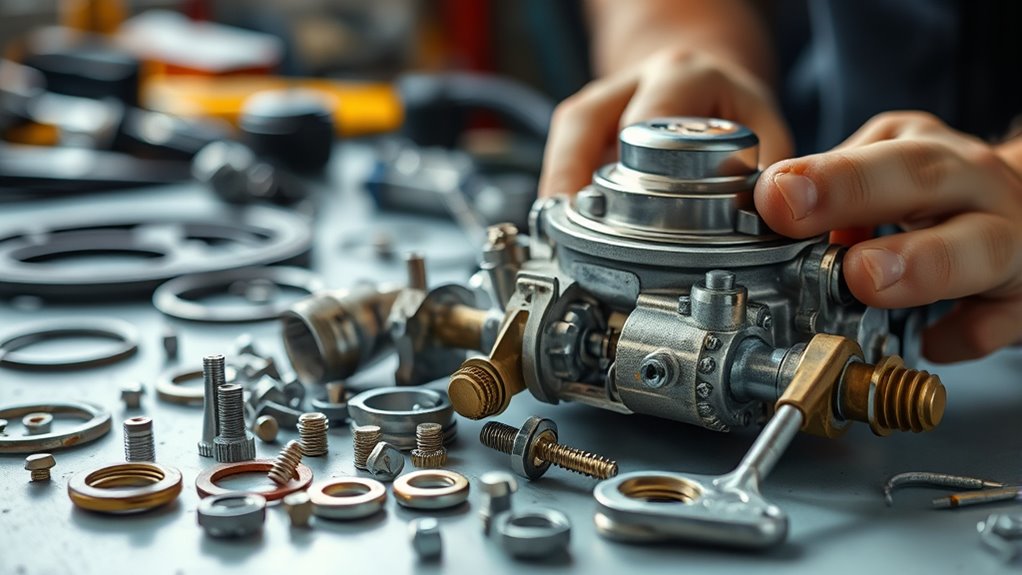
Before reinstalling the carburetor, it’s essential to thoroughly clean and inspect each part for wear or damage. Use a carburetor cleaner to remove dirt, varnish, and fuel residue that can clog passages and disrupt the fuel mixture. Check the jets, passages, and float for blockages or corrosion. Examine the throttle and choke components to ensure proper operation; grime or damage can hinder choke movement, affecting starting and running. Pay close attention to the choke operation, making sure it opens and closes smoothly. Replace or repair any damaged parts before reassembly. Proper cleaning and inspection help guarantee the carburetor delivers the correct fuel mixture and operates the choke smoothly, leading to reliable engine performance and easier starts.
Replacing Worn or Damaged Components

Inspecting the cleaned parts reveals any remaining signs of wear or damage that could affect the carburetor’s performance. If you notice cracks, warping, or corrosion on the float, needle, or jets, replace them immediately. Worn components can disrupt the proper fuel mixture, causing difficulties in starting or running smoothly. Pay close attention to the choke operation—if the choke plate is bent or sticking, it won’t regulate airflow correctly, leading to poor engine performance. Replace any faulty choke components to ensure smooth operation. Damaged gaskets or seals should also be swapped out to prevent air leaks that could alter the fuel mixture. Replacing these worn or damaged parts restores the carburetor’s ability to mix fuel and air accurately, ensuring reliable engine performance.
Reassembling the Carburetor
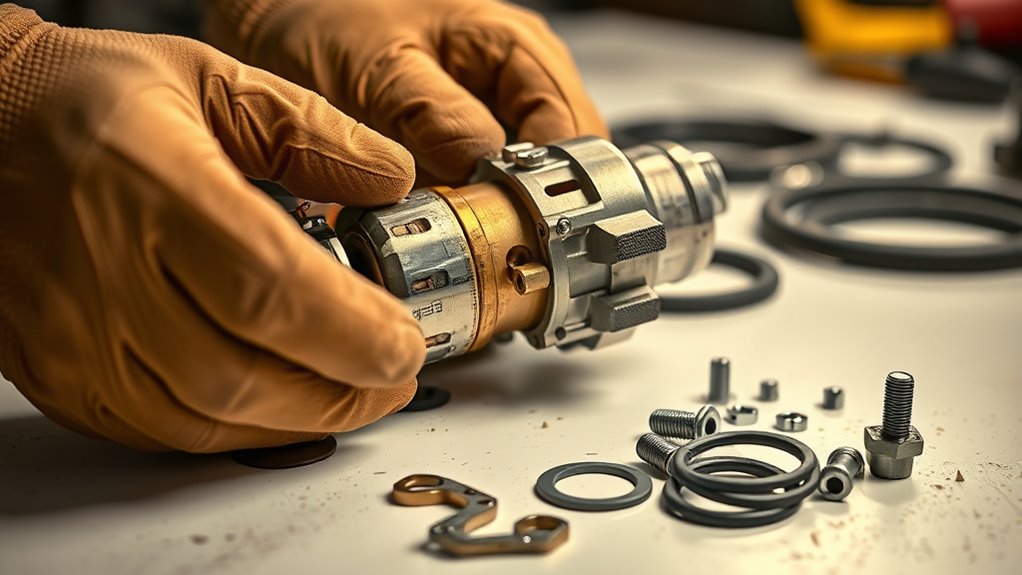
Reassembling the carburetor requires careful attention to detail to guarantee all components fit correctly and function properly. Begin by inspecting each part for cleanliness and wear, replacing any damaged components. During reassembly, ensure the carburetor tuning screws are set to the manufacturer’s specifications, which helps achieve the ideal fuel mixture. Proper alignment of the throttle and choke plates is essential for smooth operation. As you put everything back together, double-check that all gaskets and seals are seated properly to prevent leaks. Once assembled, focus on adjusting the carburetor to fine-tune the fuel mixture, which directly affects engine performance. Precise reassembly and tuning ensure your log splitter runs efficiently, with a clean, balanced combustion process.
Reinstalling and Testing the Carburetor

Once you’ve reassembled the carburetor, the next step is to reinstall it onto the engine and guarantee it’s securely mounted. Connect all fuel lines and linkages properly, ensuring there are no leaks. Before starting, check the fuel mixture to make sure it’s correct—an overly rich or lean mixture can cause issues. Once the carburetor is in place, start the engine and listen for smooth operation. Adjust the choke if the engine struggles to start or stalls, ensuring it opens and closes smoothly. Fine-tuning the choke adjustment helps achieve reliable startup and *best* performance. After initial testing, make small adjustments as needed to maintain a steady idle and proper power output, ensuring your log splitter runs efficiently.
Frequently Asked Questions
How Do I Identify the Specific Model of My Log Splitter Carburetor?
To identify your log splitter carburetor model, start by locating the serial number and model identification on the equipment. Check the engine or frame for a label or stamped number; these often include model details. Once you find the serial number, cross-reference it with the manufacturer’s website or manual. This helps you guarantee you’re getting the right carburetor parts and avoid mix-ups during repairs or replacements.
What Are Common Signs Indicating the Carburetor Needs Rebuilding?
Your log splitter’s performance may be struggling, like a engine lost in fog. If you notice rough idling, sputtering, or trouble starting, these are signs your carburetor needs a rebuild. Poor fuel mixture control often causes these issues, leading to inconsistent power. Idle issues, like stalling or surging, also point to internal blockages or wear. Addressing these symptoms promptly keeps your splitter running smoothly and prevents bigger problems down the road.
Can I Reuse the Old Carburetor Gasket or Should I Replace It?
You should replace the gasket rather than reuse it. Gasket replacement guarantees a proper seal and prevents leaks, which is vital for maximum carburetor performance. When installing a new gasket, use effective sealing techniques like applying a light coat of gasket sealant if recommended. Reusing old gaskets can lead to sealing issues and potential engine problems, so always opt for a new gasket for the best results.
What Safety Precautions Should I Take During Carburetor Reassembly?
When reassembling your carburetor, you should prioritize safety. Always wear safety gear like gloves and eye protection to prevent injury from fuel or debris. Handle tools carefully, guaranteeing they’re in good condition, and work in a well-ventilated area. Take your time during tool handling to avoid accidents, and double-check all parts before final assembly. Staying alert and cautious helps prevent mishaps and ensures a successful rebuild.
How Do I Adjust the Carburetor After Rebuilding for Optimal Performance?
Sometimes, adjusting your carburetor feels like tuning a musical instrument—you find the perfect harmony. First, set the idle speed screw so the engine runs smoothly at low RPMs. Then, tweak the fuel mixture screw for the right balance between rich and lean. Test the log splitter after each adjustment, listening for smooth operation without stalling. Proper tuning guarantees peak performance and extends your equipment’s lifespan.
Conclusion
Once you’ve rebuilt your log splitter carburetor, it’s like giving your machine a new heartbeat. With patience and attention, you’ve restored its performance and reliability. Just as a skilled artist brings a canvas to life, your hands have revitalized this essential part. Keep it well-maintained, and your log splitter will run smoothly for years to come. Remember, a little effort now saves you from bigger problems down the road.
