To craft wooden garden edging from logs, start by choosing durable hardwoods like cedar or oak. Prepare the logs by cleaning them and applying a weatherproof treatment if needed. Plan your layout carefully, marking lines and digging trenches to place the logs securely. Cut and shape the logs to fit your design, then install and stabilize them with stakes or gravel. For more tips on customizing and maintaining your wood edging, explore further details as you go.
Key Takeaways
- Select durable, straight logs like cedar or oak, measuring 4-6 inches in diameter for long-lasting edging.
- Prepare logs by cleaning and applying wood treatment, ensuring they are free of cracks and rot.
- Plan your garden layout with sketches and stakes, then dig a shallow trench to position the logs securely.
- Secure logs with landscape screws or stakes, filling behind them with gravel or soil for stability.
- Finish by sealing logs, adding decorative touches, and maintaining the edging through regular inspections and repairs.
Selecting the Right Logs for Your Garden Edging
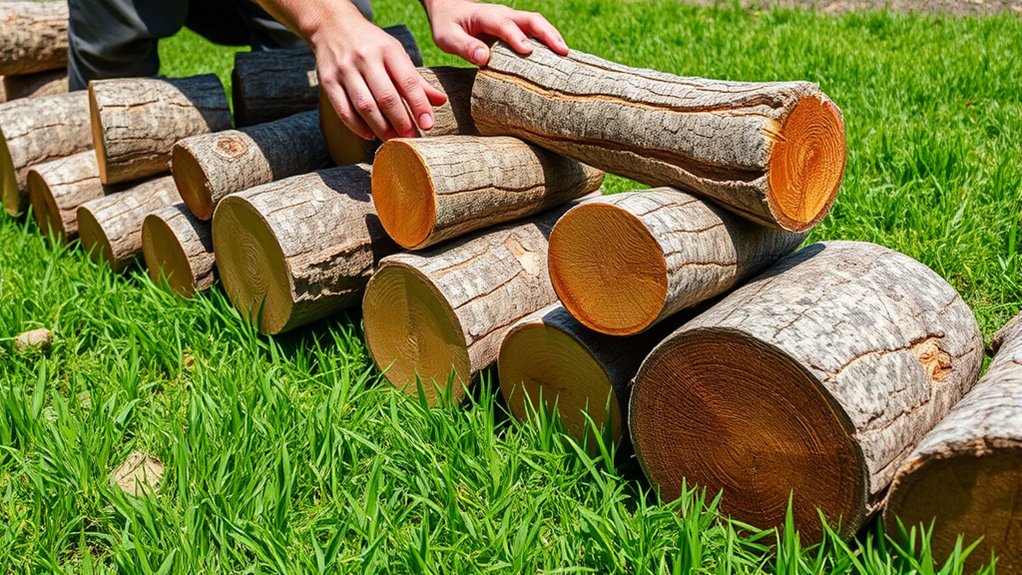
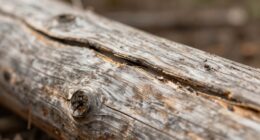
Choosing the right logs is essential for creating durable and attractive garden edging. Your first step is to contemplate species selection; hardwoods like oak or cedar resist rot and last longer, making them ideal choices. Softwoods may be easier to work with initially but tend to decay faster, so weigh your priorities carefully. Log size considerations are equally important. Opt for logs that are thick enough to withstand pressure from soil and foot traffic—typically 4 to 6 inches in diameter. Longer logs provide stability, while shorter ones are easier to handle. Ensure the logs are straight and free of major cracks or rot. Selecting the appropriate species and size now will save you time and effort later, resulting in a sturdy, visually appealing garden border. Additionally, understanding contrast ratio can help you select materials that will maintain their appearance over time and under varying weather conditions. Proper log treatment can further extend the lifespan of your garden edging by protecting against pests and moisture damage. Considering the local climate is also vital, as it influences the durability of different wood types and treatments. Incorporating knowledge of wood durability can guide your choice toward longer-lasting options suited to your environment.
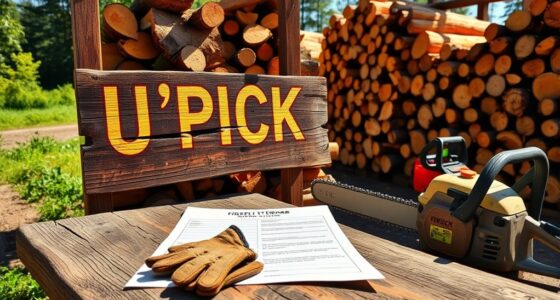
Preparing Your Materials and Tools
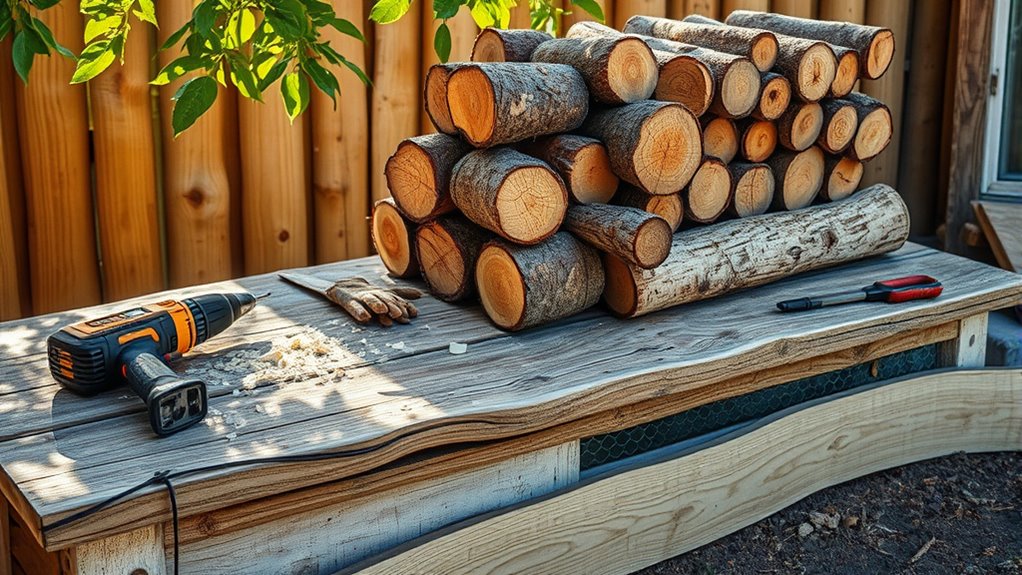
Before you start assembling your garden edging, it’s important to gather and prepare all necessary materials and tools. Ensure your logs are clean and properly treated with wood treatment to prevent rot and pests. You’ll need a saw for cutting logs to size, a hammer or mallet for positioning, and a level to keep everything straight. Safety equipment is essential—wear gloves to protect your hands, safety glasses to shield your eyes, and a dust mask if you’re sanding or cutting. Prepare your workspace by clearing debris and organizing tools for easy access. Double-check that all tools are in good condition. Proper preparation helps ensure your project goes smoothly, keeps you safe, and results in a durable, attractive garden edge. Additionally, consider using sustainable wood practices to minimize environmental impact and promote responsible harvesting. Using appropriate power tools can also speed up the process and improve precision, making your project more efficient. Being aware of wood treatment options can further extend the longevity of your garden edging and protect it from weathering. Incorporating correct installation techniques will help your garden edging remain stable over time.
Planning and Designing Your Log Edging Layout
Before you start laying out your logs, assess your garden site to identify the best location and any obstacles. Plan your design carefully, considering the shape and length of the edging to fit your space. Gather the right tools and mark your layout clearly to guarantee a smooth installation process. Additionally, understanding the nutritional advantages of green juice can inspire eco-friendly and sustainable practices in your gardening routine. Incorporating space optimization techniques can help maximize your garden’s potential and create a more organized outdoor area. Proper equipment protection methods also ensure your tools and logs remain in good condition during installation and future maintenance.
Site Assessment and Preparation
To create an effective log edging layout, you need to carefully assess your site and plan your design accordingly. Start with soil testing to ensure your soil is stable and suitable for logs. Address any drainage issues and eliminate weeds or pests that could undermine your edging. Proper site prep helps logs stay in place and last longer. Consider the following factors:
| Factor | Action |
|---|---|
| Soil stability | Test and improve soil if necessary |
| Drainage | Ensure proper runoff to prevent water pooling |
| Pest control | Remove pests and treat wood to prevent decay |
| Levelness | Check for flat surface for log placement |
| Space allocation | Plan for logs and plant bed dimensions |
Additionally, reviewing operating hours for local parks and attractions can help you plan the best time for your project, avoiding crowded days and ensuring access to necessary supplies. Correct assessment and preparation prevent future issues, ensuring your log edging remains attractive and durable.
Layout Planning and Tools
Designing your log edging layout begins with careful planning to guarantee it fits your landscape and meets your aesthetic goals. Start by selecting logs that suit your desired style and size, considering durability and appearance. Visualize the layout by sketching your design on paper or using a garden planning app, which helps with layout visualization. Determine the placement of each log, keeping in mind the natural flow of your garden and existing features. Use stakes and string to mark the outline on the ground, ensuring your design aligns with your vision. Gather the necessary tools, such as a tape measure, level, shovel, and mallet, to help you execute the plan accurately. Proper planning ensures your log edging will be both functional and visually appealing. Additionally, incorporating interior design principles can inspire creative and harmonious garden border designs. Remember to consider sustainability by choosing logs from eco-friendly sources to enhance your garden’s eco-conscious appeal. Incorporating family photoshoot fails can also inspire playful and unique touches to your garden theme, adding personality to your outdoor space. Moreover, paying attention to pool & backyard features can help you integrate your garden edging seamlessly with the overall outdoor environment. To further enhance the aesthetic coherence, exploring unique and wicked planters can add charming focal points that complement your log edging.
Cutting and Shaping the Logs for Installation

Once you’ve selected the logs for your garden edging, it’s vital to cut and shape them accurately to guarantee a neat and secure installation. Start with chainsaw safety—wear protective gear and operate the saw carefully to prevent accidents. Use proper log selection tips, choosing logs with straight, uniform diameters for easier shaping. Measure and mark where you’ll cut for consistent height and length. Keep your cuts straight and smooth, using a sharp chainsaw or hand tools for finer shaping. If necessary, sand rough edges to prevent splinters. Remember, precise cutting and shaping ensure your logs fit snugly and look professional. Additionally, considering noise levels options can help you choose equipment that operates quietly and minimizes disturbance. Incorporating literary humor into your approach can make the process more enjoyable and less tedious. Taking your time and prioritizing safety will make the process smoother and result in a durable, attractive garden edge. Being aware of machine learning enhancements can also inform you about the latest tools that may assist in shaping logs more efficiently.
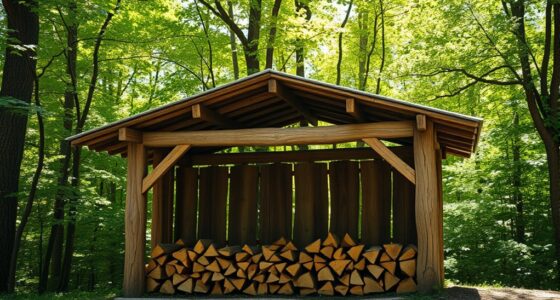
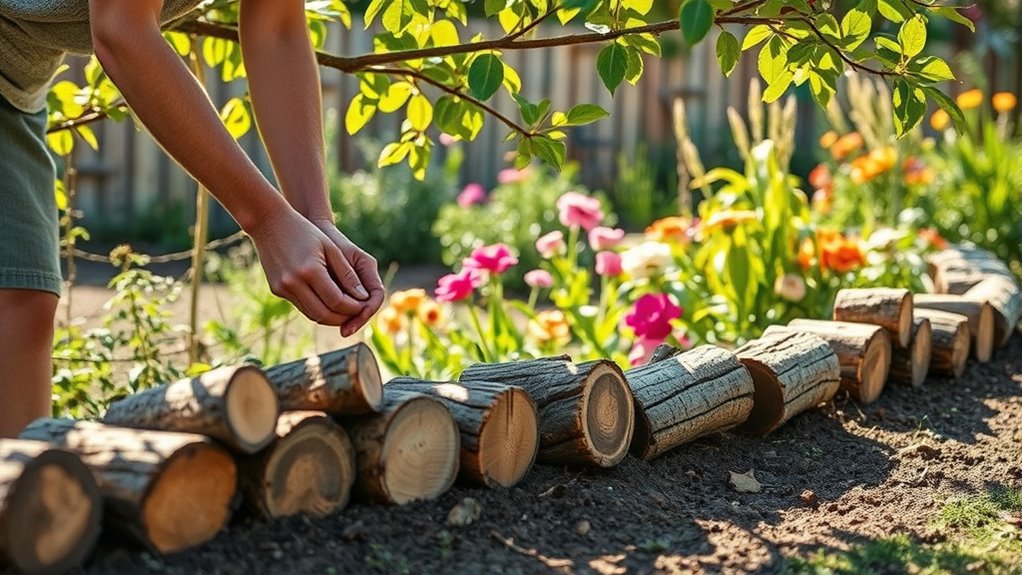
Installing the Log Edging in Your Garden
After shaping your logs, it’s time to install the edging around your garden. Position each log along the edge of your garden bed, making sure they follow the desired curve or straight line. Dig a shallow trench where the logs will sit, helping to keep them stable and flush with the soil surface. Place the logs into the trench, pressing firmly to secure them in place. Ensure the top of the logs are level to create a neat and even barrier. This wooden edging defines your garden bed and provides a natural boundary for mulch borders. Take your time adjusting the logs to maintain consistency and appearance. Once installed, the logs will form a sturdy, attractive edge that enhances your garden’s overall look.
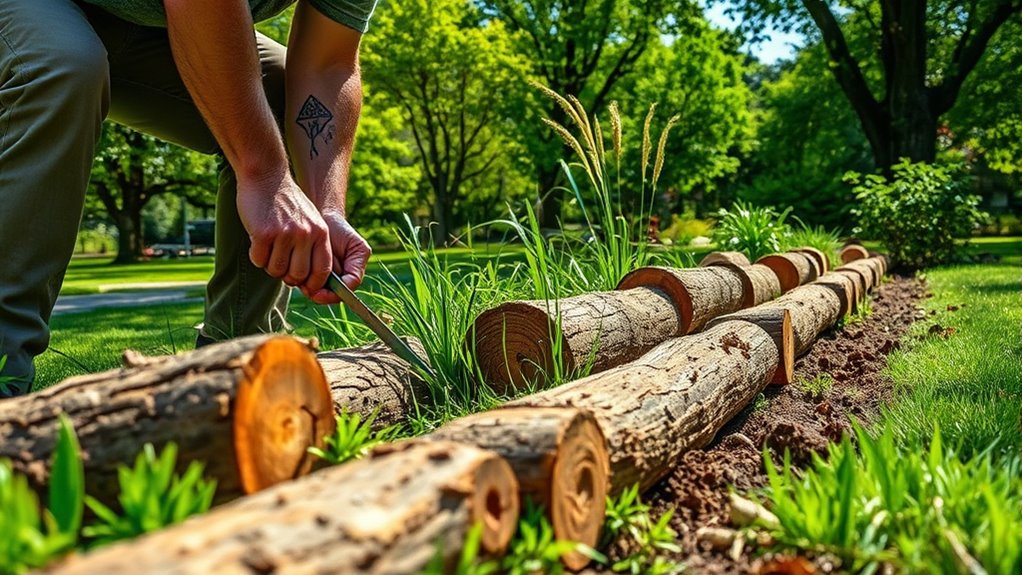
Securing and Stabilizing the Logs

To guarantee your log edging stays firmly in place, securing and stabilizing the logs is essential. Start by digging a narrow trench where you’ll position the logs, ensuring they sit level and deep enough for stability. Use stakes or rebar driven into the ground to secure the logs, preventing shifting over time. For added log stabilization, consider using large landscape screws or bolts to fasten the logs together at key points. Filling the space behind the logs with gravel or compacted soil also helps stabilize the structure and improves drainage. Regularly check the logs for movement and tighten securing logs if needed. Proper securing logs and ensuring stability now will keep your wooden garden edging durable and attractive for years to come.
Finishing Touches and Maintenance Tips

Adding finishing touches and performing regular maintenance will keep your wooden garden edging looking its best and functioning properly for years. To enhance your garden’s aesthetic, consider coordinating the edging with your garden color schemes by planting complementary flowers or adding decorative paint or stain. Regularly inspect the logs for signs of rot or damage, and treat them with weatherproof sealants to prolong their lifespan. Pest prevention tips are essential; applying natural repellents like neem oil or cedar oil can deter insects and wood-boring pests. Keep the area clear of debris to prevent pests from nesting. By maintaining your edging properly, you’ll preserve its beauty and durability, ensuring it continues to define your garden space effectively and charmingly.
Creative Variations and Customization Ideas
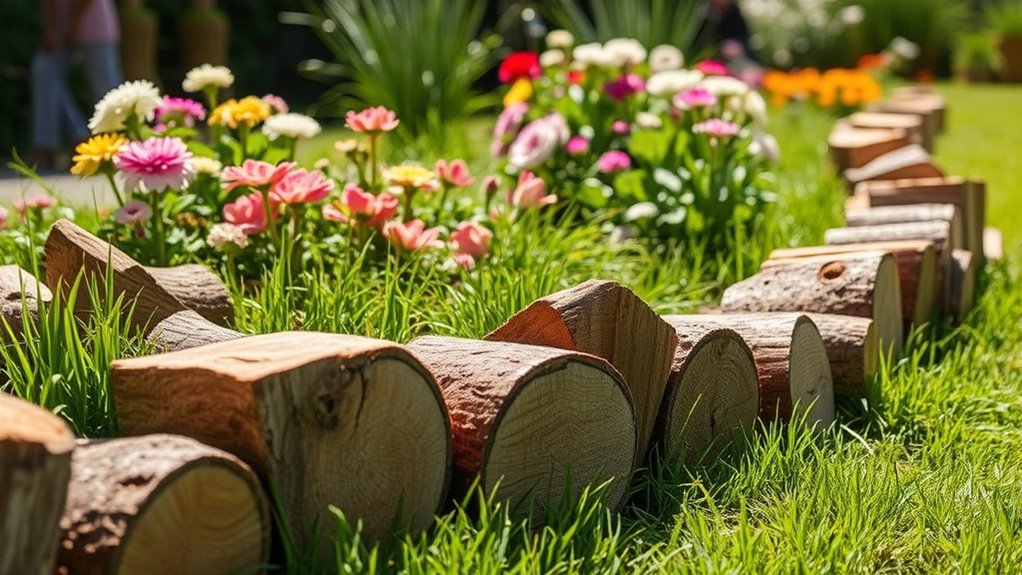
You can add a personal touch to your log-edging by trying decorative painting techniques or staining to match your garden’s style. Incorporating natural elements like stones, shells, or plants creates a unique look that blends seamlessly with your landscape. Experimenting with personalized shape designs allows you to craft borders that perfectly fit your space and taste.
Decorative Painting Techniques
Decorative painting techniques can transform simple logs into eye-catching garden edging by adding color, texture, and unique patterns. Faux finishes are a great way to create the illusion of materials like stone, marble, or weathered wood, giving your logs a sophisticated look. Metallic paints add a touch of shimmer and elegance, making your garden borders stand out. You can experiment with sponging, stippling, or dry brushing to achieve varied textures and effects. Using stencils or freehand designs allows for personalization, reflecting your style and garden theme. Just make certain the paint is weather-resistant to withstand outdoor conditions. With these techniques, you turn basic logs into vibrant, artistic features that enhance your garden’s visual appeal and showcase your creative flair.
Incorporating Natural Elements
Incorporating natural elements into your log garden edging can create a more organic and harmonious look that blends seamlessly with your landscape. You can add stones or pebbles around the logs to enhance garden aesthetics and create visual interest. Planting native flowers or low-growing ground covers along the edge not only softens the boundary but also supports local wildlife habitats. Incorporating moss or lichens on the logs adds a weathered, aged appearance, emphasizing a natural feel. Using driftwood or branches as decorative accents can further personalize your design. These natural elements help your garden feel more integrated with its environment, attracting beneficial insects, birds, and pollinators. Ultimately, blending organic features with logs results in a sustainable, visually appealing landscape that celebrates nature’s beauty.
Personalized Shape Designs
Personalized shape designs allow you to transform simple log garden edging into unique focal points that reflect your style. Using custom shape templates, you can craft personalized edging patterns that add character to your garden. Whether you prefer gentle curves or sharp angles, these templates make it easy to create consistent, eye-catching designs. You might choose organic shapes for a natural look or geometric patterns for a modern vibe. Experimenting with different patterns helps you develop a signature style. Below is a table showcasing some design ideas:
| Shape Type | Example Pattern | Suitable Garden Style |
|---|---|---|
| Curved | Wavy lines | Cottage garden |
| Angular | Zigzag patterns | Modern landscape |
| Organic | Leaf or floral motifs | Naturalistic garden |
| Geometric | Squares or hexagons | Contemporary garden |
| Asymmetrical | Irregular, freeform | Artistic, eclectic |
Frequently Asked Questions
How Long Will Wooden Garden Edging Last Outdoors?
You might wonder how long wooden garden edging lasts outdoors. With proper wood treatment, you can substantially extend its durability. Regularly applying sealants or preservatives helps protect against moisture and pests. Durability testing shows treated wood can last 5-15 years, depending on climate and maintenance. Keep an eye on signs of wear, re-treat as needed, and you’ll enjoy your garden edging for many seasons.
Can I Use Reclaimed or Recycled Logs for Edging?
Thinking reclaimed logs are a great idea? Irony hits—reclaimed wood durability varies, and recycled logs require some maintenance to last outdoors. You might save money and be eco-friendly, but you’ll need to treat and seal them properly. Recycled logs can work if you’re ready for extra upkeep. So, yes, you can use reclaimed logs, but don’t expect them to be maintenance-free or as durable as new wood.
What Are the Best Tools for Shaping Logs Precisely?
When it comes to log shaping, you want tools that offer excellent precision. A good chainsaw or reciprocating saw helps with rough cuts, while an orbital sander or hand planer gives you finer control for detailed shaping. For meticulous log shaping, consider using a chisel or rotary tool with various attachments. These tools let you achieve accurate cuts and smooth finishes, ensuring your logs fit perfectly and look professional.
How Do I Prevent Wood Rot Over Time?
Think of your garden as a guardian of time, and your wood as its shield. To prevent rot, you treat the wood like a secret potion, sealing its defenses. Choose wood types naturally resistant to decay, like cedar or redwood, and apply a quality sealant or preservative regularly. Proper drainage and avoiding ground contact also help, ensuring your edging stays strong and vibrant for years to come.
Are There Eco-Friendly Sealants Suitable for Garden Logs?
You ask if eco-friendly sealants suit garden logs. Yes, natural preservatives and eco-friendly coatings are great options. They protect your logs from rot while keeping the environment safe. Look for products made from plant-based oils, beeswax, or other biodegradable materials. These sealants penetrate the wood, offering durability without harmful chemicals. Applying them regularly guarantees your logs stay beautiful and last longer, all while respecting nature.
Conclusion
Now that you know how to craft your own wooden garden edging from logs, aren’t you excited to transform your outdoor space? With the right materials, a bit of planning, and some simple tools, you can create a beautiful, natural border that enhances your garden’s charm. So, why not give it a try and enjoy the satisfaction of a personalized, handcrafted finish? Your garden’s new look awaits—are you ready to start?