
To create a DIY maul and axe rack for your shed, choose durable materials like treated wood or metal, and measure your space carefully. Build sturdy horizontal shelves or hooks, ensuring they’re anchored securely to the wall for safety. Position tools at accessible heights and keep blades facing down or away. Regularly inspect the rack for stability, and keep tools dry to prevent rust. Keep your shed organized and safe—stick around to learn more tips to build an effective rack.
Key Takeaways
- Measure shed space and select durable materials like treated wood or metal for the rack.
- Design horizontal shelves or hooks at accessible heights, anchoring securely to the shed wall.
- Use strong brackets or hooks to support the weight of axes and mauls, ensuring stability.
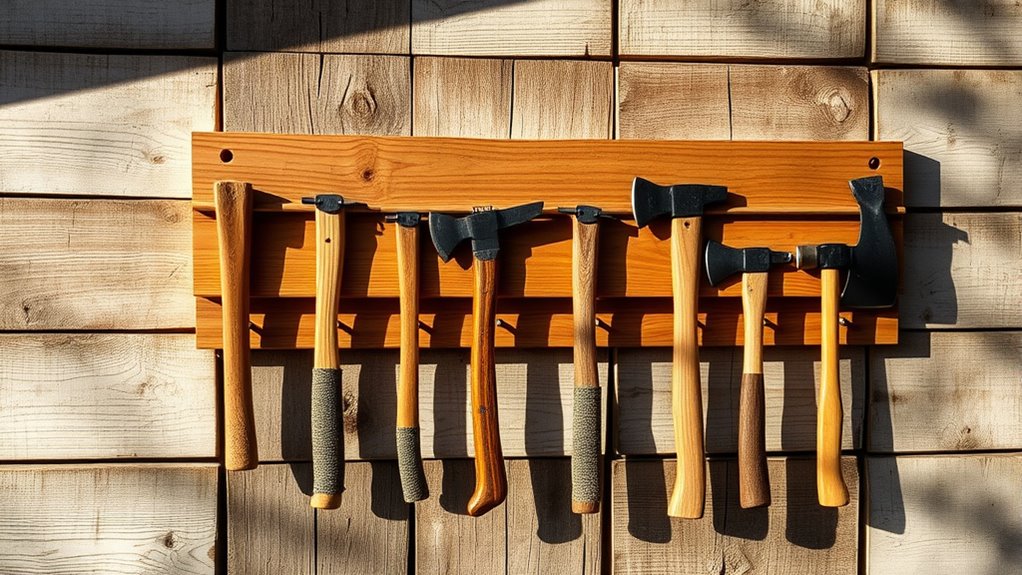
- Hang tools with blades facing down or away, and regularly inspect for safety and wear.
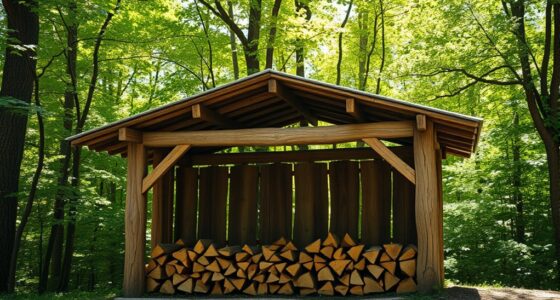
- Keep tools dry, organized, and off the ground to prolong tool life and reduce firewood storage clutter.

Looking for an easy way to organize your mauls and axes? Building a DIY rack for your tools not only keeps your shed tidy but also enhances safety and efficiency during firewood stacking. When you have a designated spot for each tool, you reduce the risk of accidents, and your gear stays in better condition. Plus, creating a rack is budget-friendly and straightforward, even if you’re new to woodworking.
Start by choosing a sturdy material like treated wood or metal for durability. Measure the space in your shed to determine the rack’s size and plan accordingly. You’ll want enough space to hold your axes and mauls comfortably without overcrowding, which makes accessing tools safer and easier. A simple design involves horizontal shelves or hooks, which keep tools off the ground and prevent them from falling or causing injury. Use strong brackets or hooks that can support the weight and handle repeated use.
Choose durable materials and plan your rack to keep axes and mauls organized and accessible.
When assembling your rack, prioritize safety tips. Securely anchoring the structure to the shed wall prevents tipping over, especially when handling heavy tools. Position hooks or shelves at a height that allows easy access and minimizes bending or stretching, reducing strain and injury risk. Make sure your tools are dry and clean before placing them on the rack. This helps prevent rust and deterioration over time, keeping your tools in good condition for effective firewood stacking. When placing axes and mauls on the rack, hang them with the blades or striking edges facing down or away from the body. This simple safety tip reduces accidental cuts or injuries when reaching for your tools. Additionally, understanding proper tool storage techniques can further enhance safety and prolong the lifespan of your equipment.
Regularly inspect your DIY rack for stability and wear. Tighten loose screws or brackets as needed to keep everything secure. When stacking firewood, use the rack to keep your axes and mauls organized so you can quickly grab the right tool without rummaging through clutter. This minimizes the chance of dropping tools or mishandling heavy logs, which can cause injuries. Remember, a well-organized space promotes safer, more efficient work sessions in your shed. Incorporate safety tips like keeping sharp edges covered or sharpened and avoiding overloading the rack to prevent accidents.
wall-mounted axe rack
As an affiliate, we earn on qualifying purchases.
As an affiliate, we earn on qualifying purchases.
Frequently Asked Questions
What Materials Are Best for Weather Resistance?
You should choose weather-resistant materials like cedar or pressure-treated wood for your rack. Applying wood treatment helps safeguard against moisture, rot, and insects, extending its lifespan. Additionally, use rust prevention coatings on metal parts to prevent corrosion. These choices ensure your maul and axe rack stays durable and safe outdoors, even in harsh weather conditions. Regular maintenance, like reapplying treatments, keeps the rack in top shape for years to come.
How Much Weight Can the Rack Hold?
You can expect your rack to hold around 50-75 pounds, depending on the materials and construction. Be mindful of tool weight limits, as exceeding them could compromise the rack’s durability. Using sturdy, weather-resistant materials will guarantee long-lasting durability, but always check the weight capacity you’ve set for each hook or slot. Properly secured, your rack will reliably support your axes and mauls without risk of damage or failure.
Can It Be Customized for Different Tool Sizes?
Sure, you can totally customize it for different tool sizes—who doesn’t love a project that’s as flexible as your needs? With simple tool size adjustments and rack customization options, you can tailor it for everything from tiny screwdrivers to hefty axes. Just plan ahead, measure carefully, and enjoy the satisfaction of a perfect fit. After all, your shed deserves a rack as versatile as your toolbox!
What Safety Features Should I Include?
You should include safety features like secure mounting to prevent the rack from tipping or falling, ensuring stability during use. Incorporate safety gear storage, such as hooks or slots for gloves and eye protection, to remind users to wear proper safety equipment. Additionally, smooth sharp edges and rounded corners reduce accidental injuries. Always double-check that the rack is firmly anchored to the wall, providing a safe, organized spot for your tools.
How Do I Maintain the Rack Over Time?
Think of your rack as a trusted guardian, standing watch over your tools. To keep it strong, regularly check and tighten fasteners, ensuring tool organization stays intact. Apply a weatherproof sealant annually to preserve the wood and maintain rack stability against the elements. Clear debris and inspect for signs of wear, so your rack continues to serve as a reliable, safe home for your mauls and axes, year after year.
firewood tool organizer
As an affiliate, we earn on qualifying purchases.
As an affiliate, we earn on qualifying purchases.
Conclusion
By building this DIY maul and axe rack, you not only organize your shed but also create a safer, more efficient workspace. Some say storing tools on the floor causes damage and accidents, but a sturdy rack proves otherwise. It’s a simple project that can save you time and prevent injuries. So, give this design a try—you might find that a well-made rack truly transforms your shed into a neat, functional haven for all your outdoor tools.
heavy-duty tool hooks for shed
As an affiliate, we earn on qualifying purchases.
As an affiliate, we earn on qualifying purchases.
wooden axe and maul rack
As an affiliate, we earn on qualifying purchases.
As an affiliate, we earn on qualifying purchases.