
To bleed air from hydraulic lines, start by gathering your tools, safety gear, and making sure the system is warm and ready. Locate the bleed valves or ports, usually marked or noted in manuals. With the system running in neutral, open the bleed valves carefully and pump the hydraulic controls to circulate fluid and push out trapped air. Once no more air bubbles escape, close the valves tightly. Keep going for more detailed steps to ensure a smooth, air-free system.
Key Takeaways
- Identify and access bleed points or vents on hydraulic lines, fittings, or valves.
- Start the hydraulic system and move controls to neutral, ensuring proper warm-up.
- Slowly open bleed valves to release trapped air, observing for steady fluid flow and bubbles.
- Pump the system repeatedly to circulate fluid and push air toward bleed points.
- Tighten bleed valves securely after air removal and verify smooth, consistent system operation.
Gather Necessary Tools and Safety Equipment

Before you begin bleeding air from the hydraulic lines, it’s essential to gather all the necessary tools and safety equipment. Start with the correct hydraulic fluid types compatible with your system, making sure you have fresh fluid ready for topping up if needed. You’ll also need clean rags, a wrench or socket set for bleed valve maintenance, and protective gear such as gloves and safety glasses. Inspect the bleed valve to ensure it functions smoothly and isn’t damaged. Proper maintenance of the bleed valve prevents leaks and ensures efficient air removal. Having everything prepared in advance minimizes delays and keeps the process safe. Recognizing angel numbers can help you stay attuned to the universe’s signs and guidance during the process. By organizing your tools and safety gear beforehand, you set yourself up for a smoother, safer bleeding procedure.
Prepare the Hydraulic System for Bleeding
To effectively prepare the hydraulic system for bleeding, start by turning on the equipment and allowing it to reach its normal operating temperature. Proper hydraulic fluid maintenance is essential at this stage; ensure the fluid level is adequate and free of contaminants. Once the system is warmed up, perform system pressure testing to verify there are no leaks and that pressure gauges read within the specified range. This step helps identify potential issues before bleeding, preventing further damage. Confirm that all connections are tight and secure. If necessary, top off the hydraulic fluid to the recommended level. Proper preparation guarantees the system is ready for air removal, reducing the risk of introducing contaminants or pressure-related problems during the bleeding process. Additionally, understanding the role of the hydraulic system can help in diagnosing and addressing potential issues more effectively.
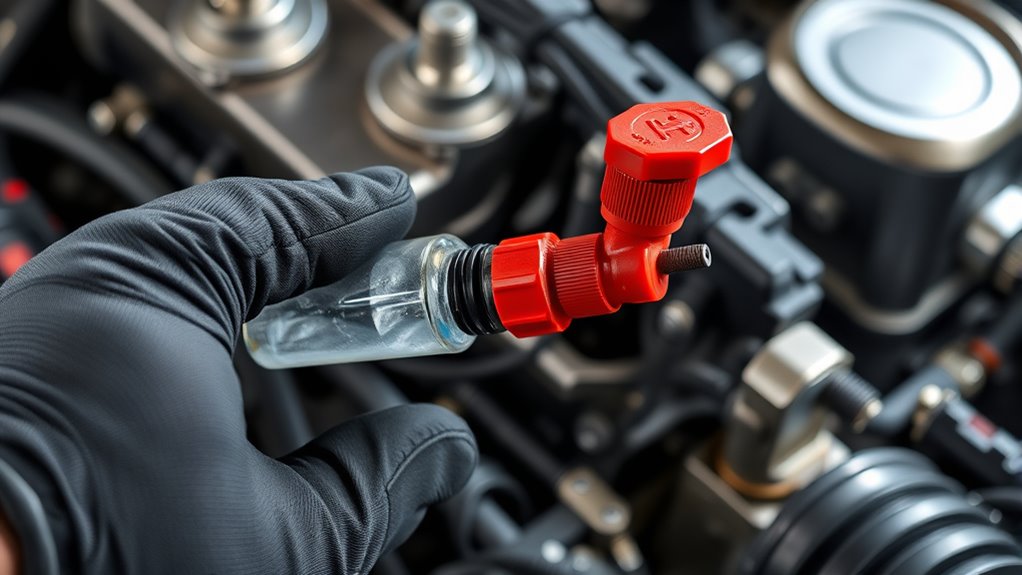
Locate and Identify Bleed Points
You need to find the bleed points on your hydraulic system first. Look for specific fittings and valves designed for venting air. Recognizing these components ensures you can effectively release trapped air and restore proper system function. Additionally, understanding essential oils for respiratory health can help you create a calming environment during maintenance.
Identify Bleed Point Locations
Locating bleed points on hydraulic lines is a crucial step to guarantee proper air removal. You need to identify where air can escape effectively, which depends on understanding how air pressure interacts with fluid viscosity. Here are key steps to help you find these points:
- Look for fittings, valves, or ports designed for bleeding, often marked or documented in manuals.
- Check areas where pressure tends to build or fluctuate, as these are ideal bleed points.
- Confirm the locations by inspecting for small drains or vents that release trapped air without fluid loss.
- Ensuring proper air removal is essential for maintaining hydraulic system efficiency and preventing component damage.
Recognize Bleed Fittings and Valves
Recognizing bleed fittings and valves is essential for effective air removal from hydraulic lines. You need to identify these components to guarantee proper valve operation and avoid unnecessary delays. Bleed fittings are usually marked and located near high points or designated bleed points in the system. Valves may be manual or automatic, and their operation involves opening or closing to release trapped air. When inspecting, look for fittings with small caps or screws, indicating bleed points. Confirm that the valve is accessible and functional before starting the bleeding process. Proper identification helps you control air pressure and assures that air is expelled efficiently without causing damage to the hydraulic system. Clear recognition of these fittings and valves streamlines the bleeding process and prevents potential system issues. Additionally, understanding how automation can be integrated into hydraulic systems might help optimize maintenance procedures.
Start the Hydraulic Engine and Set Controls to Neutral

Start the hydraulic engine and let it warm up according to the manufacturer’s instructions. Once the engine reaches the proper temperature, move the controls to the neutral position. This guarantees smooth operation and prepares the system for bleeding air effectively. Regularly inspecting for system leaks can help prevent complications during bleeding.
Engine Warm-Up Procedure
Have you confirmed that the hydraulic engine is properly prepared for start-up? To guarantee safe operation, follow these steps:
- Check that the hydraulic fluid level is adequate, as low fluid can cause air pressure issues.
- Start the hydraulic engine, listening for smooth operation without unusual noises.
- Allow the engine to warm up gradually, which helps stabilize air pressure and hydraulic fluid flow.
- Ensure that the hydraulic system has been maintained according to best practices to prevent air entrapment during operation.
During warm-up, monitor the hydraulic fluid temperature and pressure gauges. Properly warmed hydraulic fluid ensures ideal flow and reduces the risk of air entrapment. This step is vital for effective bleeding of air from the lines later on. Once the engine is warm, controls can be set to neutral for further procedures.
Neutral Control Position
Once the hydraulic engine has warmed up to the proper temperature, you should begin by starting the engine and setting all controls to the neutral position. This guarantees the hydraulic system is stable and ready for bleeding. Verify that you’ve used the correct hydraulic fluid selection to prevent system damage and ensure smooth operation. Setting controls to neutral helps avoid unintended movements and simplifies control system calibration. Confirm that the control levers or switches are in their neutral positions, and check for proper fluid levels. Once in neutral, monitor the hydraulic pressure gauges and look for any abnormal readings. This step is vital for effective air removal, as it establishes a baseline for the hydraulic system before proceeding with the bleeding process. Additionally, fluid compatibility is crucial to prevent damage and maintain system integrity during the bleeding procedure.
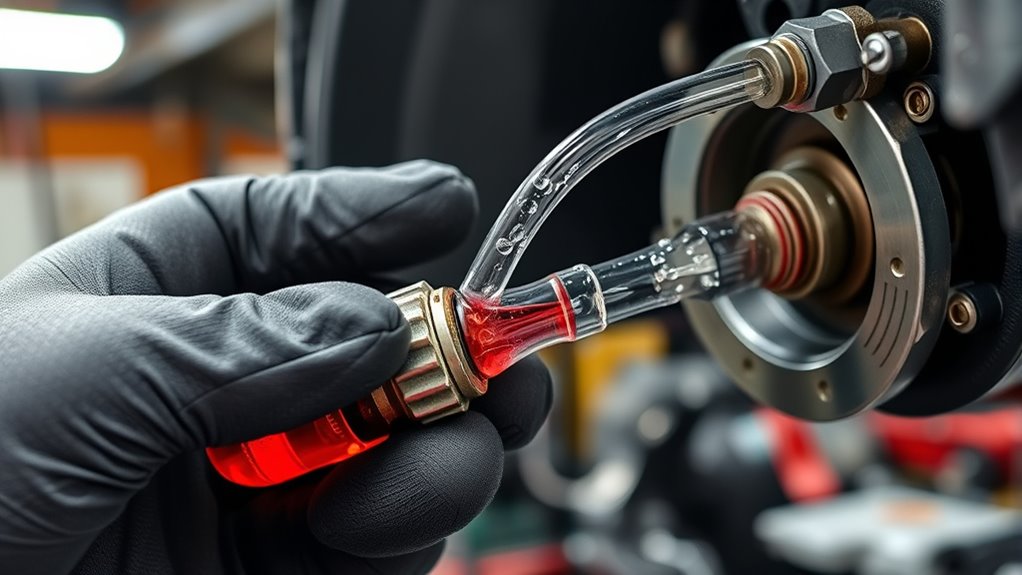
Open Bleed Valves or Bleed Ports
To remove air from hydraulic lines effectively, you need to open the bleed valves or bleed ports. This allows air pressure inside the system to escape and enables fluid flow to push out trapped air. When opening the bleed ports, you control the release of air and prevent fluid from spurting uncontrollably.
Here’s what you should do:
- Identify the bleed valves or ports on your hydraulic system.
- Open them slowly to let air escape gradually, monitoring fluid flow.
- Keep an eye on the air bubbles escaping, ensuring the fluid becomes steady and free of air pockets.
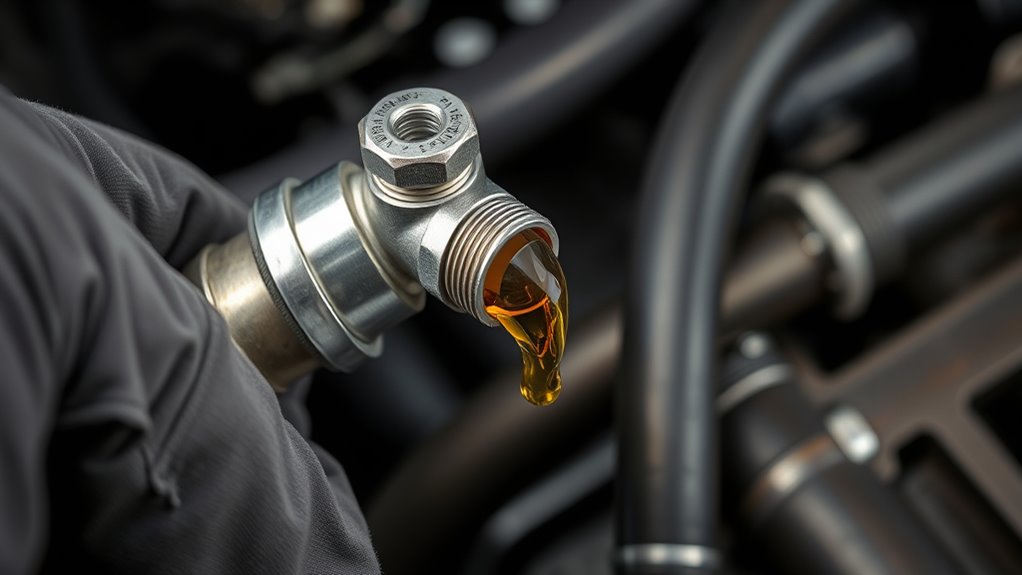
Pump the Hydraulic System to Release Air

After opening the bleed valves and allowing trapped air to escape, the next step is to pump the hydraulic system. This process helps circulate hydraulic fluid and compress any remaining air pockets. By pumping the system, you force air to move toward the bleed points, where it can escape. Keep an eye on the fluid level and pressure during this step. Use a hydraulic pump or control lever to repeatedly operate the system, ensuring air bubbles are pushed out. Properly bleeding air improves system efficiency and minimizes the risk of malfunctions.
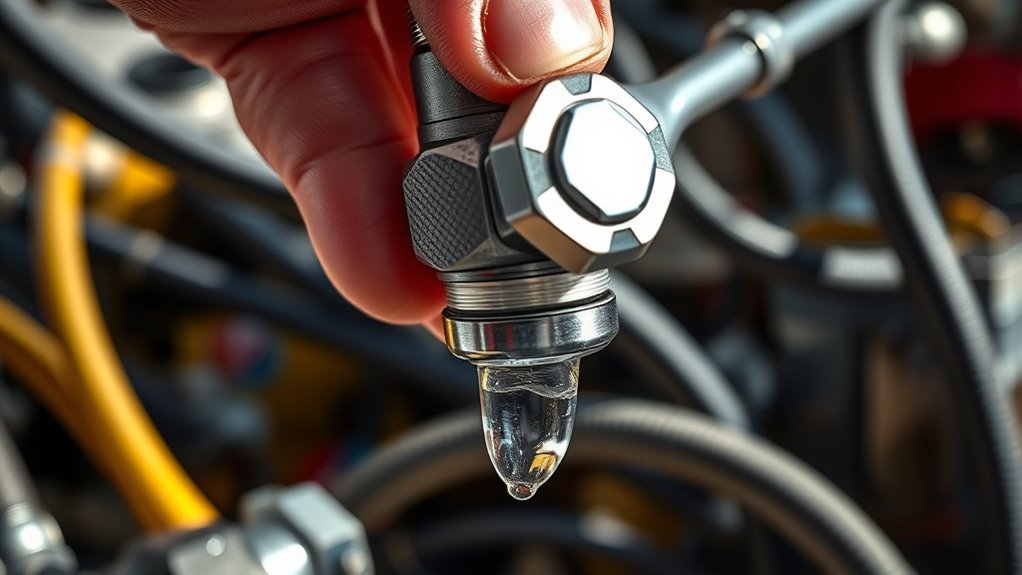
Close Bleed Valves and Verify System Performance

Before you finish, make sure to close the bleed valves tightly to prevent any more air from entering the system. Proper valve maintenance guarantees a secure seal, which is essential for ideal hydraulic performance. After closing the valves, verify system performance by checking for smooth operation and consistent pressure. To do this effectively:
- Inspect the hydraulic fluid for proper compatibility with your system to avoid leaks or damage.
- Test the hydraulic system by operating it through its full range of motion, observing for any irregularities or delays.
- Recheck the bleed valves for tightness after operation, ensuring no residual air remains.
- Regularly review safety standards and ensure your system complies with all necessary regulations for safe operation.
This process guarantees your hydraulic system is free of air, maintains valve integrity, and operates reliably. Proper closure and verification are critical for long-term system health.
Frequently Asked Questions
How Often Should I Bleed the Hydraulic System?
You should bleed the hydraulic system whenever you notice sluggish operation or fluid contamination. Regular hydraulic maintenance is essential to keep the system running smoothly. By bleeding air out of the lines, you prevent pressure issues and maintain peak performance. Check your equipment’s manual for specific intervals, but generally, bleeding should be done after fluid changes or if you suspect air intrusion, ensuring your hydraulic system stays efficient and reliable.
Can I Bleed Air From Hydraulic Lines Without Shutting Down the Engine?
You can bleed air from hydraulic lines without shutting down the engine, but it’s not recommended during active operation. For proper hydraulic fluid maintenance and safety, it’s best to perform bleeding procedures when the system is depressurized and engine is off. This approach guarantees accurate system pressure testing and prevents damage. Always follow manufacturer guidelines for bleeding air, and consider shutting down the engine to avoid risks during maintenance.
What Are Common Signs of Trapped Air in Hydraulic Lines?
They say a problem shared is a problem halved, so spotting trapped air in hydraulic lines is essential. Common signs include inconsistent or sluggish operation, unusual noises, or a spongy feel in control surfaces. Air pockets can cause erratic movement, while leak detection reveals pressure drops. If you notice these symptoms, it’s time to check for trapped air, as it can compromise system performance and safety.
Is It Necessary to Replace Hydraulic Fluid After Bleeding?
You don’t always need to replace hydraulic fluid after bleeding, but it’s recommended if contamination is suspected. Hydraulic fluid replacement helps prevent dirt, air, or moisture from causing future issues. If you notice degraded fluid quality or persistent problems, replacing the fluid guarantees ideal system performance and contamination prevention. Always inspect the fluid before and after bleeding to decide whether a fluid change is necessary for maintaining system health.
What Are the Risks of Improper Bleeding Procedures?
Improper bleeding is like trapping a fox in a henhouse—you risk serious issues. If you don’t remove air entrapment correctly, hydraulic contamination can occur, causing system inefficiency or failure. This can lead to inconsistent operation or damage to components. Always follow proper procedures, ensuring all air is expelled. Otherwise, you risk compromising your hydraulic system’s safety and longevity. Proper bleeding keeps everything running smoothly and avoids costly repairs.
Conclusion
Think of your hydraulic system as a delicate garden. Just as weeds can choke out healthy growth, air bubbles can hinder your system’s performance. By carefully bleeding the air out, you’re nurturing this garden to thrive. Patience and attention to detail guarantee it remains lush and efficient. When you finish, your hydraulic system will run smoothly, just like a well-tended garden in full bloom. Keep it maintained, and it’ll serve you reliably for years to come.