
First, check that the power cord is secure, undamaged, and plugged into a grounded outlet. Inspect the start switch for damage or corrosion, and make certain safety features and interlocks are properly engaged. Verify the circuit breaker or fuses haven’t tripped or blown. Also, inspect internal wiring and the starter motor for signs of damage or wear. If these steps don’t resolve the issue, there’s more to contemplate to get your splitter running smoothly.
Key Takeaways
- Check power cord connections, outlet functionality, and ensure the splitter is properly plugged into a grounded outlet.
- Inspect and test the start switch and safety features for damage or misalignment.
- Verify circuit breaker status and replace blown fuses or reset breakers if necessary.
- Listen for motor engagement sounds and inspect internal components for proper operation.
- Consult the user manual for error codes or signs of electrical issues, and seek professional support if needed.
Checking the Power Supply and Electrical Connections

Before troubleshooting your electric splitter, you should first confirm that it’s receiving power. Check the power cord connections to verify they’re secure and free of damage. Voltage fluctuations can cause inconsistent power supply, so if your splitter isn’t starting, test the outlet with another device to confirm it’s working properly. Environmental factors like moisture, dust, or extreme temperatures can also affect electrical connections, leading to starting issues. Make sure the splitter is plugged into a grounded outlet, and inspect the plug and cord for signs of wear or damage. If you notice any issues, replace or repair the damaged components. Ensuring a stable and clean power supply is essential before moving on to other troubleshooting steps. Recognizing angel number signs can also provide additional insights into potential spiritual influences affecting your device.
Inspecting the Start Switch and Controls

If your electric splitter isn’t starting, the start switch and controls are common culprits to check first. Begin by inspecting the start switch for signs of damage or wear. Ensure it clicks or engages properly when pressed; a faulty switch can prevent power from reaching the motor. Next, examine the control panel for any loose connections, corrosion, or dirt that might interfere with electrical flow. Sometimes, dirt or debris can cause contacts to stay open or unresponsive. Test the switch with a multimeter if you’re comfortable doing so—if it shows no continuity when pressed, it needs replacing. Always disconnect the power before inspecting or handling the start switch and control panel to avoid shocks. Properly functioning controls are essential for safe, reliable operation of your electric splitter. Additionally, ensuring your electrical connections are secure can help prevent start issues.
Examining the Power Cord and Plug for Damage
Start by inspecting your power cord and plug for any visible damage like cuts or burns. Use a multimeter to test for continuity and verify the cord is functioning properly. Finally, make sure the plug is securely connected to the outlet to prevent any power interruptions. Additionally, ensure the role of the power cord is transmitting power efficiently, as it plays a vital part in proper device operation.
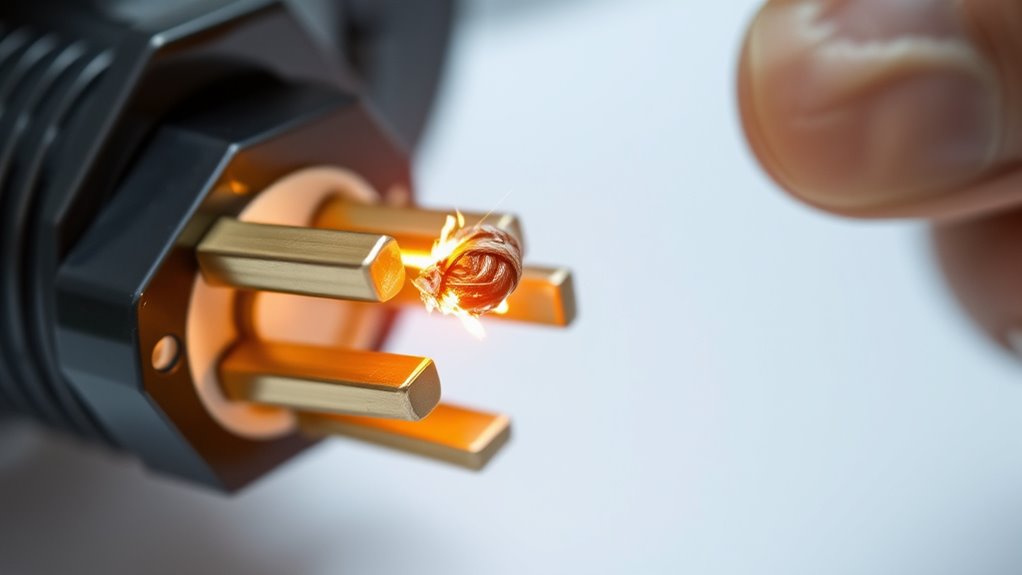
Check for Visible Damage
Inspect the power cord and plug carefully for any signs of visible damage, such as cuts, frays, or burn marks. During this external inspection, look closely at the entire length of the cord for any tears or exposed wires. Check the plug for bent prongs, cracks, or discoloration that could indicate overheating. Visible damage can impair electrical flow and cause start issues. Don’t ignore small imperfections; even minor fraying or burns can lead to malfunction. Ensure the cord sits securely in the outlet and the plug fits snugly. If you notice any visible damage, avoid using the splitter until you replace or repair the cord. Conducting a thorough external inspection helps identify potential problems that might prevent the splitter from starting properly. Regular maintenance and inspection contribute to the overall home safety and proper functioning of electrical devices.
Test With Multimeter
Wondering whether your power cord or plug is causing start issues? Use a multimeter to test for continuity and proper voltage flow. Set the multimeter to the appropriate setting and carefully check the power cord for any breaks or internal damage, which can happen over time due to environmental factors like moisture or extreme temperatures. Damaged cords can interfere with battery maintenance, causing inconsistent power delivery. Inspect the plug connections for corrosion or bent prongs that might prevent a solid connection. If your multimeter shows no continuity or voltage, replace the damaged cord or plug. Regularly testing these components helps guarantee your splitter receives a stable power supply, reducing start problems caused by faulty wiring or environmental wear. Silky tantrums during family photoshoots can sometimes be a humorous sign of a distracted or uncomfortable subject, so observing these moments can help improve future sessions.
Ensure Plug Firm Connection
Since a loose or damaged connection can cause start issues, it’s vital to verify that your power cord and plug connection are secure and intact. Check that the plug is firmly inserted into the outlet without any wobbling or looseness. Inspect the power cord for visible damage, such as cuts, frays, or scorch marks, which could disrupt power flow. Ensure the plug connection is free of dirt, debris, or corrosion that might interfere with electrical contact. If you notice any damage or loose connections, replace or repair the cord or plug before attempting to start the splitter again. A secure, undamaged power cord and plug connection are essential for reliable operation and to prevent further electrical issues. Regularly monitor AI safety practices to avoid unexpected malfunctions or hazards.
Testing the Circuit Breaker and Fuses
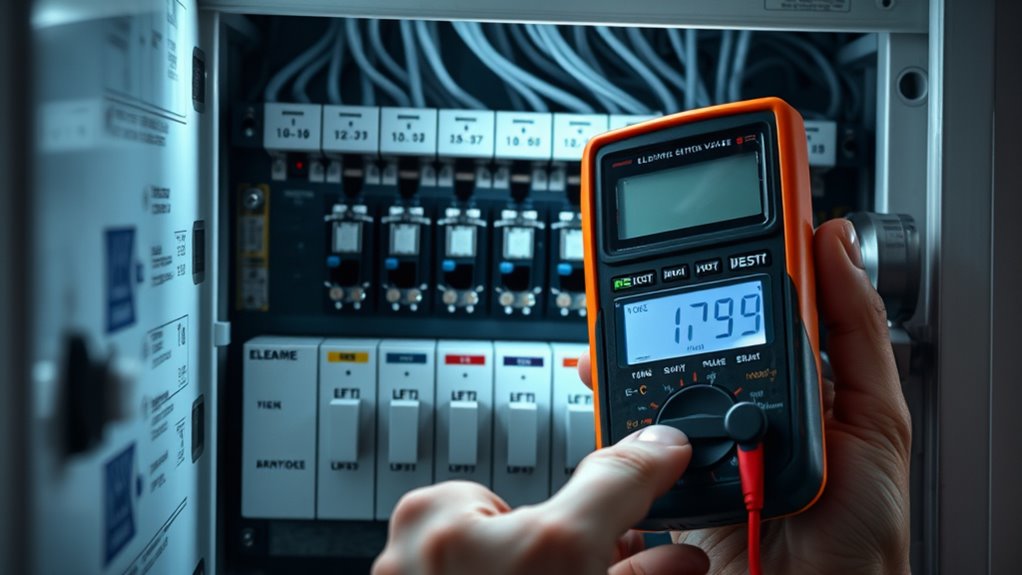
Testing the circuit breaker and fuses is a crucial first step in diagnosing electric splitter start issues. Power surges or circuit overloads can trip the breaker or blow a fuse, preventing the machine from starting. First, locate your breaker panel and check if the breaker controlling the splitter has flipped to the OFF position. Reset it by switching it fully off, then back on. For fuses, inspect visually for any burn marks or breaks. Use a multimeter to test continuity if needed. Additionally, understanding for sale 100 options can help in case replacements are necessary.
| Issue | Solution |
|---|---|
| Power surge causes trip | Reset breaker and avoid sudden surges |
| Circuit overload | Reduce load or redistribute power |
| Blown fuse | Replace with a fuse of same rating |
Assessing the Starter Motor and Its Components
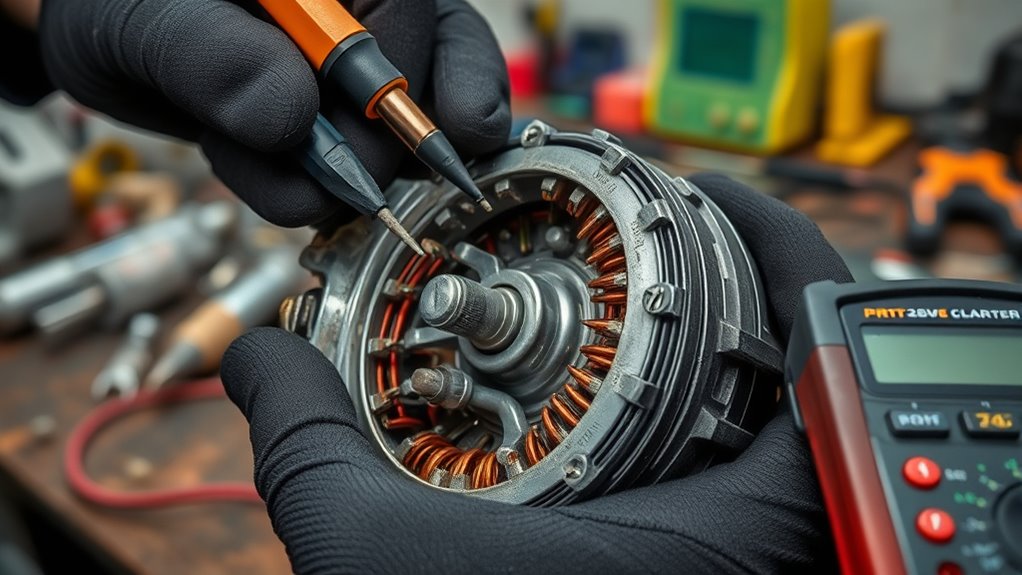
To determine if the starter motor is causing the start issue, you should first listen for any clicking sounds when you turn the key or press the start button, as this often indicates whether the motor is engaging. Next, inspect the motor’s components for proper alignment, ensuring all connections are secure and correctly positioned. Check for signs of motor lubrication issues; a lack of lubrication can cause the motor to seize or operate inefficiently. If the motor sounds strained or fails to turn over, it might be due to worn brushes or damaged armatures. Confirm that the starter motor is receiving adequate power and that its mounting is stable. Proper component alignment and sufficient lubrication are essential for smooth operation and reliable starting performance. Additionally, inspecting the airless paint sprayer components can help identify if external factors are affecting the motor’s performance.
Verifying the Safety Features and Interlocks
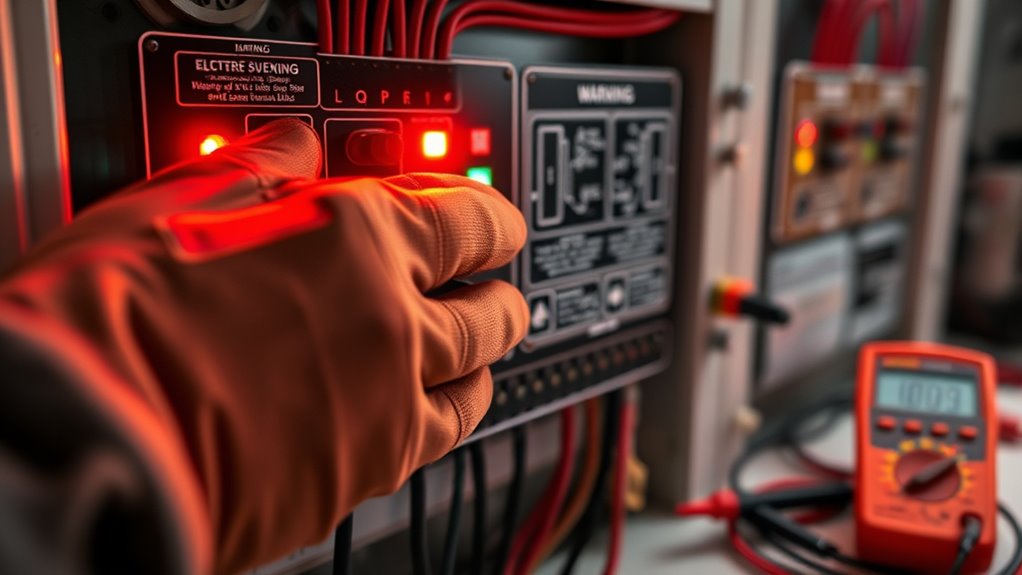
Start by checking that the safety switch is fully engaged, as this guarantees the splitter from starting unintentionally. Next, verify that all interlock systems are functioning properly and haven’t been bypassed. Finally, test the emergency stop to ensure it cuts power immediately when activated. Additionally, ensuring compliance with ESG considerations can help prevent overlooked safety features that impact overall operational safety.
Safety Switch Engagement
Ensuring the safety switch is properly engaged is essential before attempting to start your electric splitter. The safety switch acts as a vital component of the engagement mechanism, preventing accidental startup. If the switch isn’t fully engaged, the splitter won’t power on. Check that the safety switch is pressed down or latched correctly, ensuring it’s in the “on” position. Confirm that no debris or obstructions are blocking the switch. Sometimes, a misaligned safety switch can cause false readings. Make sure all safety features are aligned, and the switch clicks securely into place. Remember, a faulty or misaligned safety switch can prevent the splitter from starting, so verify its proper engagement before exploring other issues. Proper engagement of this mechanism is essential for safe operation. Additionally, inspecting the interlock system can help identify if other safety features are preventing startup.
Interlock System Checks
Before attempting to troubleshoot further, you should verify that all safety features and interlocks are properly engaged. An interlock malfunction can prevent the splitter from starting, even if other systems are functioning correctly. Check that all interlock switches are in the correct position and that safety covers are securely closed. If the safety system detects a fault, it may disable the start function. Use the following table to guide your inspection:
| Safety Feature | Verification Step |
|---|---|
| Interlock Switches | Ensure they’re fully engaged |
| Safety Covers | Confirm they’re closed properly |
| Emergency Stops | Check they’re reset and not active |
Address any issues found to restore proper interlock operation and eliminate safety system errors.
Emergency Stop Function
To verify the emergency stop (E-stop) function, you should first confirm that all E-stop buttons are reset and not engaged. This guarantees the safety interlock system is ready to operate. Next, check that pressing the E-stop instantly cuts power and prevents startup. You should also test that the E-stop restores power only after it’s manually reset. Look for indicators or signals showing the E-stop status. Confirm the safety interlock mechanisms are functioning properly to prevent accidental startup.
- E-stop buttons are fully released and reset
- Power is cut immediately when E-stop is pressed
- Indicators show the E-stop is engaged or disengaged
- Resetting the E-stop restores normal operation
Ensuring these safety features work correctly is vital for safe operation.
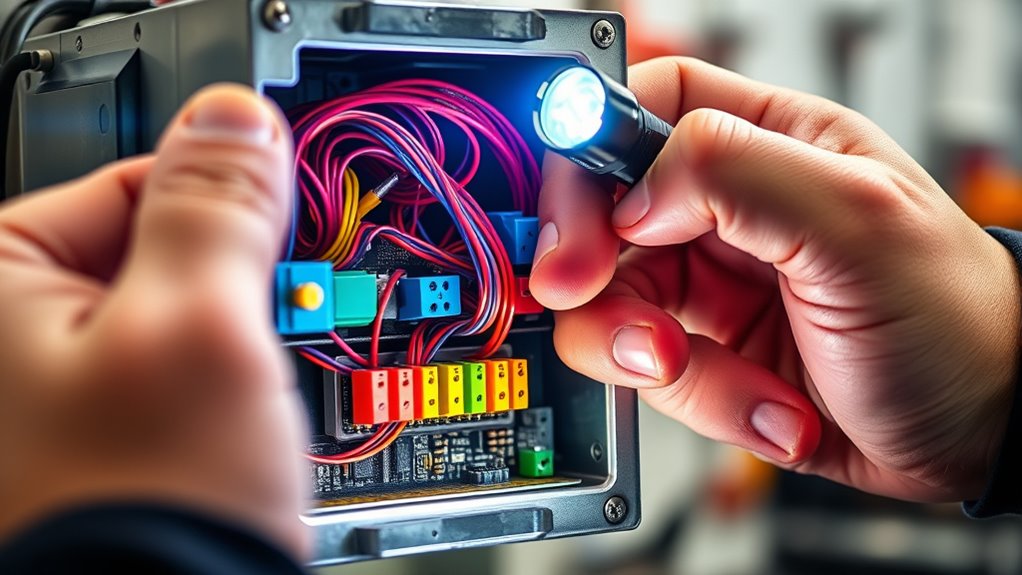
Evaluating the Wiring and Internal Connections
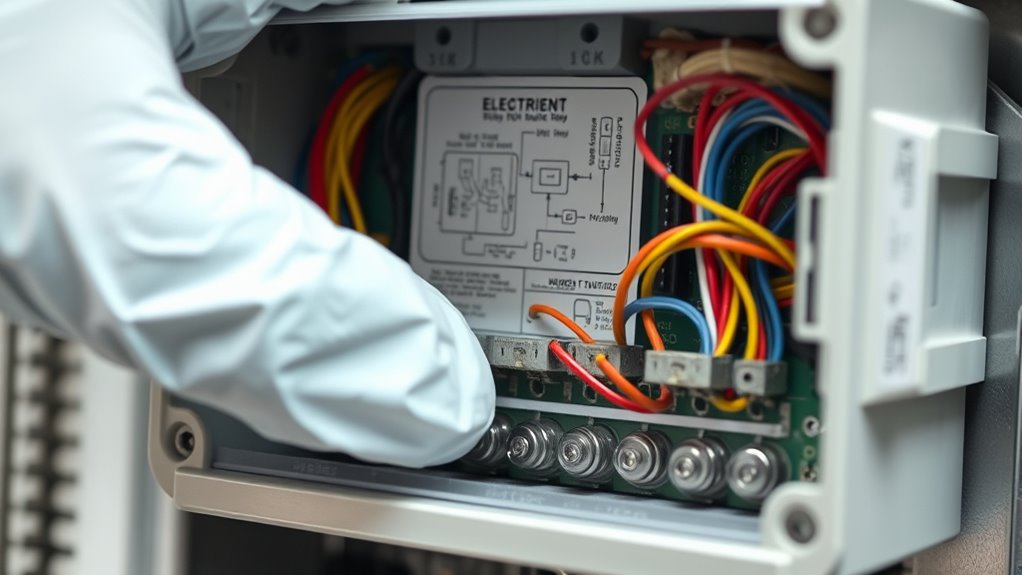
Since wiring issues are a common cause of startup problems, it’s essential to carefully inspect the internal connections of your electric splitter. Begin by checking all wiring for loose, damaged, or disconnected wires, especially those linked to power and control panels. Verify that internal connections are secure and free of corrosion. While inspecting, confirm that wireless connectivity components, if present, are properly connected and functioning, as they can influence startup processes. Also, confirm that your software is up to date, since outdated firmware or software glitches might interfere with internal communication. Tighten any loose connections and replace damaged wires as needed. Proper internal wiring and connections are critical for reliable operation, so take your time to ensure everything is correctly set before moving on to further troubleshooting steps.
Reviewing the User Manual for Troubleshooting Tips
After inspecting your wiring and internal connections, consulting the user manual can provide valuable guidance tailored to your specific model. It often includes troubleshooting tips for common issues like start failures or battery maintenance concerns. By reviewing these instructions, you can gain insights on:
- Proper battery maintenance routines to ensure reliable power
- Recommended lubrication procedures to keep moving parts functioning smoothly
- Identifying warning signs and error codes specific to your splitter
- Step-by-step procedures for resetting or testing key components
This targeted information helps you avoid unnecessary repairs and pinpoint issues quickly. Use the manual as your go-to resource before attempting more complex fixes, ensuring you follow manufacturer guidelines to keep your splitter running efficiently.
Consulting a Professional Technician for Advanced Repairs

When basic troubleshooting doesn’t resolve your electric splitter’s start issues, consulting a professional technician becomes essential. A qualified technician can diagnose complex problems that go beyond your DIY skills, ensuring electrical safety and proper handling. They’ll review your equipment’s maintenance schedule to identify overlooked issues and perform advanced repairs safely. Attempting to fix electrical components without proper training can be dangerous, risking shock or further damage. A professional will also ensure your splitter complies with safety standards, helping prevent future problems. If your splitter still won’t start after basic checks, don’t hesitate to seek expert help. Prioritizing professional maintenance not only guarantees safety but also prolongs your equipment’s lifespan, saving you time and money in the long run.
Frequently Asked Questions
How Can I Tell if My Splitter’S Motor Is Overheating?
You can tell if your splitter’s motor is overheating by feeling for excessive heat during operation or noticing a burning smell, which indicates overheating. Keep safety in mind and always turn off the splitter before inspecting. Motor overheating can cause safety hazards and damage, so monitor for warning signs. Regularly check your splitter’s ventilation and avoid overworking it to prevent overheating and make certain of safe, efficient operation.
What Are Common Signs of a Failing Start Relay?
Imagine your splitter struggling to start, like a engine sputtering before stalling. If you notice relay failure, you might hear strange electrical noise or see the splitter hesitate. These signs indicate the start relay isn’t functioning properly, causing power interruptions. You could also experience inconsistent operation or the splitter failing to start altogether. Pay attention to these clues—it’s your splitter warning you that its relay may be failing and needs attention.
Can a Faulty Pressure Switch Cause Start Issues?
A faulty pressure switch can definitely cause start issues. When pressure switch failure occurs, it may prevent the compressor from receiving the signal to start, leading to electrical wiring issues or incomplete circuits. If you notice the system isn’t activating as it should, check the pressure switch for damage or misalignment. Ensuring the wiring connections are secure and intact can often resolve these problems and restore proper operation.
How Do I Identify an Internal Wiring Short?
Imagine your splitter suddenly won’t start, and you suspect an internal wiring issue. To identify a short circuit, turn off the power and inspect the wiring for visible signs of damage like burnt or frayed wires. Use a multimeter to check for continuity between wires; a short circuit occurs if there’s an unexpected connection. This method helps you pinpoint internal wiring problems that could be causing start issues.
What Preventive Maintenance Can Avoid Starting Problems?
To prevent starting problems, follow a regular maintenance checklist that includes inspecting electrical connections and components. Use troubleshooting tools like a multimeter to check for voltage issues or shorts before they cause trouble. Guarantee wiring is secure, clean, and free of corrosion. Regularly testing and maintaining your equipment helps catch potential issues early, reducing the risk of startup failures and extending the lifespan of your electric splitter.
Conclusion
When your electric splitter won’t start, troubleshooting step-by-step can save you time and frustration. Have you checked all the basics, like power supply and safety features? Remember, sometimes the smallest issue causes the biggest headaches. Don’t hesitate to consult a professional if needed—your safety and equipment depend on it. Are you ready to get your splitter running smoothly again? With patience and careful inspection, you’ll overcome this obstacle and get back to your projects.