
To split knotty pine without making a mess, carefully observe the grain pattern and follow it as you work. Use a sharp, quality wedge or axe, and start with gentle taps to guide the split along natural lines. Score the wood beforehand to help keep the split straight, and work gradually with controlled force. Prepare your workspace with drop cloths and wear safety gear. If you keep these tips in mind, you’ll achieve cleaner splits and less debris, and there’s more to discover if you continue.
Key Takeaways
- Score along the natural grain line before splitting to guide the wedge and reduce splintering.
- Use a tarp or drop cloth underneath to catch debris and splinters during splitting.
- Work slowly and apply steady, controlled force to prevent jagged edges and mess.
- Split from multiple angles around knots or dense areas to minimize debris and achieve cleaner cuts.
- Wear safety goggles and gloves to protect yourself and contain splinters, maintaining a tidy workspace.

Splitting knotty pine can be a challenging task, but with the right tools and techniques, you can do it efficiently. One of the key factors in splitting knotty pine without creating a mess is understanding the wood grain. Knotty pine’s distinctive grain pattern often runs irregularly around knots and twists, which can cause the wood to split unpredictably if you’re not careful. To avoid this, you need to pay close attention to the grain direction before you start. Always aim to split along the natural grain lines, as this will lead to cleaner cuts and reduce the chance of splintering or jagged edges.
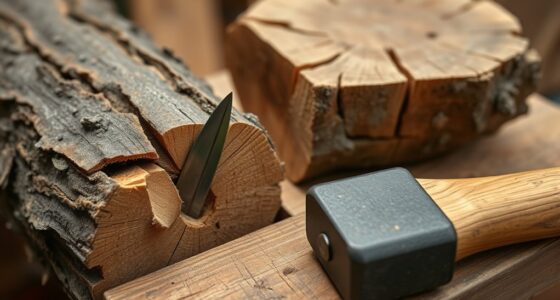
When it comes to splitting techniques, your approach should be deliberate and controlled. Start by selecting a sharp, sturdy splitting wedge or a good quality axe designed for splitting wood. Place the knotty pine on a stable, flat surface or in a splitting block to keep it secure. If you’re using a wedge, position it carefully at the point where you want the split to begin. Tap the wedge gently at first, making sure it’s aligned with the grain. As you increase the force, keep your strikes steady and controlled; this minimizes the risk of slipping or causing unintended cracks elsewhere in the wood.
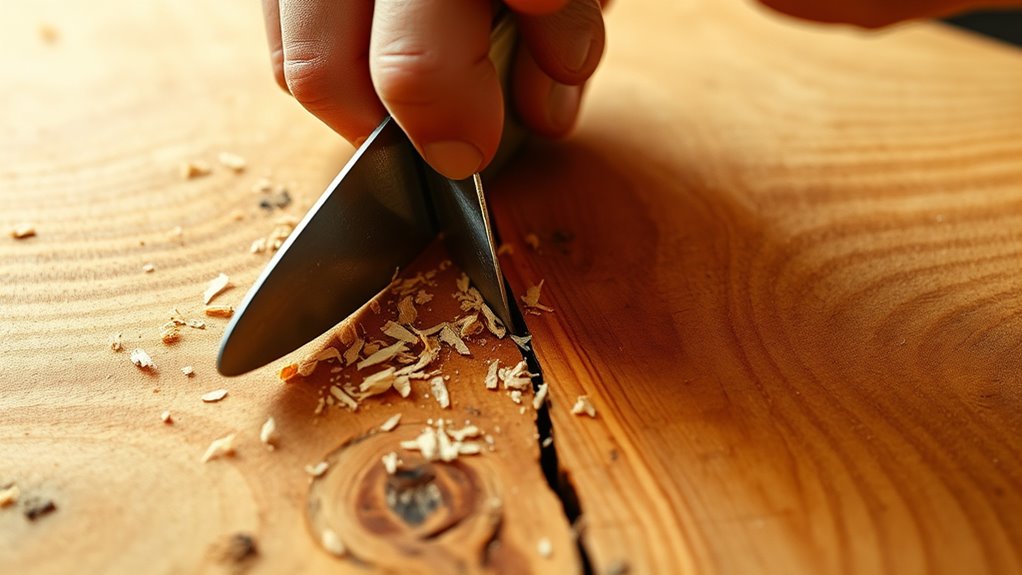
It’s also helpful to score the wood along the intended split line with a chisel or a utility knife. This creates a guide for your wedge or axe, ensuring the split follows the natural grain rather than veering off course. When splitting, work gradually, applying consistent force rather than trying to force the wood apart in one big blow. This method prevents splintering and keeps your split clean. If you encounter a knot or dense section, work around it or split from a different angle. Sometimes, making a few smaller splits rather than one big effort results in a neater, mess-free outcome.
Using a proper technique and tools designed for splitting can also help prevent unintended damage. Additionally, protecting your surroundings is essential. Use a tarp or drop cloth beneath your work area to catch any wood debris or splinters that may fly loose. Wearing safety goggles and gloves also keeps you safe from unexpected chips or splinters. Keep your workspace well-lit so you can clearly see the grain pattern and make precise splits. With patience, proper tools, and a focus on matching your splitting technique to the wood grain, you can split knotty pine efficiently without creating a mess. This careful approach not only makes your work easier but also results in cleaner, more professional-looking pieces that are ready for your project.
Frequently Asked Questions
How Do I Identify the Best Tools for Splitting Knotty Pine?
To identify the best tools for splitting knotty pine, focus on tool selection that suits the wood’s toughness and knots. You’ll want a sharp, sturdy axe or splitting maul for effective force, and a wedge for larger knots. Proper wood preparation, like drying the wood and removing loose knots, makes splitting smoother. Choose tools with durable handles and sharp blades to reduce effort and avoid damage, ensuring clean splits with minimal mess.
What Safety Precautions Should I Take When Splitting Knotty Pine?
Think safety is an afterthought? Think again. When splitting knotty pine, you must wear eye protection to guard against flying splinters and secure your work area to prevent accidents. Use gloves for a better grip, and make certain your tools are sharp and in good condition. Keep bystanders away, and always follow manufacturer instructions. By taking these precautions, you turn a risky task into a safe, successful project.
Can Knotty Pine Be Split Without Causing Damage?
Yes, you can split knotty pine without causing damage by paying attention to the grain orientation and using proper splitting techniques. Always follow the natural grain to prevent splintering or cracking. Use a sharp wedge or splitting axe, and apply steady, controlled force. Position your split along the grain, and work slowly to avoid harming the wood. This careful approach ensures a clean split without unnecessary damage.
What’s the Best Way to Store Split Knotty Pine?
To store split knotty pine effectively, you should choose storage solutions that keep the wood dry and well-ventilated. Stack the wood off the ground using spacers or pallets to prevent moisture absorption from the soil. Handle the wood carefully to avoid damage, and make certain it’s dry before storage to prevent warping or mold. Regularly check for moisture and rotate the stacks to maintain quality.
How Do Environmental Conditions Affect Splitting Knotty Pine?
Did you know that improper environmental conditions cause over 60% of knotty pine splits? You should monitor moisture levels and avoid extreme temperature fluctuations. When moisture is too high or low, the wood expands or contracts, increasing the risk of splitting. Sudden temperature changes can weaken the wood’s fibers, making it more prone to cracking. Keep your knotty pine in a stable environment to prevent splitting and preserve its beauty.
Conclusion
So, next time you tackle knotty pine, remember to score your lines first—it’s like a secret handshake with the wood. Keep your blade sharp and steady, and you’ll split those planks cleanly, no mess in sight. Don’t forget, patience is key—no need to rush like it’s a 1920s speakeasy. With these tips, you’ll have your project looking sharp and smooth, just like a well-waxed Cadillac. Happy splitting!