
To find the right chain tension, lift the chain away from the sprocket or cassette and check for about 0.5 to 1 inch of slack. If it’s too loose, it may slip or cause shifting issues; if too tight, it could strain your drivetrain parts. Proper tension helps your bike run smoothly and lasts longer. Want to learn more about fine-tuning your chain for peak performance? Keep exploring for expert tips.
Key Takeaways
- The ideal chain slack is about 0.5 to 1 inch of movement when lifted from the sprocket.
- Check chain tension by shifting to the smallest chainring and rear gear, then lifting the chain.
- Avoid over-tightening, which can strain drivetrain components and cause premature wear.
- Loosen the axle or derailleur tension screw to adjust chain slack, then re-tighten securely.
- Regularly inspect your chain tension to maintain optimal performance and extend drivetrain lifespan.
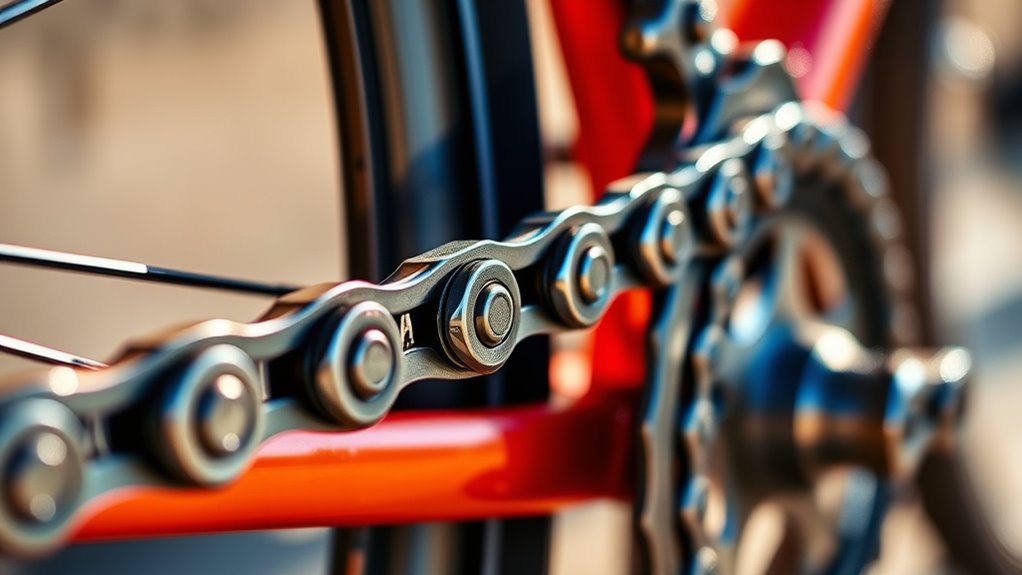
Have you ever wondered why your bike’s performance feels off? One common culprit is improper chain tension. When the chain is either too loose or too tight, it can cause a range of issues, from slipping gears to excessive wear on drivetrain components. To keep your ride smooth and efficient, understanding how to check and adjust chain slack is essential. The key lies in proper tension adjustment, which ensures your chain moves freely without causing unnecessary strain on your bike’s parts.
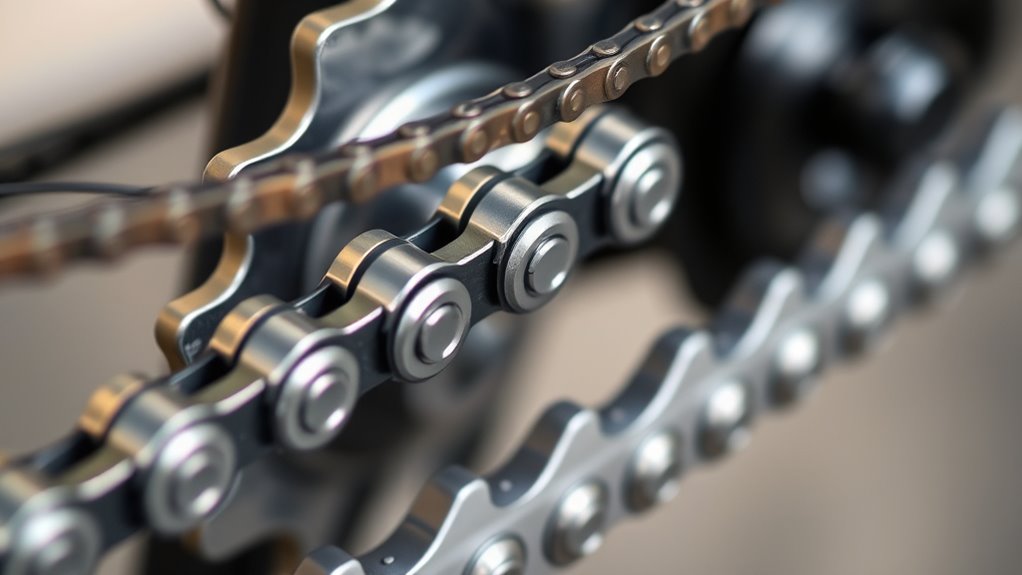
Start by inspecting the chain slack. You want just enough play to allow smooth movement without any sagging or excessive looseness. To do this, shift your bike into the smallest chainring and smallest gear at the rear. Then, lift the chain away from the sprocket or cassette and observe how much it moves. There should be a small amount of give—typically about half an inch to an inch of movement, depending on your bike’s design. If the chain feels too loose, it can slip off, cause noise, or lead to premature wear on the chain and gears. On the other hand, if it’s too tight, it can put unnecessary strain on the chainring, cassette, and derailleur.
Tension adjustment is your next step. Locate the rear axle or the derailleur’s tension screw, depending on your bike’s setup. For bikes with quick-release axles, you’ll need to loosen the nuts slightly, then pull the wheel backward or forward to tighten or loosen the chain. For bikes with thru-axles, you’ll need to loosen the axle, adjust the wheel’s position to achieve the correct chain slack, and then tighten it back up. If your bike has a derailleur with a tension screw, adjust it so the derailleur maintains proper chain tension when shifting gears. Always double-check your work by spinning the pedals and ensuring the chain moves smoothly without excessive slack or tightness. Additionally, maintaining correct chain tension can help extend the lifespan of your drivetrain components and improve overall riding performance.
Frequently Asked Questions
How Often Should I Check My Chain Tension?
You should check your chain tension every few rides or weekly, especially if you ride frequently or on rough terrain. Regular checks ensure proper chain lubrication and smooth gear shifting. Keep an eye on slack, which should be just enough to allow a slight movement without sagging. Proper tension prevents premature wear, keeps your bike running smoothly, and makes gear shifting effortless. Always recheck after cleaning or lubrication.
Can Improper Tension Cause Bike Chain Derailment?
Improper tension can definitely cause your bike chain to derail, leading to chain wear and sprocket damage. When the chain’s too loose, it slips off; too tight, and it strains components. Think of it like a tightrope—if it’s not just right, you’ll wobble. Regularly check and adjust your chain tension to prevent derailments, reduce wear, and protect your sprockets from unnecessary damage. Proper tension keeps your ride smooth and safe.
What Tools Are Best for Measuring Chain Tension?
You should use a tension gauge to measure your bike chain tension accurately. This tool helps identify chain wear and guarantees proper tightness, preventing derailments. To use it, position the gauge at the midpoint of the chain and check the tension reading. If the chain is too loose or tight, adjust accordingly. Regularly using a tension gauge keeps your chain in peak condition, extending its lifespan and maintaining smooth riding.
Does Chain Tension Affect Bike Riding Performance?
Like a knight tuning his sword, you’ll notice chain tension directly impacts your ride. Too much chain slack causes slipping, while overly tight tension hampers smooth pedaling. Proper tension adjustment guarantees your bike shifts seamlessly and maintains power transfer. When you keep the chain just right, you’ll experience better efficiency, control, and comfort on every ride. So, regularly check and adjust your chain tension for top performance and a smoother biking adventure.
How Do I Adjust Chain Tension on Different Bike Types?
To modify chain tension on different bike types, start by checking the chain slack—there should be a slight give but not too loose. For tension adjustment, locate the derailleur or tensioners, then loosen the axle or bolt, move the wheel or derailleur to tighten or loosen the chain, and secure everything firmly. Always recheck the chain slack after adjustment to ensure smooth shifting and safe riding.
Conclusion
So, there you have it—perfect chain tension is obviously the secret to eternal biking glory. Just a little too tight, and you’ll hear your bike groan like it’s in agony; too loose, and you’ll be dodging chain drops like it’s a game. But don’t worry, with a little finesse and maybe a prayer or two, you’ll master the art. Now go forth, tighten or loosen with confidence, and pretend you’re a mechanical genius—because you totally are.