To make DIY firewood crib ends that stay straight, use durable materials like pressure-treated lumber or cedar, and guarantee precise cuts for a snug fit. Secure all joints tightly with galvanized screws or bolts, and add metal corner brackets for extra strength. Reinforce corners with diagonal braces and regularly check for wobbling or leaning. Weatherproof the wood to protect against the elements, and these tips will help you build a stable, long-lasting firewood storage solution—more details ahead.
Key Takeaways
- Use pressure-treated or cedar wood for durability and weather resistance.
- Ensure precise cuts and tight connections with galvanized screws and metal brackets.
- Reinforce corners with diagonal braces to maintain straightness and stability.
- Regularly inspect and tighten joints or add bracing when signs of leaning appear.
- Seal or paint the wood to protect against moisture and extend the structure’s lifespan.

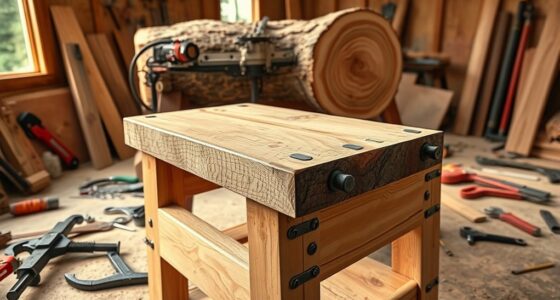
Building your own firewood crib ends is a practical way to organize and store your firewood efficiently. When you focus on creating sturdy crib ends, you set the foundation for a neat, accessible firewood stack that lasts through the seasons. The key to successful firewood stacking lies in the crib end design—these ends keep your stacks upright and aligned, preventing the pile from collapsing or leaning over time.
Building sturdy crib ends ensures your firewood stays organized, upright, and well-maintained for seasons to come.
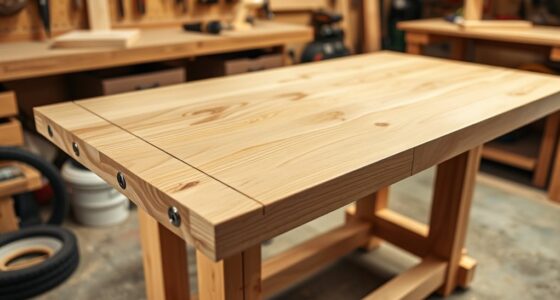
To guarantee your crib ends stay straight, start with solid, well-measured framing. Use durable materials like pressure-treated lumber or cedar, which resist rot and weather damage. Cut your vertical posts and horizontal supports precisely, so they fit snugly together, creating a stable rectangular structure. Proper spacing between the vertical posts is essential; aim for about 4 to 6 inches apart, depending on your firewood size. This spacing provides enough room for airflow while keeping the stack contained.
When assembling your crib ends, pay close attention to the joinery. Use strong fasteners like galvanized screws or bolts, and consider adding metal corner brackets for extra stability. Secure each connection tightly to prevent any wobbling or shifting over time. Remember, the crib end design should promote rigidity, so avoid using flimsy materials or weak joints. Reinforcing the corners with diagonal braces can also help maintain straightness, especially if your firewood pile gets tall or heavy. Additionally, ensuring the structural integrity of your crib ends is crucial for long-term durability. Using weatherproofing techniques, such as sealing or painting, can further protect the wood from environmental damage and extend the life of your structure. Incorporating these measures enhances the overall stability of your stack, making it more resilient to weather conditions. Moreover, ensuring proper air circulation will help your firewood dry effectively and stay free from mold.
Stack your firewood in a way that promotes stability and air circulation, which is crucial for seasoning and preventing mold. Keep the logs tight but not overly compressed, and alternate the direction of each row. As you add more wood, periodically check the crib ends for any signs of leaning or unevenness. If you notice movement, reinforce the joints or add additional bracing immediately.
Finally, consider weatherproofing your crib ends by painting or sealing the wood, especially if they’re exposed to rain or snow. This extra step extends the lifespan of your structure and maintains its straight, neat appearance. Paying attention to the crib end design and practicing proper firewood stacking techniques will help you create a reliable, long-lasting storage solution that keeps your firewood organized and accessible while standing straight for years to come.
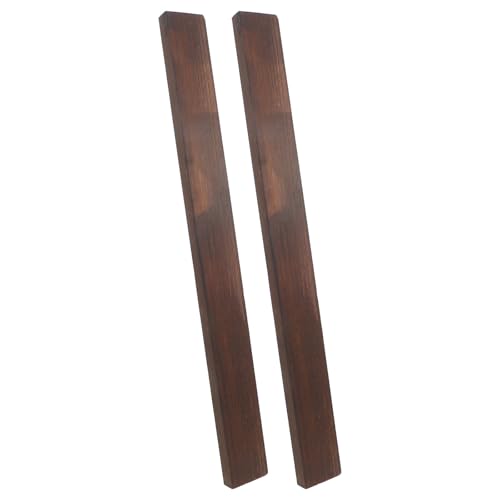
COLLBATH 2pcs Outdoor Pressure Treated Wood Plank Set, 19.7×1.9×0.75in Craft Wood Boards for Carving, Construction, and Decor Projects, Water Resistant
Easy Construction: These treated wood planks for garden integrate smoothly as base material for furring strips wood, allowing…
As an affiliate, we earn on qualifying purchases.
As an affiliate, we earn on qualifying purchases.
Frequently Asked Questions
What Types of Wood Are Best for Crib Ends?
You should choose hardwoods like oak, maple, or cedar for your crib ends, as they have tight, attractive wood grain patterns that stay straight and resist warping. These woods respond well to finish sealing, which enhances durability and appearance. Avoid softer woods that may bend or crack over time. By selecting the right wood, you’ll guarantee your crib ends remain straight, sturdy, and visually appealing for years to come.
How Long Does It Take to Build Stable Crib Ends?
Building stable crib ends takes about a weekend, giving you enough time to work through the wood grain challenges and guarantee everything’s straight. As you sand and assemble, you’ll see the wood’s natural patterns come to life, guiding your craft. With patience, your construction timeline stretches into a satisfying project where each piece fits perfectly, resulting in sturdy, visually appealing crib ends that stay straight for years to come.
Can DIY Crib Ends Be Painted or Stained?
Yes, you can paint or stain DIY crib ends to match your style. Use vintage paint for a rustic, aged look, or apply a wood stain to enhance the natural grain. Make sure to sand the surface smoothly before applying paint or stain, and allow ample drying time. This way, your crib ends will not only stay straight but also look great, adding charm to your firewood storage.
What Safety Precautions Should I Follow During Construction?
You should always wear safety gear like goggles, gloves, and a dust mask to protect yourself during construction. Prioritize tool safety by reading instructions carefully and using the right tools for each task. Keep your workspace tidy to prevent accidents, and stay alert to avoid mishaps. Remember, safety should always come first—taking these precautions helps you build with confidence and minimizes the risk of injury.
How Do I Repair Wobbling or Leaning Crib Ends?
Don’t let a wobbling crib end threaten your safety—take action now. First, identify loose or damaged parts, then tighten or replace them. Use proper wood joint techniques like dowels or corner blocks for added stability. For leaning ends, reinforce with sturdy bracing or additional support beams, ensuring they’re securely attached. This approach restores your crib’s strength, making it safe and reliable again, so your firewood stays organized and secure.
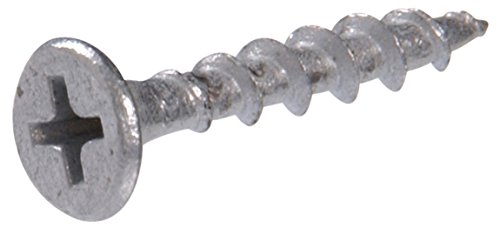
Hillman 47686 Galvanized Deck Screws, #6 x 1-1/4 Inch Phillips Drive, Corrosion Resistant Outdoor Wood Screws for Pressure Treated Lumber, ACQ CA CCA Compatible, 260 Pack
Corrosion Protection For Outdoor Use: Galvanized finish for excellent rust resistance, reliable fastening for decks, fences, outdoor furniture,…
As an affiliate, we earn on qualifying purchases.
As an affiliate, we earn on qualifying purchases.
Conclusion
With these DIY firewood crib ends, you’ve built more than just a sturdy structure—you’ve crafted a fortress for your firewood that’s as straight as an arrow. By following these simple steps, you turn a basic idea into a reliable solution that stands the test of time. Now, your firewood is organized and ready for cozy nights ahead. Think of your new crib as the backbone of your fireside comfort, strong and steady through every season.

18PCS Silver Metal Photo Frame Hardware Accessories L Shaped Angle Bracket Flat Plate Fastener Tapped Corners Gasket Picture Frame Hanging Hangers Hooks Spring Clips DIY Picture Framing Tools
Color:Silver;Material:Metal;Size:as photo shown;Package Including:1Set(18PCS)of each order;4PCS corners;4PCS Gaskets;8PCS spring clips and 2PCS hanging hooks
As an affiliate, we earn on qualifying purchases.
As an affiliate, we earn on qualifying purchases.
firewood crib end building kit
As an affiliate, we earn on qualifying purchases.
As an affiliate, we earn on qualifying purchases.