To create a DIY mobile tool rack for your log splitter accessories, start by carefully planning your design and selecting sturdy materials like steel or hardwood. Measure, cut, and assemble a strong base frame, adding storage compartments, hooks, and secure wheels for mobility. Attach everything securely, ensuring stability and safety. Finish with organization tips and maintenance ideas to keep your rack in top shape—keep going to discover detailed steps for a durable, practical setup.
Key Takeaways
- Plan the design with compartments, hooks, and color coding for easy tool organization and accessibility.
- Select durable, weather-resistant materials like galvanized steel or hardwood for a sturdy, long-lasting rack.
- Assemble the frame securely using welding or heavy-duty fasteners, reinforcing joints for stability.
- Attach high-quality, appropriate wheels for mobility, ensuring balanced placement for smooth movement.
- Incorporate safety features and organize tools with hooks or compartments, regularly maintaining for durability and functionality.

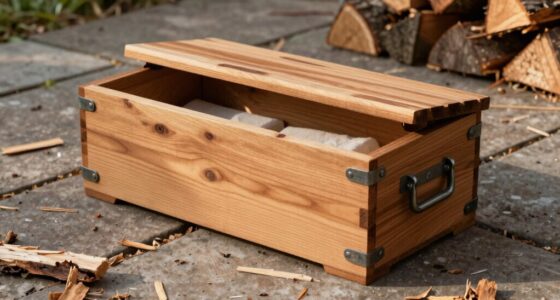
Frienda 2 Pack Log Catcher for Splitter Heavy Duty Metal Log Rack Catcher Splitter Part Accessories Tool, 11" Hole Center Distance
- Material: Heavy-duty steel construction
- Compatibility: Fits 22-37 ton log splitters
- Ease of Use: Quick, secure installation
As an affiliate, we earn on qualifying purchases.
As an affiliate, we earn on qualifying purchases.
Planning Your Design and Gathering Materials
Before you begin building your mobile tool rack, it’s important to plan your design carefully and gather all the necessary materials. Start by considering color options that match your workspace or personal style, which can make your rack more visually appealing. Think about ergonomic considerations too, such as height and accessibility, ensuring you can easily reach tools without strain. Sketch out your design, noting the dimensions and features you want, like storage compartments or hooks. Make a list of materials, including sturdy frames, casters, and fasteners. By planning thoroughly, you’ll save time during construction and create a functional, attractive rack tailored to your needs. Proper preparation guarantees your project runs smoothly and results in a durable, ergonomic tool storage solution. Additionally, selecting high-quality casters can improve mobility and stability for your rack over time. Incorporating safety features into your design, such as secure fastening and balanced weight distribution, can further enhance durability and user safety. Considering storage organization can also help maximize space and keep your tools easily accessible and well-arranged. Paying attention to material durability will ensure your rack withstands the demands of outdoor or workshop environments, and researching latest design trends can inspire innovative features for your project.
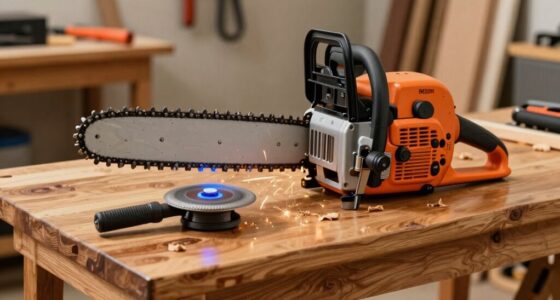
Measuring and Cutting the Base Frame
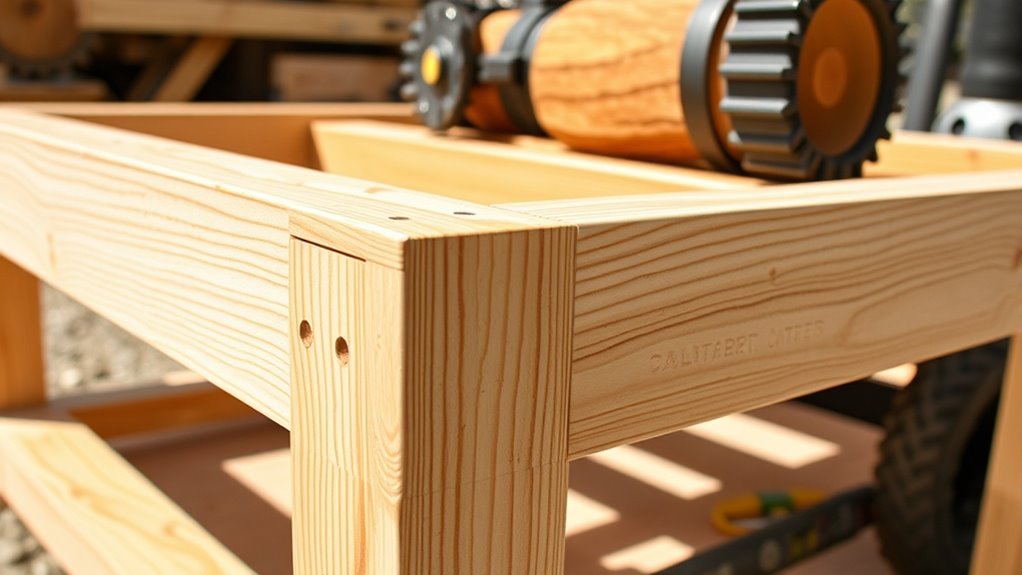
To start measuring and cutting the base frame, gather your tools—such as a tape measure, square, and saw—and determine the dimensions you planned earlier. Accuracy is key, so double-check your measurements before cutting. Use safety precautions like wearing goggles and gloves to protect yourself. Consider color options for your frame to match your workspace or personal style. When marking cuts, ensure lines are straight and clear for precise cuts. Keep your workspace organized to avoid accidents. Remember, proper measuring and safety precautions prevent mistakes and injuries. Additionally, understanding sound vibrations can enhance your awareness of how different materials and techniques impact the effectiveness of your DIY project. Recognizing how Glycolic Acid Benefits for Skin can relate to material choices might help in selecting surfaces that are more compatible with certain treatments or finishes. Being mindful of material properties can assist in choosing the right components for durability and safety. Proper understanding of paint viscosity and how it affects spray application can also contribute to a more professional finish on your project. Here’s an example of how your planning might translate:
| Dimension | Color Options |
|---|---|
| Length | Bright red, blue |
| Width | Matte black, gray |
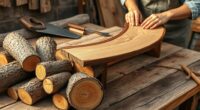
Assembling the Frame for Durability
To guarantee your tool rack lasts, choose strong, durable materials like steel or hardwood. Next, reinforce the joints with additional fasteners or brackets to prevent wobbling. Additionally, using proper fastening techniques, such as tight screws and secure welds, will help keep the frame solid and reliable. Incorporating quality materials ensures long-term durability and resistance to wear. Remember that selecting materials with good structural integrity is essential for maintaining the rack’s stability over time. Incorporating AI-driven quality control methods can further enhance the durability by detecting potential weaknesses during manufacturing. Furthermore, considering appropriate weight capacity will ensure the rack can safely hold log splitter accessories without risk of failure. Selecting materials with proven durability can also prolong the lifespan of your rack and minimize maintenance needs.
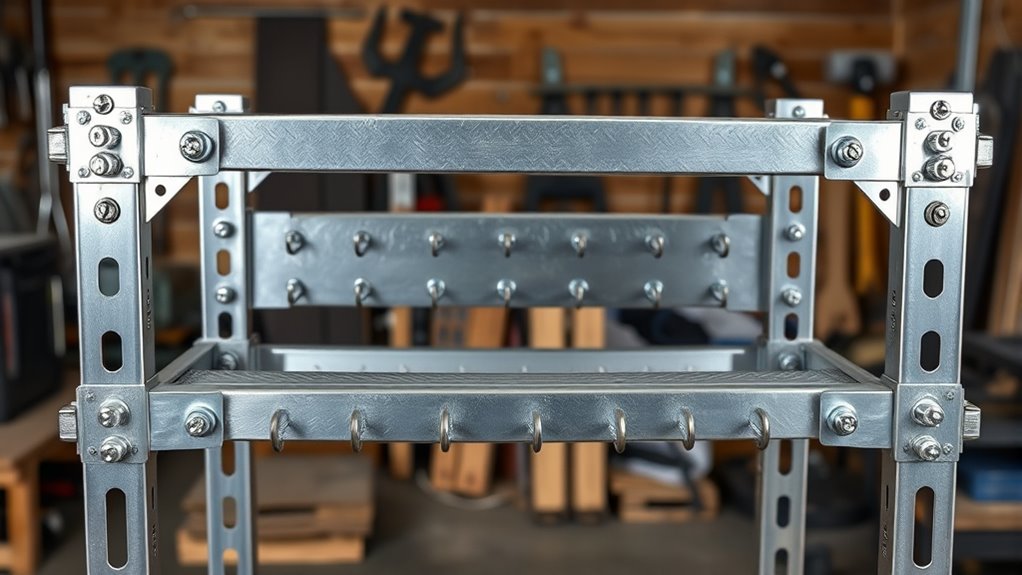
Selecting Strong Materials
Choosing the right materials is essential for building a durable mobile tool rack. You want materials with high metal strength to support the weight of log splitter accessories without bending or breaking. Steel is an excellent choice because of its exceptional material durability and ability to withstand heavy use and environmental exposure. Avoid softer metals or flimsy materials that may warp or weaken over time. When selecting metal, look for thick, sturdy gauge steel or heavy-duty aluminum, which offers a good balance of strength and weight. Using high-quality materials guarantees your rack remains stable and reliable, even when fully loaded. Additionally, selecting materials with corrosion resistance ensures longevity and maintains structural integrity in outdoor or humid environments. Investing in materials with weatherproofing properties can further extend the lifespan of your rack in challenging conditions. Considering material treatments such as galvanization or powder coating can also enhance durability and resistance to corrosion over time. Incorporating structural reinforcements during assembly can improve overall stability and load-bearing capacity of the rack. Implementing maintenance practices helps preserve the integrity of the materials and prolongs the rack’s usability over time.
Reinforcing Frame Joints
Reinforcing frame joints guarantees your mobile tool rack can handle heavy loads without wobbling or coming apart. Use welding techniques to securely join the frame pieces, ensuring strong, durable connections. Proper welding creates seamless joints that resist stress and prevent movement over time. Once welded, consider applying a clean paint finishing to protect the joints from rust and corrosion, extending your rack’s lifespan. Smooth paint coverage also improves the overall look, giving your project a professional touch. Take your time to weld carefully and finish with a quality paint coat, as these steps markedly enhance the durability and stability of your rack. Reinforced joints ensure your log splitter accessories stay secure, supporting heavy tools without compromising mobility or safety. Additionally, understanding welding best practices can help you implement best practices for durable and effective welds, further boosting your project’s longevity.
Proper Fastening Techniques
Proper fastening techniques are essential for ensuring your mobile tool rack remains sturdy and durable during use. Start by carefully selecting the right clamp placement to hold components securely without causing damage. When tightening screws, apply consistent screw torque to avoid over-tightening, which can weaken joints or strip threads. Use a torque wrench if possible to achieve uniform pressure, ensuring each fastener is snug but not overly tight. Proper clamp placement helps keep parts aligned during assembly, preventing misfits that could compromise stability. Take your time to tighten each screw gradually in a crisscross pattern, especially when attaching frame supports. This method distributes pressure evenly, resulting in a solid, durable frame that can withstand regular use.
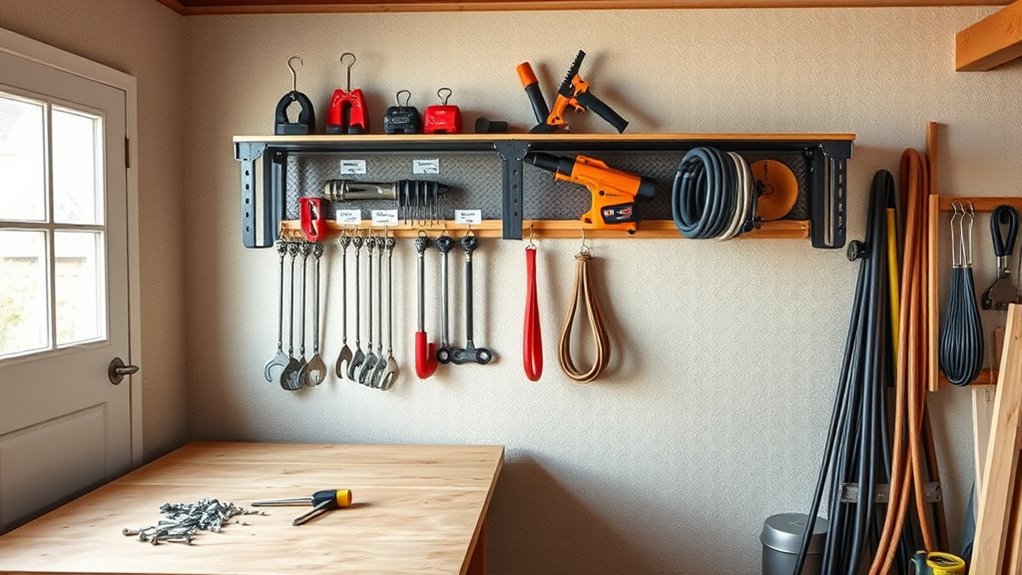
Adding Storage Compartments and Hooks

Adding storage compartments and hooks is an effective way to maximize your mobile tool rack’s functionality. You can customize these features to fit your specific needs, such as attaching hooks for shovels, axes, or other log splitter accessories. Incorporate decorative accents like painted borders or themed color schemes to make your rack visually appealing. Using different colors for compartments helps organize tools by type or frequency of use, keeping everything within easy reach. Sturdy, well-placed hooks ensure tools stay secure during transport. This not only boosts efficiency but also adds personality to your DIY project. With thoughtful placement and design, your storage compartments and hooks will enhance both the practicality and aesthetic of your mobile tool rack.
Attaching Wheels for Mobility
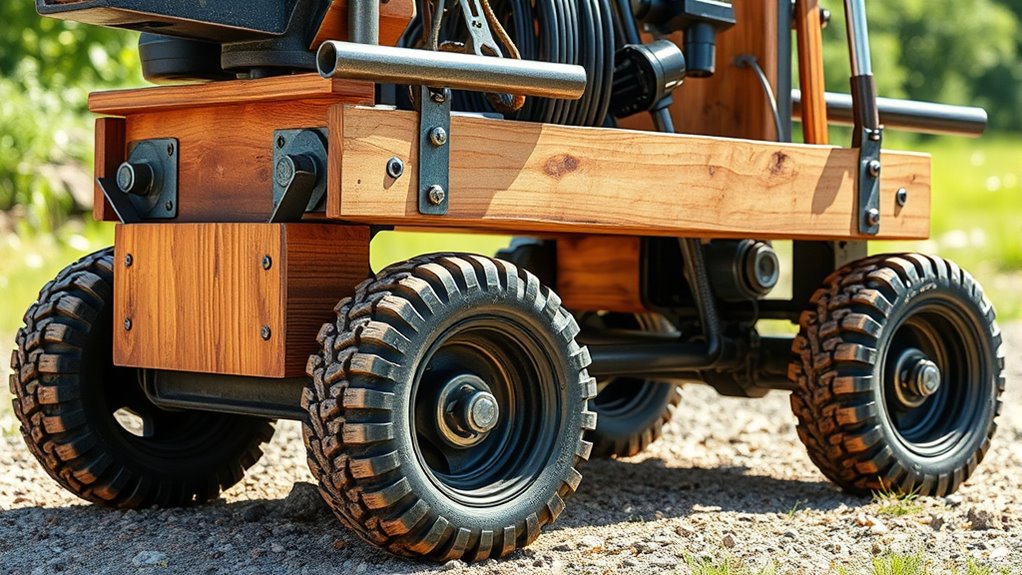
Attaching wheels to your mobile tool rack is a straightforward way to enhance its portability, allowing you to move it easily around your workspace or job site. Choose wheel types based on terrain—rubber wheels for smooth surfaces, pneumatic for rough ground, or swivel wheels for easy maneuvering. Proper axle placement is essential; position the axles near the center of the rack’s base for balanced weight distribution and smooth movement. To visualize, consider this table:
| Wheel Type | Best Use | Advantages |
|---|---|---|
| Rubber | Indoor, smooth surfaces | Quiet, gentle on floors |
| Pneumatic | Outdoors, uneven terrain | Shock absorption, durability |
| Swivel | Tight spaces | Easy turning, maneuverability |
| Fixed | Straight movement | Stability, straightforward travel |
| Heavy-duty | Heavy loads | Strength, longevity |
Select the right wheels and axle placement to maximize mobility and stability.
Securing the Rack to Your Log Splitter

Have you considered how to securely attach your mobile tool rack to your log splitter? Ensuring a firm connection is essential for safety precautions and stability during use. Use appropriate brackets, clamps, or bolts designed for outdoor equipment, and double-check their strength. Avoid makeshift solutions that could loosen or detach under pressure. While securing the rack, also think about aesthetic considerations—choose hardware that blends well with your log splitter’s finish or color for a neat appearance. Proper attachment not only keeps your tools accessible but also prevents accidents caused by shifting or falling racks. Regularly inspect the fasteners and mounting points to maintain safety and functionality. A well-secured rack enhances safety and keeps your workspace organized.
Final Touches and Maintenance Tips

Once your tool rack is securely mounted, paying attention to final touches and routine maintenance will keep it functioning smoothly. Start by choosing a color selection that makes your tools easy to identify and adds a personal touch. Bright or contrasting colors can improve visibility and help prevent misplacing items. Regularly check tool organization to ensure everything stays in its designated spot, making your workflow more efficient. Clean the rack and tools periodically to prevent rust and debris buildup. Tighten any loose bolts and inspect for damage or wear. These simple maintenance tips will extend the life of your rack and keep your accessories accessible and organized, so your log splitting sessions stay safe and productive.
Frequently Asked Questions
What Safety Precautions Should I Consider During Construction?
When constructing your DIY mobile tool rack, prioritize safety by wearing personal protective equipment like gloves, goggles, and sturdy clothing. Keep your workspace tidy to prevent accidents and ensure good ventilation. Always use the right tools for the job and follow manufacturer instructions carefully. Stay alert, avoid distractions, and double-check your work for stability. By focusing on workspace safety and PPE, you minimize risks and create a safe, efficient project environment.
Can I Customize the Rack for Different Log Splitter Models?
Think of your rack as a tailored suit—perfectly fitting your log splitter. Yes, you can customize it for different models using a modular design, allowing easy adjustments. I once built a rack that adapted to various splitter sizes, making my workspace more efficient. By designing with flexibility in mind, you guarantee a custom fit for each log splitter, streamlining your access and organization.
What Materials Are Best for Outdoor Durability?
For outdoor durability, you want weatherproof coatings and rust-resistant metals. These materials protect your rack from rain, snow, and sun damage, ensuring it lasts longer. Use galvanized steel or aluminum, which resist rust naturally, and apply weatherproof paints or coatings for extra protection. This way, your tool rack stays sturdy and functional, even in harsh outdoor conditions, making it a reliable storage solution for your log splitter accessories.
How Do I Prevent Rust and Corrosion Over Time?
Your outdoor tools are basically superheroes, but even they can fall victim to rust and corrosion if you’re not careful. To prevent this, apply a quality rust prevention spray or paint regularly, especially after exposure to moisture. Use corrosion-resistant materials like galvanized steel or aluminum, and keep your tools dry and clean. A little maintenance now saves you from a disaster later — protect your gear from the elements!
Is It Possible to Add Electrical or Lighting Features?
Yes, you can add electrical wiring and lighting fixtures to your rack. First, plan where to install the wiring and choose weatherproof electrical components. Use outdoor-rated wiring and fixtures to withstand the elements. Secure wiring properly to prevent damage, and consider adding a switch or power source nearby. This way, you’ll improve visibility and convenience, making your log splitter accessories easier to access even in low light conditions.
Conclusion
With your mobile tool rack ready, imagine effortlessly gliding across your yard, tools neatly organized and within arm’s reach. The sturdy frame, vibrant hooks, and smooth wheels come together to create a seamless workstation that enhances your log-splitting days. As sunlight dances on freshly painted surfaces and tools settle into their designated spots, you’ll feel the satisfaction of a job well done—ready for any challenge that comes your way.