
To DIY a stove board heat shield, start by measuring your stove and space accurately. Choose heat-resistant materials like metal or ceramic for safety and durability. Cut and shape your components carefully, then assemble the shield with high-temperature fasteners. Secure it firmly in place, ensuring proper clearance and ventilation. Finish with fire-resistant paint or tiles for added protection. For detailed steps, you’ll find helpful tips if you continue exploring how to build and install your shield effectively.
Key Takeaways
- Measure stove dimensions and clearance space accurately before selecting heat-resistant materials.
- Choose non-flammable, high-temperature resistant materials like metal or ceramic for safety.
- Cut and shape the heat shield components precisely, ensuring a snug fit and smooth edges.
- Secure the shield firmly with heat-safe fasteners and ensure proper ventilation around the stove.
- Perform safety checks during installation and initial use to confirm stability and compliance with safety standards.

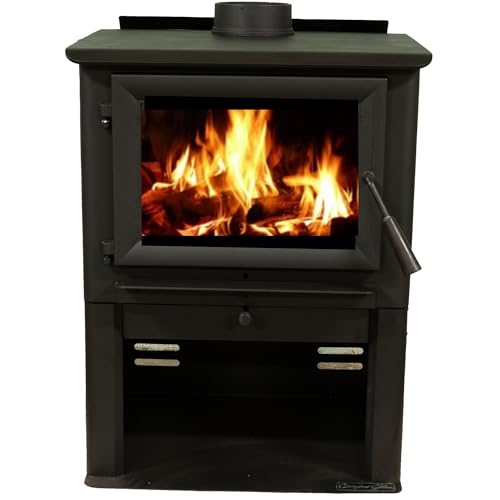
Pleasant Hearth 1,200 Sq. Ft. Small Wood Burning Stove with legs
2021 EPA Certified; 17" Log Capacity; Made in the USA;
As an affiliate, we earn on qualifying purchases.
Gathering Materials and Tools

Before you begin building your DIY stove board heat shield, it’s important to gather all the necessary materials and tools. Start with careful material selection, choosing heat-resistant boards like ceramic or metal that can withstand high temperatures safely. Safety considerations should guide your choices; avoid flammable or low-quality materials that could pose hazards. You’ll need basic tools such as a measuring tape, saw, drill, and screws. Having these ready guarantees a smooth process. Double-check your workspace for safety gear like gloves and goggles to protect yourself during construction. Taking the time to gather the right materials and tools upfront helps prevent setbacks and ensures your heat shield is effective and safe to use. Proper preparation is key to a successful DIY project.

Ashley Hearth AW1820E 1,200 Sq. Ft. Wood Stove Insert , Black
69,000 BTUs heats up to 1,200 Sq. Ft
As an affiliate, we earn on qualifying purchases.
Measuring Your Stove and Space

Start by measuring your stove’s width, depth, and height to guarantee your heat shield fits properly. Next, check the clearance space around the stove to keep it safe and functional. Additionally, consider the automation in business to understand how technological changes might impact safety standards and regulations in your area. Being aware of regulatory compliance requirements can help ensure your installation remains legal and safe. Finally, record the distance from the stove to nearby walls or surfaces for accurate planning. Ensuring compliance with size restrictions is essential for safe installation and legal approval.
Measure Stove Dimensions
To accurately measure your stove and surrounding space, you need to gather precise dimensions of both the stove itself and the area where you’ll install the heat shield. Measure the width, depth, and height of your stove, noting any protrusions or handles. This ensures the shield fits properly without obstructing vents or controls. Additionally, record the space around the stove, paying attention to clearance zones that impact safety and aesthetics. Precise measurements help you create a heat shield that enhances your stove’s aesthetic design while maintaining ideal fuel efficiency. Avoid guesswork, and double-check your measurements for accuracy. A well-measured setup ensures your DIY project is both functional and visually appealing, providing effective heat protection without sacrificing style or efficiency. Incorporating accurate measurements in your planning can also help ensure your kitchen setup remains safe and efficient while you work. Considering safety clearances during measurement can prevent potential hazards and ensure proper airflow around the stove. Properly measuring for clearance zones can optimize both safety and performance of your heat shield.
Assess Clearance Space
Have you thoroughly evaluated the space around your stove to guarantee the heat shield fits properly? Start by measuring the available clearance space, paying attention to ventilation considerations. Adequate airflow is essential to prevent overheating and ensure safety. Consider how much room you need for proper ventilation and whether the heat shield will obstruct any vents or air pathways. Additionally, think about aesthetic customization—choose a size and style that complements your kitchen decor without crowding the area. Double-check measurements, including height, width, and depth, to avoid surprises during installation. Proper assessment assures your DIY stove board heat shield provides effective protection while maintaining good airflow and visual harmony in your space. Remember that environmental interactions can influence how well your heat shield performs over time. Furthermore, understanding clearance space helps you optimize both safety and functionality in your kitchen setup. Ensuring proper airflow not only prolongs the lifespan of your appliances but also contributes to energy efficiency. Being aware of ventilation requirements can help you adapt your setup for optimal performance. It’s also helpful to consider local building codes to ensure compliance with safety standards.
Record Wall Distance
Before installing your heat shield, it’s important to accurately measure the distance between your stove and the surrounding walls. This step is essential for maintaining fire safety and reducing heat transfer to nearby surfaces. Use a tape measure to record the shortest distance from the stove’s edge to each wall or combustible surface. Double-check your measurements to guarantee accuracy, as even small gaps can affect heat transfer and safety. Keep a record of these measurements for reference during installation. Properly documenting wall distances helps you determine the appropriate size and placement of your heat shield, ensuring it provides effective protection while preventing overheating or fire hazards. Accurate measurements are key to creating a safe, efficient stove setup. Additionally, understanding heat transfer principles can help optimize your heat shield’s effectiveness and safety. Incorporating space assessment practices can further enhance the overall safety and functionality of your heating setup.
Comfort Glow Wood Burning Stove, Heats Up to 2,500 Sq Ft, 21" Logs, Plate Steel & Cast Iron, Large Glass Window, FireBrick Lined, USA-Approved for Mobile Homes
HIGH HEAT OUTPUT: Efficiently heats up to 2,500 sq ft; ideal wood burning stove for indoor use.
As an affiliate, we earn on qualifying purchases.
Choosing the Right Heat-Resistant Materials

When selecting materials for your heat shield, you need to guarantee they’re compatible with your stove and safe to use. Check the heat resistance ratings to confirm the material can withstand high temperatures without degrading. Choosing the right material helps keep your setup safe and effective. Additionally, ensure that the material has a high SEER rating to maximize efficiency and durability over time. Considering the contrast ratio of the material can also influence how well it reflects heat and maintains its integrity under extreme conditions. Staying informed about AI vulnerabilities can help you choose safer, more reliable materials that resist heat and environmental stress. Furthermore, opting for materials with proven thermal stability can ensure consistent performance and longevity in high-temperature environments. Evaluating the Kia Tuning options can also offer insights into selecting heat shields suited for high-performance applications.
Material Compatibility and Safety
Choosing the right heat-resistant materials is vital to guarantee your stove board heat shield functions safely and effectively. You need to consider flammability concerns to prevent fire hazards; materials should be non-flammable or have low flammability. Electrical compatibility is also essential, especially if the shield is near wiring or electrical components—select materials that won’t cause shorts or sparks. Avoid using plastics or materials not rated for high temperatures, as they can degrade or ignite. Metal or ceramic options are usually safer choices due to their stability and heat resistance. Always check manufacturer recommendations and safety data sheets to ensure the material’s suitability for your specific application. Proper material selection ensures your heat shield offers reliable protection without risking fire or electrical issues. Additionally, understanding the importance of indoor air quality can help you make safer choices regarding materials and placement to prevent potential hazards. Using materials that emit harmful fumes when heated can compromise air quality and pose health risks. Considering AI advancements in material science can lead to safer and more efficient heat-resistant options tailored for your needs.
Heat Resistance Ratings
How can you guarantee your heat shield withstands high temperatures without failing? Understanding heat resistance ratings helps. Materials with high ratings can handle intense heat, especially near stoves. Fireproof coatings add an extra layer of protection, preventing fires. Thermal insulation minimizes heat transfer, keeping surrounding areas safe. When selecting materials, check their temperature thresholds carefully.
| Material Type | Max Temperature Rating |
|---|---|
| Fireproof Coatings | Up to 2000°F |
| Thermal Insulation | Up to 1800°F |
| Common Materials | 500°F – 1200°F |
Choosing the right combination ensures your stove board heat shield remains durable and safe, even under extreme heat conditions. Always verify ratings to match your specific stove’s heat output.

DURAVENT 6" DURAPLUS Through The Wall KIT
6 In. inner diameter
As an affiliate, we earn on qualifying purchases.
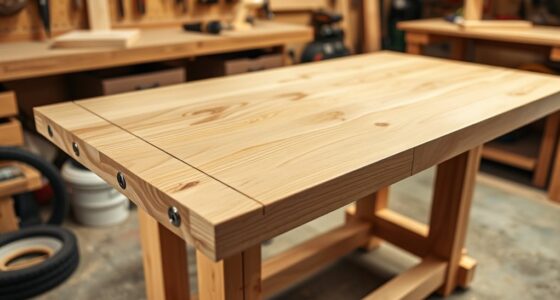
Cutting and Shaping the Shield Components

Before you start cutting and shaping the shield components, make sure you have all the necessary tools and measurements ready. Use a ruler or measuring tape to mark precise dimensions on your material. When cutting, apply proper cutting techniques such as scoring with a utility knife for thinner sheets or using a jigsaw for thicker pieces. Keep your blades sharp to ensure clean, accurate cuts. For shaping methods, gently bend or trim edges to fit around obstacles or contours, using files or sandpaper to smooth rough edges. Be patient and precise to avoid mistakes that could compromise your heat shield’s effectiveness. Proper preparation and careful execution of cutting techniques and shaping methods will help you create a shield that fits perfectly and performs reliably.
Assembling the Heat Shield Structure

Once you’ve cut and shaped your shield components, it’s time to assemble the heat shield structure. Start by aligning the pieces carefully, making sure they fit snugly to maintain fire safety standards. Use high-temperature resistant fasteners or brackets to join the parts securely, preventing any movement that could compromise safety. As you assemble, consider the aesthetic design—aim for a clean, professional look by hiding fasteners when possible or matching colors. Keep the structure stable and level, which not only enhances appearance but also ensures consistent protection. Double-check all connections for tightness, as loose parts could pose fire safety risks. This step lays the foundation for a functional, attractive stove board heat shield that safeguards your kitchen and complements your decor.
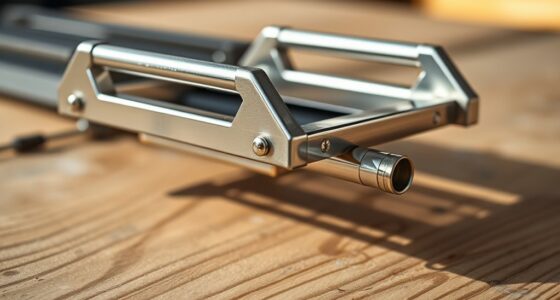
Securing and Mounting the Shield Safely

To guarantee your heat shield stays securely in place and provides effective protection, carefully choose appropriate mounting methods and hardware. Use sturdy mounting brackets and safety fasteners designed for heat-resistant surfaces. Properly installed brackets distribute weight evenly, preventing shifting or falling. Select fasteners that match the material and thickness of your shield, ensuring they won’t loosen over time. For added security, consider using lock washers or nuts. Here’s a quick guide:
| Mounting Method | Hardware Needed | Benefits |
|---|---|---|
| Wall-mounted brackets | Heavy-duty brackets, safety fasteners | Secure attachment, easy access |
| Floor support | Anchors and bolts | Stability on surfaces |
| Corner mounting | Corner brackets, screws | Stability and reinforcement |
Choose the best method to keep your stove shield safe and effective.
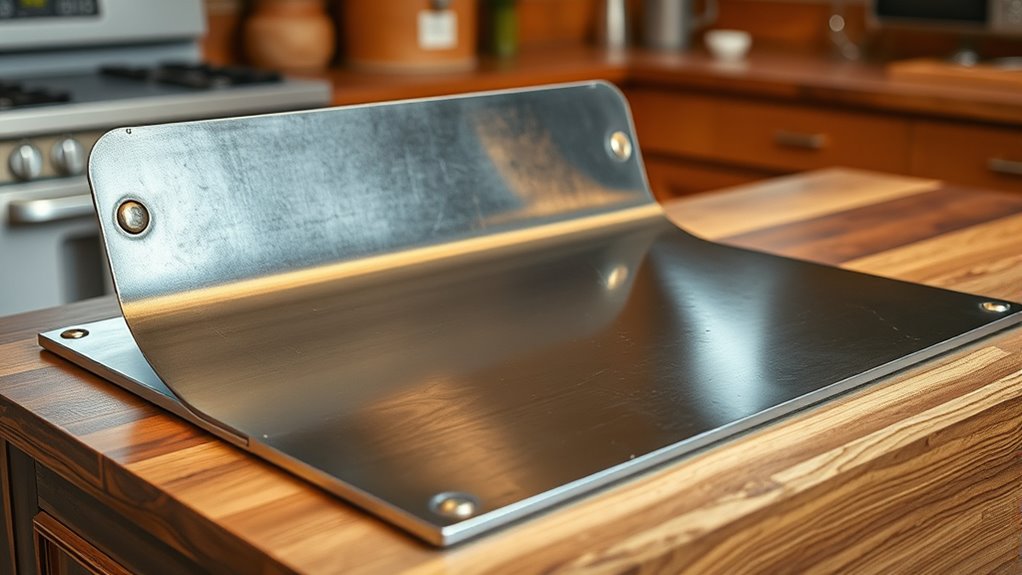
Adding Decorative and Protective Finishes

Adding decorative and protective finishes to your stove board not only enhances its appearance but also extends its lifespan. A key option is applying fire resistant paint, which helps shield the surface from heat damage and makes cleaning easier. For a more personalized look, consider decorative tiles—these can be arranged in patterns or colors that complement your kitchen style. Tiles also provide an extra layer of protection against heat and spills. When choosing finishes, ensure they’re suitable for high temperatures and labeled as heat-safe. Proper application is essential; follow manufacturer instructions carefully for the best results. With thoughtful finishing, your stove board becomes both a functional and attractive addition to your space.
Installing and Testing Your DIY Heat Shield

Before installing your DIY heat shield, double-check that it fits securely and aligns properly with your stove area. Make certain it doesn’t obstruct ventilation requirements, as proper airflow is essential for safety and efficiency. Once in place, test the shield by carefully turning on your stove and monitoring heat levels to confirm it effectively protects surrounding surfaces. Observe how the heat shield impacts the overall aesthetic; it should complement your space without looking out of place. Check for any signs of heat buildup or potential gaps that could compromise safety. Make adjustments if needed, ensuring a snug fit that maintains good ventilation. Proper installation and testing help prevent hazards while enhancing your stove area’s appearance and functionality.
Frequently Asked Questions
How Can I Ensure My Heat Shield Complies With Safety Regulations?
To guarantee your heat shield meets safety regulations, start by reviewing local building codes and fire safety tips. Follow the guidelines for material thickness, proper installation, and clearance from heat sources. Use fire-resistant materials and double-check that your setup complies with the manufacturer’s instructions. Regularly inspect your heat shield for damage or wear. Staying informed about safety standards helps prevent fire hazards and keeps your space safe.
What Are the Best Cleaning Methods for Maintaining the Shield’S Effectiveness?
You want to keep your heat shield effective, so regular cleaning routines are essential. Use a soft cloth or sponge with mild soap and water to gently wipe away dirt and grease. Avoid harsh chemicals that could damage the material. For maintenance tips, inspect the shield regularly for cracks or corrosion, and clean it promptly to prevent buildup. Consistent upkeep guarantees your heat shield remains safe and efficient over time.
Can I Customize the Shield’S Design to Match My Kitchen Decor?
You can definitely customize your stove board heat shield to match your kitchen decor. Consider adding decorative patterns or painting it in colors that coordinate with your cabinets and backsplash. Using heat-resistant paint or decals allows you to personalize the design without sacrificing safety. This way, you blend functionality with style, creating a cohesive look that enhances your kitchen’s overall aesthetic while keeping the shield effective.
How Do I Prevent the Shield From Warping Over Time?
Think of your heat shield as a sturdy ship sailing through busy waters. To prevent warping, choose a material with high durability, like tempered glass or metal, and guarantee proper installation techniques. Secure it firmly and leave some space for expansion. Regularly check for signs of wear, and avoid exposing it to direct heat or moisture. This way, your shield stays strong and reliable for years to come.
What Are Common Mistakes to Avoid During Installation?
When installing a stove board heat shield, avoid common installation pitfalls like rushing the process or neglecting proper clearance. Make certain you select heat-resistant, durable materials suited for high temperatures to prevent warping or damage. Double-check measurements before cutting, and secure the shield firmly. Don’t forget to follow manufacturer instructions precisely. By paying attention to material selection and installation details, you’ll prevent issues and ensure your heat shield performs effectively over time.
Conclusion
Now that you’ve built and installed your DIY stove board heat shield, you’re all set to enjoy safer, more efficient cooking. With proper materials and careful assembly, you’ve created a durable barrier that protects your space while enhancing your stove’s performance. Isn’t it satisfying to know you can customize your kitchen safety? Keep an eye on your shield over time, and enjoy peace of mind knowing you took control of your cooking environment.