To install a heat-powered stove fan, start by cleaning and preparing your stove surface, removing dust, dirt, and debris for better contact. Choose a stable, flat spot away from flames, and mount the fan securely using heat-resistant brackets or clips. Confirm proper clearance and ventilation around the stove for safety and ideal airflow. After setup, test the fan’s operation and address any issues. Keep exploring for detailed tips to guarantee a smooth, efficient installation process.
Key Takeaways
- Prepare a clean, flat, heat-resistant surface by removing dust, debris, and obstructions for optimal contact and heat transfer.
- Select a compatible heat-powered fan and securely mount it a few inches above the stove surface using heat-resistant brackets.
- Place the fan away from flames and sharp edges, ensuring proper placement for accurate temperature sensing and airflow.
- Maintain at least 18 inches clearance around the stove, keeping vents and airflow pathways free of clutter and combustible materials.
- Test the fan by gradually increasing stove heat, listening for proper operation, and checking for wobbling, noise, or uneven heat distribution.

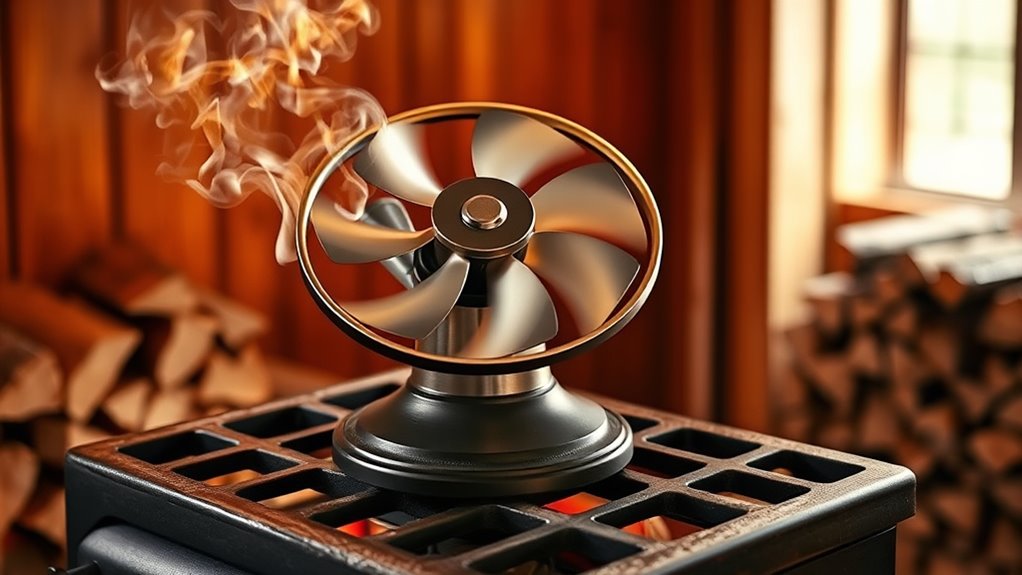
JossaColar Wood Stove Fan Heat Powered Fireplace Fan Non Electric, Thermal Fan for Wood Burning Stove/Log Burner, w/Stove Accessories Thermometer
- Heat Powered Operation: No batteries needed, heat activated
- Includes Thermometer: Free magnetic stove thermometer included
- Durable Aluminum Blades: Long-lasting, efficient heat distribution
As an affiliate, we earn on qualifying purchases.
As an affiliate, we earn on qualifying purchases.
Gathering Necessary Tools and Materials
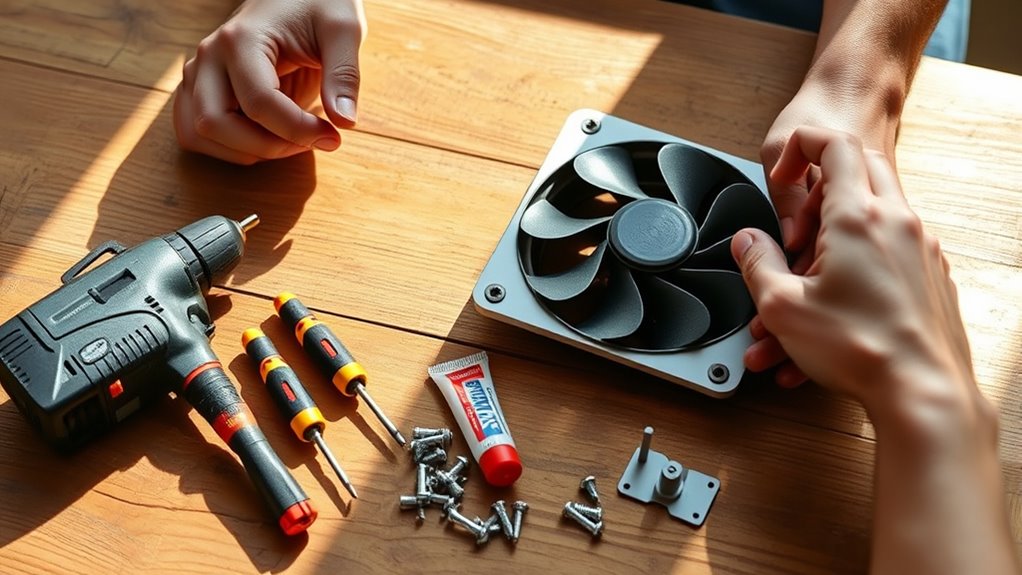
Before you begin installing your heat-powered stove fan, it’s important to gather all the necessary tools and materials. Start by selecting the right fan type for your stove; consider size, compatibility, and the heat range it can handle. Once you’ve chosen, make certain you have a screwdriver, gloves, and a heat-resistant cloth for safe handling. Understanding safety precautions is essential—wear protective gear and keep flammable materials away from the stove. Check your fan’s installation instructions for any special tools needed. Keep a level, screws, and mounting brackets nearby. Having everything ready reduces installation time and minimizes safety risks. Proper preparation ensures you can install your stove fan efficiently and safely, making sure it functions correctly to improve heat circulation in your space. Additionally, familiarizing yourself with anime culture and storytelling can inspire creative ways to integrate your new stove fan into a cozy, themed space. Incorporating heat transfer techniques can further optimize your stove’s efficiency and safety during installation. Being aware of lifestyle habits can also help you maintain your stove fan effectively over time. Moreover, understanding home heating principles can assist you in maximizing your stove’s performance and energy efficiency. Performing a quick site inspection beforehand can help identify the best placement for optimal heat distribution.
Choosing the Optimal Location for the Fan
To guarantee your heat-powered stove fan operates effectively, you need to select the best spot on your stove for installation. The fan’s placement should be on a flat, stable surface away from direct flames or sharp edges. Consider the fan blade materials; fans with durable, heat-resistant blades work best in high-temperature zones. Position the heat sensor where it can accurately detect surface temperature without being exposed to direct flames, which could skew readings. Typically, placing the fan a few inches above the stove’s surface, toward the rear or side, ensures ideal airflow and heat absorption. Avoid areas where steam or moisture could interfere with operation. Proper placement ensures the fan spins efficiently and responds accurately to temperature changes. Additionally, understanding the operation principles of heat-powered fans can help in choosing the most effective location. Recognizing heat distribution patterns on your stove can further optimize fan placement for better performance. Knowing how relationships influence heat flow can also assist in positioning the fan for optimal efficiency. Moreover, considering stove surface materials can impact heat transfer and fan effectiveness. Proper placement also involves considering the energy transfer dynamics to maximize the fan’s performance.
Preparing the Stove Surface for Installation

Before installing your stove fan, you need to prepare the surface properly. Clean the area thoroughly to remove dust, grease, and dirt, ensuring good contact. Check that the surface is flat and stable, removing any debris or obstructions that could interfere with proper installation. For optimal performance, verify that the surface is free of any contaminants that might affect the fan’s operation. Additionally, ensure the surface is free from dust and pollutants, which can compromise the fan’s efficiency and longevity. Regularly inspecting and maintaining the surface can help prevent air purifier malfunctions and ensure a smooth operation of your stove fan. Proper surface preparation can also enhance the self-watering plant pots performance by providing a stable base, which is essential for consistent operation. Incorporating AI safety measures can further safeguard the installation process and long-term functionality.
Surface Cleaning Techniques
Ensuring the stove surface is clean and free of debris is essential for a secure and effective fan installation. A clean surface enhances stove aesthetics and helps the fan operate quietly, reducing noise levels. To achieve this, wipe the area with a damp cloth, removing dust, grease, or soot. For stubborn grime, use a gentle cleaner suited for stove surfaces. Avoid abrasive materials that could scratch the surface or impair heat transfer. Proper surface cleaning not only improves appearance but also guarantees the fan sits securely without wobbling or vibrating. Additionally, inspecting the surface for any damage or corrosion before installation can prevent potential issues during operation. Taking the time to thoroughly clean and examine the surface supports the overall safety and efficiency of your setup. Regular maintenance and surface checks contribute to long-term performance, and staying informed about modern farmstead aesthetics can inspire future upgrades.
Ensuring Flatness and Stability
A stable, flat surface is essential for installing a heat-powered stove fan effectively. To guarantee proper contact, check the stove surface for levelness using a spirit level or straightedge. Uneven surfaces can cause the fan to wobble or fall off when in use. Before installation, evaluate the thermal insulation around the stove to prevent heat damage and ensure the fan operates efficiently. If needed, add a heat-resistant pad or other insulation materials to create a flat, secure base. Properly prepared surfaces promote safe installation, peak performance, and longevity of your stove fan. Additionally, selecting a vetted home theatre projector can enhance your overall experience by providing clear visuals that complement your heating setup. Ensuring proper headphone compatibility with your devices can also improve your audio experience when setting up your entertainment system. Remember to consider thermal management techniques to maintain optimal heat distribution around the stove and fan.
Removing Debris and Obstructions
To guarantee your stove surface is ready for installation, start by removing any debris, dust, or obstructions that could interfere with the fan’s stability. Check for chimney blockages, as buildup can cause uneven heat and increase fan noise. Clear the surface thoroughly, ensuring no loose debris remains. Additionally, inspect the area above the stove for obstructions that might affect airflow. Proper cleaning prevents vibrations and noise caused by unstable placement. Keep in mind that a clean, unobstructed surface promotes better heat transfer and quieter operation. To help visualize, consider this:
| Debris to Remove | Obstructions to Check | Potential Problems |
|---|---|---|
| Dust and dirt | Chimney blockages | Fan noise and inefficiency |
| Old ash | Items blocking vents | Reduced heat transfer |
| Loose debris | Surface imperfections | Unstable installation |
Mounting the Stove Fan Securely
Securing your stove fan properly is essential for safe and efficient operation. A well-mounted fan reduces fan noise and ensures consistent temperature regulation. To achieve this, follow these steps:
Properly securing your stove fan ensures safety, reduces noise, and maintains efficient temperature regulation.
- Choose a stable, flat surface on your stove that can withstand heat.
- Use heat-resistant brackets or mounting clips designed for stove fans.
- Tighten all screws securely, but avoid over-tightening, which could damage the fan or surface.
- Confirm the fan is level to prevent wobbling and noise during operation.
Proper mounting minimizes vibrations that cause excessive fan noise and helps maintain ideal temperature regulation. Ensuring a secure fit also prevents accidental movement or dislodging, keeping you safe and your stove working efficiently.
Ensuring Proper Ventilation and Clearance

Make certain your stove has enough space around it for proper airflow, which helps the fan work efficiently. Keep the area clear of clutter and any objects that could block ventilation. Proper clearance ensures safe operation and ideal heat distribution.
Adequate Ventilation Space
Ensuring proper ventilation and clearance around your stove fan is essential for safe and efficient operation. Adequate ventilation space promotes ideal air circulation, preventing heat buildup and ensuring the fan functions correctly. To achieve this, consider these key points:
- Maintain at least 18 inches of clearance on all sides of the stove for proper ventilation space.
- Avoid placing objects directly above or too close to the fan to allow free air circulation.
- Ensure the area around the stove is free from clutter that could obstruct airflow.
- Check that nearby furniture or walls don’t block vents or airflow pathways, supporting effective heat distribution.
Following these guidelines helps your stove fan operate safely while maximizing heat transfer and energy efficiency.
Clear Surrounding Area
Maintaining a clear area around your stove fan helps it operate efficiently and safely. Keep the space free of clutter, furniture, and combustible materials to guarantee proper ventilation and reduce fire safety risks. A cluttered area can block airflow, decreasing the fan’s efficiency and potentially causing overheating. Adequate clearance allows heat to circulate evenly, improving energy efficiency by maximizing heat transfer from the stove. Make sure there’s at least a few inches of open space around the fan and stove, especially above and behind it. Regularly check for dust or debris buildup that could hinder performance. By keeping the surrounding area clear, you promote safe operation, prevent fire hazards, and enhance your stove’s overall energy efficiency.
Testing the Fan’s Operation and Performance

Before you start testing the fan’s operation, it’s important to confirm it’s placed correctly on your stove and that the surface is clean and smooth. Once in position, turn on the heat gradually and observe the fan’s response. Focus on these key points:
- Listen for fan noise, which indicates it’s functioning properly.
- Check for consistent rotation without wobbling or unusual sounds.
- Feel the heat distribution around the stove; the fan should circulate warm air effectively.
- Ensure the fan speeds up as the stove heats higher, showing it’s responsive to temperature changes.
Maintaining and Troubleshooting Your Stove Fan

To keep your stove fan operating efficiently, regularly inspect it for dust, debris, and signs of wear. Dust buildup can cause fan noise and hinder proper temperature regulation. If you notice increased noise or the fan isn’t spinning smoothly, clean the blades carefully with a soft cloth. Check for any loose connections or worn-out parts that may affect performance. Troubleshoot uneven temperature regulation by ensuring the fan is positioned correctly and free of obstructions. If the fan continues to be noisy or doesn’t respond to heat changes, consider replacing it or consulting the manufacturer. Proper maintenance ensures your fan runs quietly and helps maintain consistent heat distribution, keeping your stove operating safely and efficiently.
Frequently Asked Questions
Can Stove Fans Work With All Types of Wood Stoves?
You might wonder if stove fans work with all types of wood stoves. Not all stoves are compatible—some may lack the necessary surface temperature or design features. To guarantee proper wood stove compatibility, check your stove’s temperature range and surface conditions. Follow fan installation tips closely, making sure your stove can generate enough heat for the fan to operate efficiently. Proper selection and installation ensure peak performance.
What Is the Typical Lifespan of a Heat-Powered Stove Fan?
Think of your stove fan as a loyal companion that keeps your home cozy. Typically, it lasts around 5 to 10 years with proper maintenance tips, like cleaning blades and checking vents. Regular upkeep boosts energy efficiency and guarantees it runs smoothly, preventing it from becoming a flickering shadow of its former self. By caring for your fan, you’ll enjoy warm comfort and save money in the long run.
Are There Safety Risks When Installing a Stove Fan?
When considering safety risks, you should be aware of potential fire hazards and electrical safety issues. Improper installation or placing the fan too close to the stove can cause overheating or fire. Always follow manufacturer instructions and verify your electrical connections are secure. Avoid using damaged cords or components. By taking these precautions, you reduce safety risks and keep your home safe while enjoying your stove fan.
How Do I Know if My Stove Produces Enough Heat for a Fan?
You can tell if your stove produces enough heat for a fan by checking its heat output and surface temperature. If the surface reaches at least 122°F (50°C), it’s typically enough to power a heat‑powered stove fan. Use an infrared thermometer to measure the surface temperature accurately. If the temperature is lower, the fan may not operate effectively, so make certain your stove heats sufficiently to generate the needed surface temperature.
Can I Use a Stove Fan With a Gas or Pellet Stove?
You can use a stove fan with a gas or pellet stove, but check its ventilation efficiency first. These fans work best when the stove heats up sufficiently, typically above 150°F, to avoid inefficient operation. Keep in mind, noise levels vary—some fans are quiet, others louder—so choose one that won’t disrupt your comfort. Proper placement ensures ideal airflow, enhancing heat distribution and maintaining safe, efficient operation.
Conclusion
With a little patience and preparation, your stove fan will soon serve as a superb, silent supporter, spreading warmth with wise efficiency. Keep it clean, check connections, and stay vigilant for any issues. Regular maintenance guarantees your fan functions flawlessly, fostering a cozy, comfortable living space. So, stay savvy, sustain your stove’s success, and savor the soothing, steady heat that your hardworking heat-powered stove fan provides. Happy heating!