
To replace a log splitter wedge safely, first gather your tools and safety gear, like gloves and goggles, and set up a clean, well-lit workspace. Disconnect the power source completely, then carefully remove the old wedge using proper tools. Clean the chamber thoroughly, removing debris and oil before installing the new wedge, ensuring it’s properly aligned and seated. Afterward, test the splitter to confirm everything operates smoothly and safely—keep going to learn all the essential steps.
Key Takeaways
- Always disconnect and drain power sources before beginning wedge replacement.
- Wear appropriate safety gear, including goggles, gloves, and protective clothing.
- Secure the wedge firmly with clamps or a vise to prevent slipping during removal and installation.
- Clean and inspect the chamber thoroughly to remove debris, oil, and residue before installing the new wedge.
- After installation, test the splitter operation carefully to ensure safety and proper function.
Gather Necessary Tools and Safety Gear

Before you begin replacing the log splitter wedge, it’s essential to gather all the necessary tools and safety gear. You’ll need a hammer or mallet, a pry bar, and possibly a punch or chisel to remove the old wedge. Grab a pair of gloves to protect your hands from sharp edges and splinters, and wear safety goggles to shield your eyes from debris. Having a clean workspace with adequate lighting makes the process smoother and safer. Make certain the log splitter is turned off, unplugged, or disconnected from power before starting. Double-check that you have everything you need within reach to avoid unnecessary pauses. Proper preparation minimizes risks and helps you work efficiently while replacing the wedge. Additionally, understanding the importance of safety precautions can prevent accidents and ensure a successful repair. Being aware of tools and safety gear best practices, such as proper handling techniques, can further reduce the risk of injury. Consulting guidelines on protective equipment can enhance your safety during the task. It’s also helpful to familiarize yourself with aerospace safety standards to ensure all safety measures are up to date and effective. Moreover, knowing the correct techniques for wedge removal can make the process easier and safer.
Prepare Your Workspace for Safe Access

To guarantee safe access when replacing a log splitter wedge, you need to organize your workspace effectively. Clear the area of any clutter, tools, or debris that could cause trips or falls. Ensure there’s enough space to maneuver comfortably around the splitter. Position your tools within arm’s reach, so you don’t have to search or stretch unnecessarily. Work on a stable, flat surface to prevent slips or shifts during the process. Good lighting is essential; verify your workspace is well-lit to see all components clearly. If possible, set up a workbench or sturdy support to stabilize the splitter. Additionally, understanding safety precautions related to log splitter maintenance can help prevent accidents and injuries during the process. Recognizing potential hazards and planning accordingly can further improve safety. Incorporating proper tools into your setup can enhance efficiency and reduce strain during the replacement. Using appropriate protective gear, such as gloves and safety glasses, is also crucial to safeguard yourself from injuries. Proper workspace organization can also minimize mental stress, making the task less overwhelming and safer. By preparing your workspace this way, you reduce hazards and make the replacement process safer and more efficient.
Disconnect and Drain Power Sources
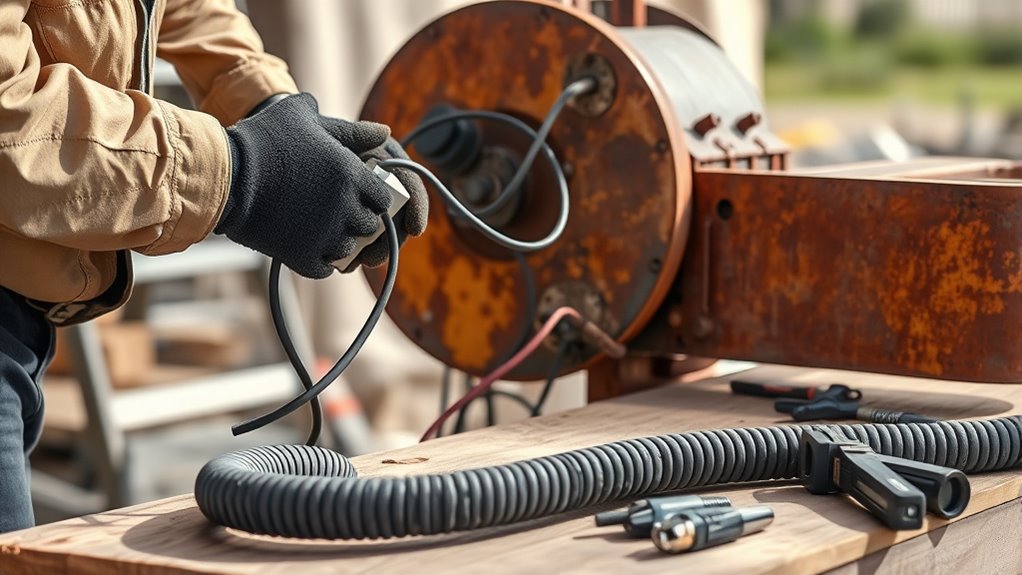
Start by disconnecting the log splitter from its power source to prevent accidental activation. Whether it’s electric or gas-powered, safety depends on eliminating all energy sources. For an electric splitter, unplug the cord from the outlet. For a gas-powered model, turn off the engine and disconnect the spark plug wire. Ensuring proper safety protocols are followed minimizes the risk of injury during repairs. Additionally, verifying that the power is fully disconnected helps prevent unexpected startup. Confirming that all energy sources are isolated further enhances safety before proceeding with the wedge replacement. Recognizing the importance of family dynamics can also help in understanding the broader safety and operational context of equipment handling.
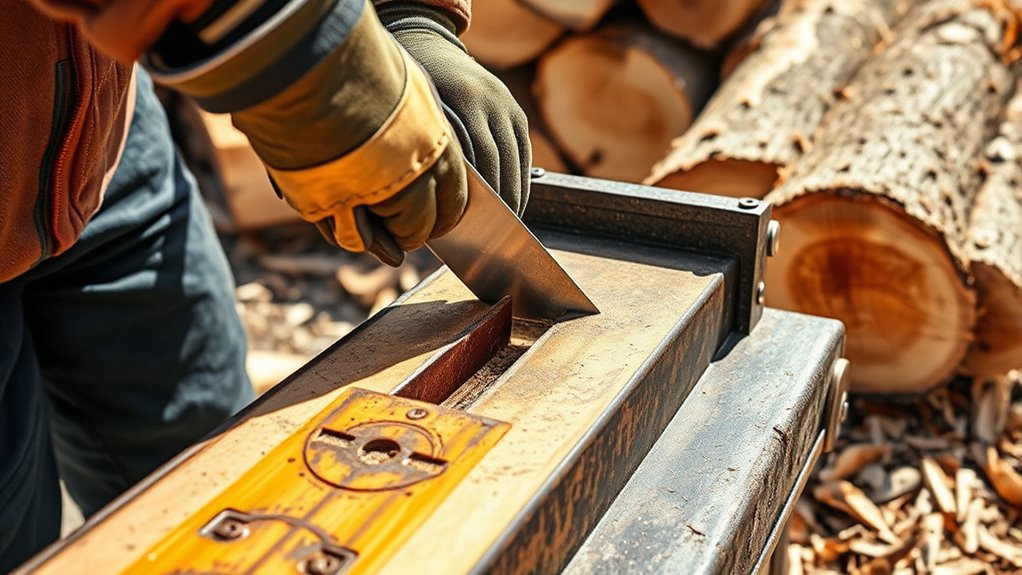
Remove the Old Wedge Carefully

Before removing the old wedge, put on your protective gear to stay safe. Make sure to secure the wedge firmly to prevent it from slipping or flying loose. Use the right tools carefully to avoid damage and injury during the removal process. Being aware of store hours can help you plan your work during times when assistance or supplies are available. Additionally, understanding safety precautions can significantly reduce the risk of accidents during maintenance. Knowing the proper removal techniques can ensure a safer and more efficient process. Incorporating safety practices into your routine further enhances safety during this task.
Wear Protective Gear
Wearing protective gear is essential when removing the old wedge to prevent injuries. You’ll be working with sharp edges and heavy parts, which pose safety risks. Always put on the right gear before starting.
Make sure to wear:
- Safety goggles to protect your eyes from flying debris
- Heavy-duty gloves to shield your hands from cuts and splinters
- Long sleeves and pants to avoid skin scratches
- Steel-toed boots to safeguard your feet from falling objects
- Ear protection if working in a noisy environment
This gear helps you stay safe while handling potentially dangerous tools and materials. Don’t skip any safety step—your protection is worth it. Proper gear minimizes the risk of accidental injuries, keeping you focused and secure throughout the removal process.
Secure the Wedge Firmly
To remove the old wedge safely, you need to secure it firmly in place to prevent slipping or sudden shifts. Use a clamp or heavy-duty vise to hold the log splitter’s ram or the wedge itself, ensuring it won’t move unexpectedly. If the wedge is embedded tightly, avoid applying excessive force that could cause it to jump. Instead, stabilize the area first, then gently tap around the wedge with a mallet to loosen it. Secure the splitter on a stable, flat surface to prevent any movement during removal. Confirm that the wedge is immobilized before proceeding. Properly securing the wedge not only protects you but also makes the removal process safer and more controlled. Always double-check your grip and stability before starting to extract the wedge.
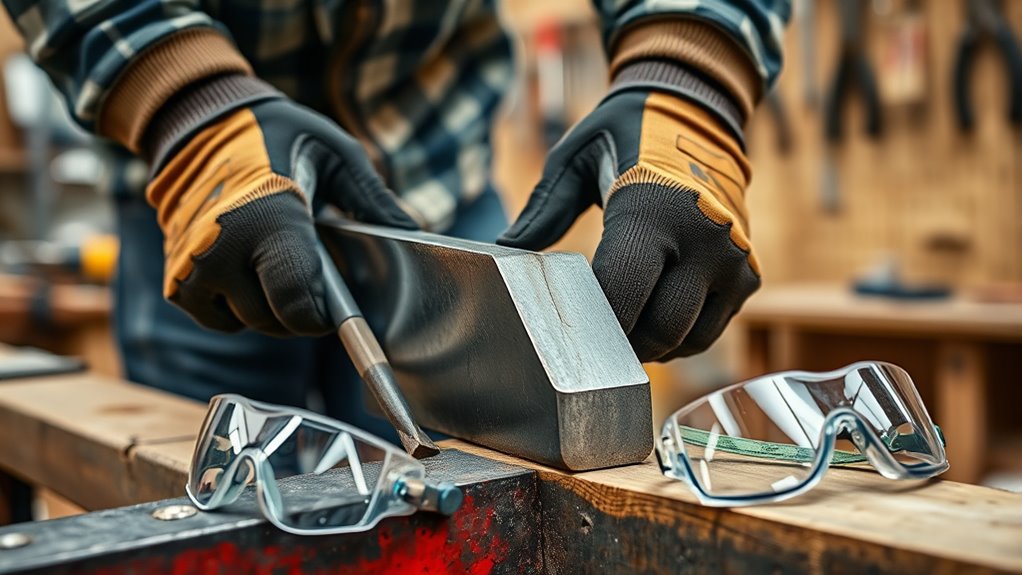
Use Proper Tools
Using the right tools is essential for removing the old wedge safely and effectively. You want to avoid damage to the splitter or injury to yourself. Gather a few key tools before starting:
- A heavy hammer or sledgehammer
- A chisel or pry bar
- Safety goggles and gloves
- A punch or drift pin
- A mallet or softer hammer for tapping
These tools help you carefully loosen and lift the wedge without excessive force. The chisel or pry bar can help wedge under the old wedge, while the hammer provides controlled impact. Safety gear protects your eyes and hands from flying debris or accidental hits. Using proper tools guarantees you remove the wedge cleanly, preparing for a safe replacement.
Inspect and Clean the Splitting Chamber
Before installing the new wedge, check the splitting chamber for any debris or residue. Clear out any wood chips, dirt, or leftover material that could interfere with proper splitting. Wipe away oil or grease to make certain a clean surface for the new wedge to seat properly.
Check for Debris
Start by inspecting the splitting chamber carefully for any debris, such as wood chips, dirt, or leftover material from previous splits. Removing debris ensures a clear workspace and prevents interference with the wedge replacement. Look inside the chamber thoroughly, paying attention to corners and edges. Use a brush or compressed air to loosen stubborn debris. Check for any lodged pieces that might obstruct the wedge or ram movement. Clearing the chamber reduces the risk of damage to the new wedge and improves safety.
- Remove loose wood chips and dirt
- Dislodge stuck debris with a brush or air
- Inspect for any remaining splinters or fragments
- Check for buildup around the ram and wedge area
- Ensure the chamber is free of foreign objects before proceeding
Remove Residue and Oil
Since oil and residue can cause the wedge to slip or get stuck, it’s important to remove any leftover fluids and buildup from the chamber. Start by wiping down the interior with a clean cloth to remove excess oil and debris. Use a degreaser or a mild solvent if needed to break down stubborn residue. Be sure to wear gloves to protect your skin from chemicals. Scrape away any hardened buildup carefully with a plastic scraper or brush, avoiding damage to the chamber. Once clean, wipe the area again to remove any remaining residue. Dry the chamber completely before proceeding. Keeping the splitting chamber clean ensures smooth operation and prevents issues when replacing or reinstalling the wedge.
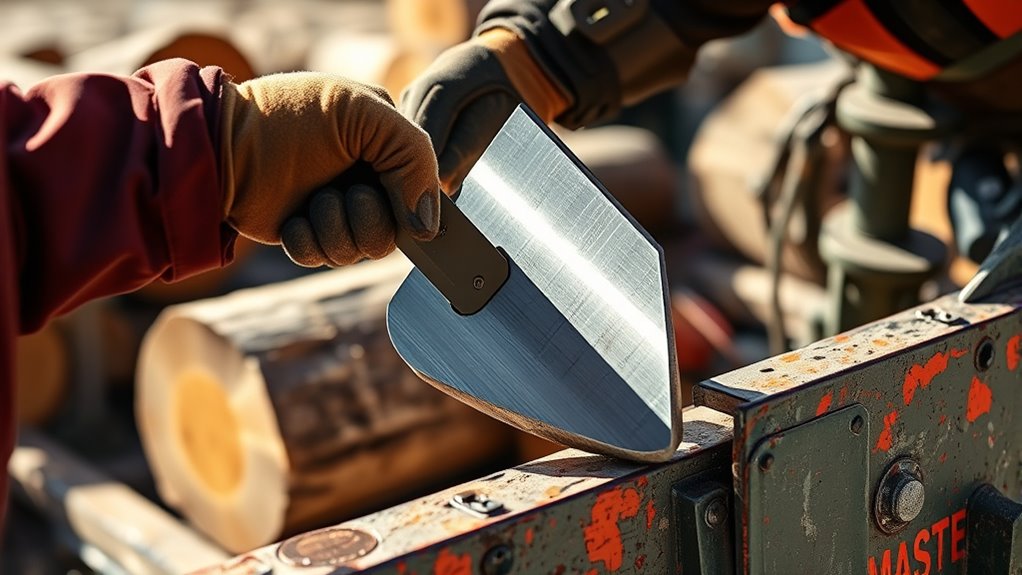
Install the New Wedge Properly
To guarantee the new wedge is installed correctly, carefully align it with the splitter’s existing slot or groove. Make sure the wedge fits snugly without forcing it, as improper placement can cause safety issues. Once aligned, gently tap the wedge into place using a hammer or mallet, ensuring it seats evenly. Check that the wedge is flush with the surface and fully seated in the groove. Avoid knocking it in at an angle, which can damage the wedge or splitter. Confirm that the wedge moves smoothly and is secure. Proper installation ensures safe operation and longevity of the splitter.
Align and gently tap the wedge for secure, safe, and proper installation.
- Align the wedge precisely with the groove
- Use a hammer or mallet for even seating
- Tap gently to avoid damage
- Check for flush fit and secure placement
- Ensure smooth movement of the wedge
Test the Log Splitter for Safe Operation
Before operating the log splitter, it is vital to test it for safe functionality. First, check that all safety shields and guards are in place and secure. Next, inspect the hydraulic system for leaks or damaged hoses. Turn on the machine without a log to observe its movement. Ensure the ram moves smoothly and stops promptly when you release the control. Confirm that the control buttons respond correctly. Finally, test the wedge’s operation by splitting a small, manageable piece of wood. Use the following table to guide your inspection:
| Step | Action | Result |
|---|---|---|
| Safety Shields | Ensure all shields are in place | Protects operator from debris |
| Hydraulic System | Check for leaks and damages | Safe pressure operation |
| Machine Power | Turn on without load | No unusual noises or vibrations |
| Control Response | Test control buttons | Proper functioning |
| Wedge Operation | Split a small log | Confirm safe, effective split |
Frequently Asked Questions
How Long Does It Typically Take to Replace a Log Splitter Wedge?
Replacing a log splitter wedge usually takes about 30 minutes to an hour, depending on your experience and the tool’s design. You’ll want to disconnect the power source, remove the old wedge carefully, and then install the new one securely. If you follow the proper safety steps, the process goes smoothly. Make sure to double-check your work before running the splitter again to confirm everything’s installed correctly and safely.
Can I Replace a Wedge on Any Type of Log Splitter?
You can replace a wedge on most types of log splitters, but it depends on the model and design. Some splitters have wedges that are easy to swap out, while others might require special tools or procedures. Always check your log splitter’s manual for specific instructions, and make certain you follow safety guidelines. If you’re unsure, consult a professional to avoid damaging your equipment or risking injury.
What Are Signs Indicating My Wedge Needs Replacement?
Your wedge is probably crying out for help if it’s chipped, cracked, or bent like a twisted pretzel. If it’s not splitting wood efficiently, even after sharpening, that’s a sign it’s lost its edge and needs replacing. Watch for excessive vibration or if the wedge won’t stay seated. When these signs show up, don’t ignore them—timely replacement keeps your splitter running smoothly and safely.
Is It Necessary to Recalibrate the Log Splitter After Replacing the Wedge?
You might wonder if you need to recalibrate your log splitter after replacing the wedge. Generally, recalibration isn’t necessary unless you notice issues with splitting efficiency or uneven splits. When you install a new wedge, ensure it’s properly aligned and securely fastened. If you experience problems, then check the calibration. Otherwise, a proper installation usually means your splitter will operate just as effectively without additional adjustments.
Are There Specific Safety Precautions for Working With Hydraulic Systems During Replacement?
Imagine the hydraulic system as a sleeping giant, quietly powering your work. When working on it, you must wear protective gear, like gloves and safety goggles, to shield yourself from unexpected releases. Always depressurize the system before beginning, avoid sparks or flames nearby, and handle hydraulic fluid carefully, as it can cause serious injuries. These precautions guarantee you tame the giant safely, preventing accidents and injuries.
Conclusion
Replacing a log splitter wedge is straightforward if you follow the right steps and prioritize safety. Did you know that proper maintenance can extend your splitter’s lifespan by up to 50%? By carefully removing the old wedge and installing a new one, you ensure safe and efficient operation. Remember, always double-check your work before using the splitter again. Staying attentive and cautious keeps you safe and your equipment running smoothly for years to come.