
To set up a safe splitting zone today, choose a flat, debris-free spot with enough space for logs and safe movement. Use barriers or signs to create a clear perimeter and organize your tools neatly out of foot traffic. Wear appropriate safety gear like gloves, eye protection, and sturdy footwear, and inspect your equipment beforehand. Confirm your chopping block is stable to prevent shifting. If you continue, you’ll discover key tips to maximize safety and efficiency.
Key Takeaways
- Choose a flat, debris-free area with ample space for logs and a safety buffer zone.
- Securely position a stable chopping block or stand to prevent shifting during splitting.
- Organize tools neatly within easy reach and inspect for damage or dullness before use.
- Install physical barriers or signs to clearly mark the splitting zone and prevent accidental entry.
- Wear appropriate safety gear, including gloves, goggles, and sturdy footwear, to protect against injuries.
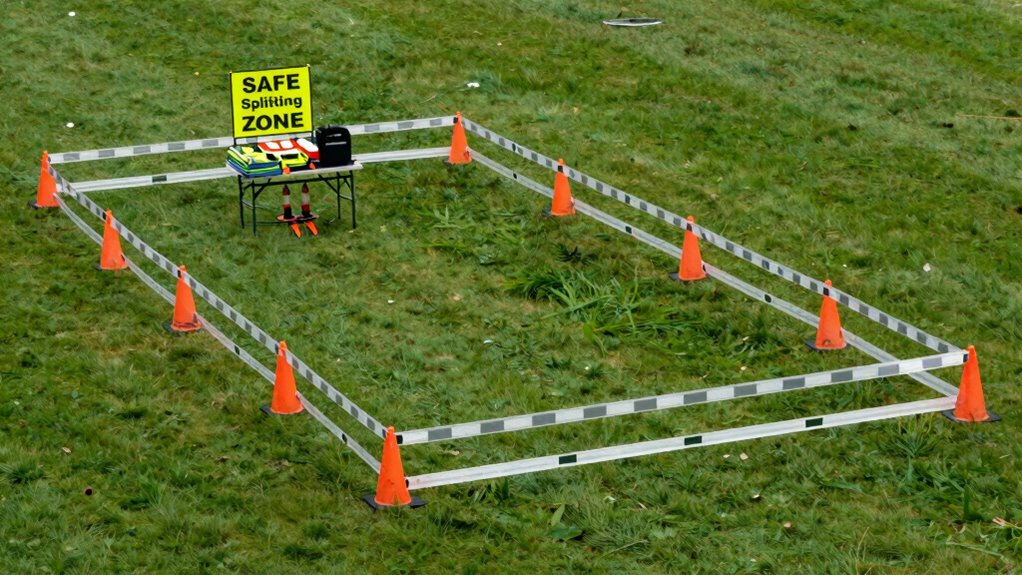
Setting up a safe splitting zone is essential to guarantee both efficiency and safety during your operation. The first step is to plan your space carefully, ensuring there’s enough room for the log or material you’re splitting, plus a clear buffer zone around it. You want to prevent any accidental movement or rebound that could cause injury. Think of it as creating a dedicated workspace where hazards are minimized, making your task smoother and safer. When establishing your zone, make sure the ground is stable, flat, and free of debris—this helps prevent slips and ensures your splitting tools operate correctly.
As you prepare, prioritize tutorial tips that emphasize safety. These can include guidelines like always inspecting your splitting equipment before use, checking for cracks or damage, and ensuring your tools are sharp and in good condition. Proper tool maintenance reduces the risk of mishaps. When setting up, position your chopping block or splitting stand securely, preferably anchored to prevent shifting during operation. Using a designated zone also helps you stay organized, so you’re not scrambling for tools or risking accidental contact with other objects or people nearby.
Safety gear is your best friend in this process. Always wear protective equipment—think gloves to protect your hands from splinters and cuts, safety glasses or goggles to shield your eyes from flying debris, and sturdy footwear with non-slip soles. If you’re working with larger or more dangerous logs, consider ear protection, especially if your splitting activity involves loud equipment. Wearing the right safety gear isn’t just about compliance; it’s about actively protecting yourself from potential injuries that can happen in split seconds. Make sure your gear fits well and is comfortable enough to wear throughout your entire operation, because discomfort can lead to lapses in safety awareness.
Furthermore, create a clear safety perimeter around your zone. Use physical barriers or signs if needed, especially if others are nearby or if you’re working in a shared space. This helps prevent accidental interference or distractions. Keep your tools arranged neatly within reach but out of the way of foot traffic, and always have a plan for what to do if a tool slips or a log shifts unexpectedly. Being familiar with proper safety procedures and maintaining awareness of your surroundings is crucial for preventing accidents. Remember, a well-organized, safety-focused setup minimizes risks and sets the stage for a successful, injury-free work session.
Frequently Asked Questions
What Tools Are Essential for Setting up a Splitting Zone?
To set up a splitting zone, you need essential tools like a quality chainsaw, safety gloves, and eye protection to guarantee chainsaw safety. You also require a splitting maul or hydraulic splitter for efficient wood division. Make sure to wear protective gear, including a helmet and steel-toed boots. Clear the area of debris, establish a stable work surface, and keep all tools organized for safety and efficiency during the setup.
How Do I Choose the Best Location for My Zone?
You should pick a location that minimizes noise disturbance and offers strong tree protection. Look for a spot away from active work areas to reduce noise impact on surrounding areas. guarantee there’s enough space for equipment and safe access. Protect nearby trees by avoiding root damage, and consider natural barriers or noise mitigation solutions like temporary fencing or sound barriers to keep the zone safe and effective.
Are There Safety Regulations to Consider?
Yes, you need to take into account safety regulations when setting up your zone. Make sure you provide adequate protective gear for everyone involved and clearly mark emergency exits for quick evacuation. Follow local codes and industry standards to ensure compliance. Regularly inspect safety equipment and keep emergency routes unobstructed. By prioritizing these safety measures, you create a secure environment that minimizes risks and ensures everyone’s well-being during operations.
How Often Should I Inspect the Splitting Zone?
You should inspect the splitting zone at least weekly to guarantee safety and proper function. Establish a maintenance schedule that includes thorough inspections and routine checks for wear, damage, or misalignment. By maintaining a consistent inspection frequency, you can catch issues early and prevent accidents. Regular inspections also help you stay compliant with safety regulations, ultimately keeping your team safe and your equipment in peak condition.
Can I Set up a Splitting Zone Indoors?
You can definitely set up a splitting zone indoors, especially if you prioritize safety and zone customization. Just make certain you consider splitter maintenance, like keeping blades sharp and checking for damage regularly. Indoor setups can be just as effective as outdoor ones, but you might need to adapt ventilation and space considerations. By customizing your zone carefully, you create a safe, efficient environment perfect for your splitting needs, no matter where you are.
Conclusion
Now that you’ve set up your safe splitting zone, remember, the real test begins when unpredictability strikes. Will your setup hold under pressure? Small details can make all the difference, and one overlooked step might change everything. Stay vigilant, keep refining your approach, and don’t become complacent. The zone you’ve created is just the beginning—what happens next could redefine your entire strategy. Are you ready to face what’s coming? The outcome is in your hands.