
To repair a bent log splitter beam, start by inspecting the damage carefully and gathering the right tools like a hydraulic press, heat source, and welding gear. Remove the beam, then carefully heat it evenly to make it more flexible. Use hydraulic pressure to straighten it back into shape, reinforce with plates or straps, and weld any cracks. Proper reassembly and testing will ensure durability. Keep an eye on safety and prevention tips to avoid future issues—more detailed steps await.
Key Takeaways
- Inspect the beam for cracks or bends, and determine the material type for appropriate repair methods.
- Use controlled heating, hydraulic pressure, and proper tools to straighten and reinforce the bent beam safely.
- Weld reinforcement plates or straps to distribute stress and prevent future deformation.
- Reassemble carefully, ensuring proper alignment and secure fastening before testing the beam’s strength.
- Perform routine inspections and maintenance to prevent corrosion and identify damage early.
Assessing the Damage and Gathering Necessary Tools
Before you begin repairing the bent log splitter beams, it’s essential to carefully assess the damage and gather the right tools. Start by inspecting the beam material to determine the extent of the bend or any cracks. Check if the beam is steel, cast iron, or another alloy, as this affects the repair method. Safety precautions are paramount—wear gloves, safety glasses, and steel-toed boots to protect yourself from sharp edges or unexpected shifts. Use a straightedge or level to gauge the severity of the bend. Gather tools like a hydraulic press, clamps, a welder, and measuring devices. Proper assessment ensures you understand the scope of the repair and prevents further damage or injury. Being thorough now saves time and effort later. Additionally, understanding the properties of the material, such as whether it is metal type, can help determine the most effective repair technique.
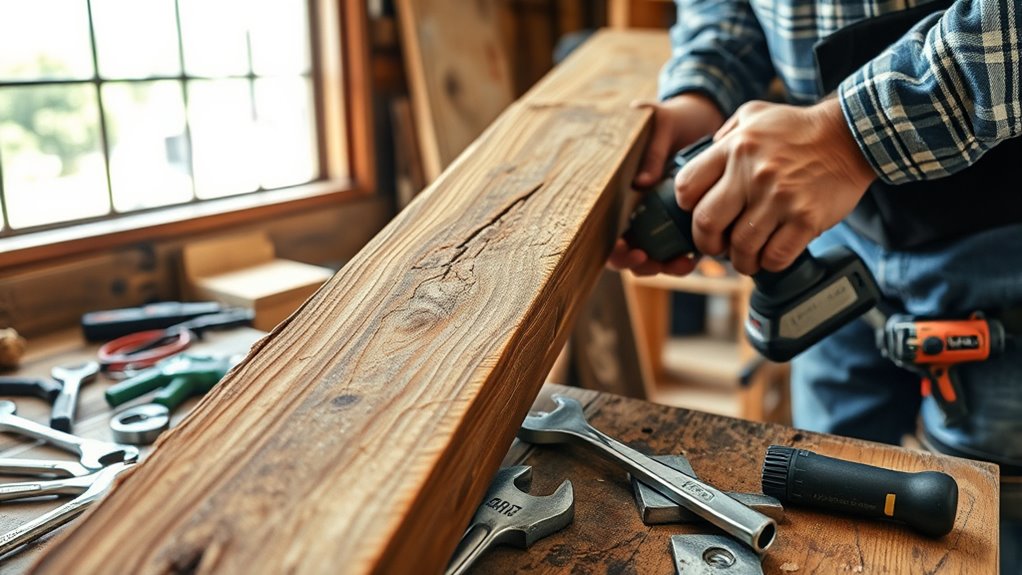
Removing the Bent Beam From the Log Splitter
How do you efficiently remove a bent beam from your log splitter? Start by disconnecting the hydraulic hoses and securing the splitter to prevent movement. Carefully unbolt or detach any fasteners holding the beam in place, paying attention to beam alignment to avoid further damage. Use a jack or support to stabilize the beam as you lift it out. When selecting material for replacement, choose high-strength, durable options that resist bending and ensure proper beam alignment for smooth operation. Keep track of all hardware and keep the workspace organized. Removing the bent beam requires patience and precision, so work slowly and methodically to prevent additional damage or injury. Proper removal sets the stage for effective straightening or replacement. Additionally, consider evaluating the merchant services options available to ensure your equipment and tools are protected with appropriate warranties and support.
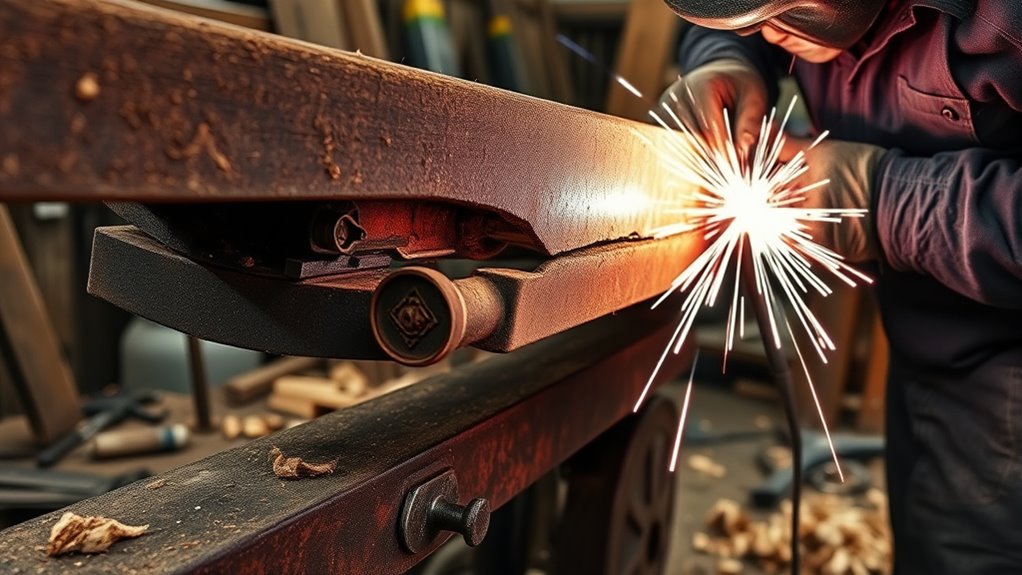
Straightening the Beam Using Heat and Hydraulic Pressure
To straighten the beam, start by heating it to make the metal more flexible. Then, apply hydraulic pressure carefully to bend it back into shape. Keep a close eye on the process to guarantee the beam straightens evenly without overcorrecting. Additionally, monitoring the dog names can help choose a fitting name that reflects the dog’s personality and breed.
Heating for Flexibility
Applying heat to the bent log splitter beam can make it more pliable and easier to straighten. Heat causes thermal expansion, loosening metal fibers and reducing the risk of metal fatigue. By carefully warming the beam, you improve its flexibility without weakening it. Use a torch or heat gun to evenly heat the affected area, avoiding direct contact to prevent damage. Be attentive to temperature; overheating can cause warping. To understand the process better, consider this table:
| Heat Application Step | Purpose |
|---|---|
| Apply uniform heat | Prevent uneven expansion and warping |
| Monitor temperature | Avoid overheating and damage |
| Heat evenly | Ensure consistent thermal expansion |
| Wait for temperature to stabilize | Prepare for next steps |
| Avoid rapid cooling | Minimize stress and metal fatigue |
Heating properly helps you prepare the beam for straightening without compromising its integrity. Proper heating techniques can also prevent metal fatigue, ensuring the beam remains durable after straightening.
Applying Hydraulic Force
Once the beam has been heated to increase its flexibility, the next step is to use hydraulic pressure to straighten it. Carefully position the beam in a sturdy frame, ensuring it’s properly aligned. Before applying pressure, perform a hydraulic calibration to verify the system’s accuracy and prevent overexertion. Slowly activate the hydraulic jack, applying steady force to bend the beam back into shape. Keep a close eye on the process, stopping immediately if you notice any cracks or excessive deformation. Follow all safety precautions, such as wearing protective gear and keeping hands clear of moving parts. Controlled hydraulic force, combined with proper calibration and safety measures, allows you to straighten the beam effectively without causing further damage. Establishing a clear timeline can help ensure the process remains efficient and avoids unnecessary delays.
Monitoring the Straightening
As you proceed with straightening the beam, closely monitor the process to guarantee the heat and hydraulic pressure work together effectively. Regularly check the beam’s alignment, using a straight edge or level, to prevent overcorrection. Keep an eye on the temperature to avoid overheating, which can damage the metal. Once the beam is properly straightened, consider paint touch ups to prevent rust. Proper storage solutions are also essential; store the beam in a dry, stable environment to maintain its shape. Use the table below to track your process:
| Step | Observation | Action Needed |
|---|---|---|
| Heat application | Uniform heat distribution | Adjust torch or heat source |
| Hydraulic pressure | Consistent pressure | Release or increase pressure |
| Alignment check | Straightness | Apply additional heat/pressure |
| Finishing touches | Paint touch ups | Protect against corrosion |
Additionally, consulting proper maintenance guidelines can help ensure the longevity of your equipment.
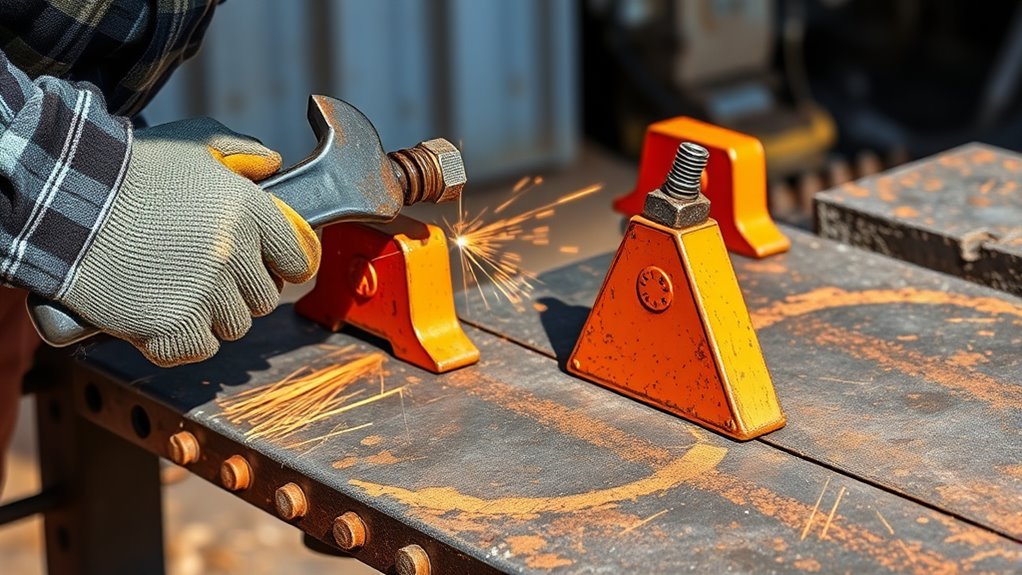
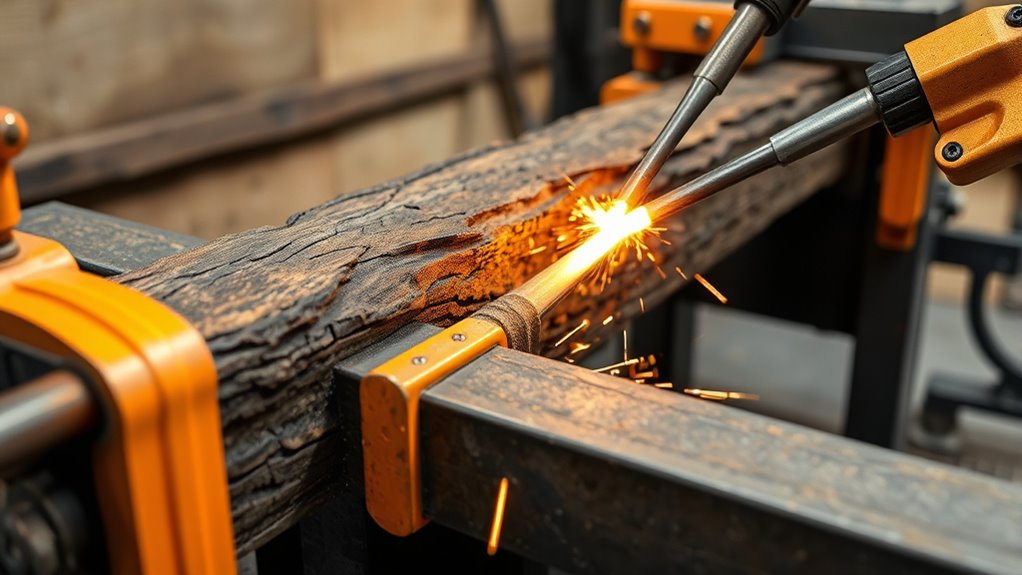
Welding and Reinforcing the Repaired Area

Once you start welding the repaired area, using proper techniques guarantees a strong, durable bond. Reinforcement strategies, like adding metal plates or supports, help prevent future bending or cracking. Focusing on these points guarantees your repair holds up under heavy use. Incorporating data-driven strategies can also help you monitor the effectiveness of your repair over time.
Proper Welding Techniques
To guarantee a strong and durable repair, proper welding techniques are essential when reinforcing the bent log splitter beam. First, prioritize welding safety by wearing protective gear and ensuring proper ventilation. This protects you from harmful fumes and sparks. When selecting electrodes, choose ones compatible with the beam’s material—typically, a high-quality, low-hydrogen electrode for structural steel. Proper electrode selection ensures strong welds and minimizes defects. Maintain correct welding parameters, including voltage, amperage, and travel speed, to achieve consistent penetration and avoid weak spots. Keep your welding equipment clean and well-maintained. Take your time to make steady, controlled welds, avoiding excessive heat which can weaken the metal. Mastering these techniques will result in a solid, long-lasting reinforcement of your log splitter beam. Additionally, understanding the material properties of the steel can help optimize the welding process for improved strength and durability.
Reinforcement Strategies
After completing the initial welding to repair the bent beam, you should reinforce the area to guarantee maximum strength and durability. Proper reinforcement guarantees the beam maintains correct alignment and withstands heavy use. Focus on selecting appropriate materials that match the original beam’s properties to prevent weak spots. Consider adding metal plates or straps across the repaired section to distribute stress evenly. Pay close attention to beam alignment during reinforcement to avoid future deformation. When choosing materials, prioritize high-strength steel to match the original load capacity. Properly welding and reinforcing the area minimizes the risk of recurrence. Reinforcement strategies should always aim for seamless integration, ensuring the repair blends with the existing structure for long-lasting performance. Ensuring material compatibility for reinforcement is essential for a durable fix.
- Material compatibility for reinforcement
- Ensuring proper beam alignment
- Using high-strength steel or suitable alloys
- Applying multiple welding passes for durability
- Distributing stress with plates or straps
Reassembling the Log Splitter and Testing Its Performance

Reassembling the log splitter involves carefully aligning all components and securing them with the appropriate fasteners. Start by making certain the beam is correctly positioned, paying close attention to beam alignment to prevent future issues. Once everything fits properly, tighten all bolts and fasteners securely. Before testing, review safety precautions — wear protective gear and keep hands clear of moving parts. Turn on the splitter and perform a series of test splits on scrap wood to evaluate performance. Observe the beam’s movement, splitting force, and any unusual noises. If everything operates smoothly, your repair is successful. If you notice misalignment or reduced power, double-check the assembly and adjust as needed. Proper reassembly ensures safe, efficient operation and prolongs the lifespan of your log splitter. Additionally, understanding the importance of AI safety measures can help prevent unexpected failures during operation.
Tips for Preventing Future Damage to Your Log Splitter Beams

Preventing future damage to your log splitter beams starts with regular maintenance and proper usage. Consistently inspecting your beams for cracks or wear helps catch issues early. Follow safety precautions like wearing protective gear and ensuring the splitter is turned off during inspections. Proper beam maintenance includes lubrication and cleaning to prevent rust and corrosion. Avoid forcing the splitter through stubborn logs, which can cause undue stress on the beams. Additionally, use the correct size and type of wood to reduce unnecessary strain. Regularly tighten bolts and check alignment to maintain structural integrity.
- Schedule routine beam inspections
- Keep the splitter clean and lubricated
- Use appropriate safety gear during operation
- Avoid overloading or forcing logs
- Follow manufacturer guidelines for maintenance
Frequently Asked Questions
How Do I Identify if My Beam Is Too Damaged to Repair?
You need to assess if your beam is too damaged to repair by inspecting its material strength and damage extent. Look for deep cracks, severe bends, or breaks, which indicate compromised integrity. If the damage affects the core or is widespread, repair costs may outweigh the benefits. In such cases, replacing the beam might be more practical. Always evaluate whether the repair will restore sufficient strength for safe use.
What Safety Precautions Should I Take During the Straightening Process?
When straightening a bent log splitter beam, you should prioritize safety. Always wear protective gear like gloves, safety glasses, and a long-sleeve shirt to prevent injuries. Keep a fire extinguisher nearby in case of sparks or fire hazards. Make certain your workspace is well-ventilated, and avoid distractions. Follow proper procedures carefully, and never work alone, so help is available if an emergency occurs.
Can I Repair a Bent Beam Without Professional Welding Skills?
You can attempt DIY repairs on a bent beam if you don’t have professional welding skills, but it’s risky. Focus on basic welding techniques like preheating and proper electrode use, and consider practicing on scrap metal first. If the damage is severe, it’s smarter to consult a professional. Proper repairs guarantee safety and durability, so don’t hesitate to seek expert help if needed.
How Long Does a Typical Beam Repair Process Usually Take?
Timing your beam straightening task depends on your skills and supplies, but typically, the repair timeline spans a few hours to a day. You’ll need to assess the bent beam, then carefully straighten it using heat, hydraulic presses, or leverage tools. Patience and precision are key, so don’t rush. With proper planning, you’ll promptly complete the beam straightening process, restoring your splitter’s strength and stability efficiently and effectively.
Are There Alternative Materials for Replacing a Bent Log Splitter Beam?
When considering beam replacement, you might wonder about alternative materials. Typically, steel is standard, but options like aluminum or composite materials could be considered for specific applications. These alternatives can offer benefits such as reduced weight or increased resistance. However, verify they meet the strength and durability requirements of your log splitter. Always check with a professional to confirm that the chosen material is suitable for replacing the beam safely and effectively.
Conclusion
With patience and the right tools, you can restore your log splitter beam and keep it running smoothly. Remember, neglecting proper maintenance is like sailing too close to the wind—you risk more damage down the line. By following these steps, you guarantee your equipment stays sturdy and reliable, much like a trusty steed. Don’t forget, even the mightiest oak was once just a sapling—treat your splitter with care to keep it standing tall for years to come.