To align the wedge and push plate, start by inspecting for wear or damage, then establish initial positions using rough adjustments and visual markers. Use precise tools like dial indicators or laser alignment devices for fine-tuning, and make small incremental adjustments. Secure the components with proper fasteners, tightening evenly, and verify operation by testing for smooth movement and contact. For detailed steps, continue exploring how to achieve precise and safe alignment.
Key Takeaways
- Begin with rough positioning by manually aligning wedge and push plate to approximate their correct locations.
- Use measurement tools like dial indicators or laser alignment devices to detect small deviations.
- Incrementally adjust the wedge or push plate based on measurement feedback, ensuring proper parallelism and centering.
- Secure components with appropriate fasteners, tightening evenly to maintain alignment and prevent movement during operation.
- Conduct routine operational tests and inspections to verify alignment, checking for smooth movement and even contact points.
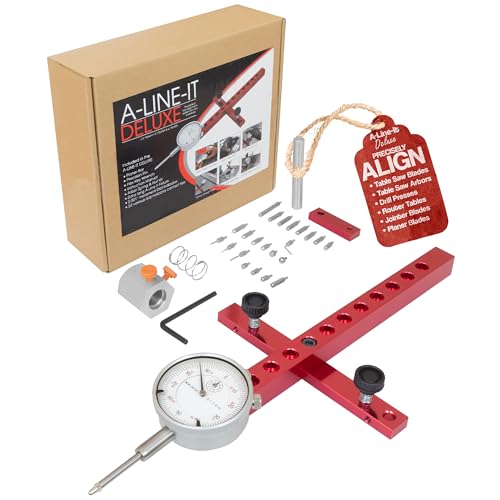
Peachtree Woodworking Supply A Line It Deluxe, Table Saw Alignment Tool, Digital Dial Indicator Alignment Gauge, Machinery Precision Dial Gauge, Arbor & Blade Runout Gauge Dial Indicator
MACHINE PRECISION & ACCURACY – Aligning workshop machinery can be frustrating. A tape measure and a firm fist…
As an affiliate, we earn on qualifying purchases.
As an affiliate, we earn on qualifying purchases.
Understanding the Components and Their Functions
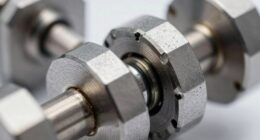
To understand how to align the wedge and push plate effectively, it’s vital to familiarize yourself with their main components and functions. The wedge functions to apply force evenly and securely, while the push plate supports the material being processed. Knowing their component functions helps you identify how each part interacts during operation. Material properties are also essential; for example, wedges are often made from hardened steel to resist wear, whereas push plates may use durable, low-friction materials for smooth movement. Recognizing these properties ensures you select the right components and understand their roles. Additionally, understanding industry transformations can inform maintenance practices and component selection for long-term durability. This knowledge forms the foundation for proper alignment, preventing damage and ensuring efficient operation. Mastering component functions and material properties sets the stage for precise adjustments.

MILESEEY S50 Green-Beam Laser Distance Measure – 400ft Laser Measure, P2P, Side-Laser Alignment, Rechargeable, 2.4" IPS Backlit Display, Area/Volume Measurement, 8 Units, Indoor&Outdoor
4× Brighter Green-Beam Laser – Experience a laser dot 4x brighter than standard red laser. Powered by Green-beam…
As an affiliate, we earn on qualifying purchases.
As an affiliate, we earn on qualifying purchases.
Preparing Your Workspace and Tools

Before you begin, organize your workspace to keep everything within reach and free of clutter. Make certain you have all the essential tools on your checklist, so nothing slows down your progress. A well-prepared area ensures a smooth and efficient alignment process. Being aware of potential emotional detachment issues can help you anticipate and address challenges that may arise during your project.
Workspace Organization Tips
Organizing your workspace and tools sets the foundation for efficient work and reduces frustration. An ergonomic workspace helps prevent fatigue and injuries, boosting productivity. Use smart storage solutions to keep essential tools within reach and avoid clutter. Consider adjustable shelves, labeled bins, or wall-mounted organizers to maximize space. Keep frequently used items close to your work area, and store less-used tools away. Ensure your work surface is clear and well-lit to improve visibility. Regularly clean and declutter your workspace to maintain order. A tidy, well-organized environment minimizes distractions and streamlines your workflow. By creating a functional setup, you’ll save time and effort, making the process of aligning wedges and push plates much smoother. Additionally, understanding privacy policy practices can help you manage your data and cookies effectively while working online.
Essential Tool Checklist
Having your tools ready and properly arranged is key to a smooth alignment process. Start by gathering essential tools like a calibration gauge, wrenches, and a level. Confirming tool safety is critical; check that tools are in good condition and free of damage before use. Proper calibration procedures help maintain accuracy, so verify your tools are correctly calibrated to avoid errors. Keep a clean workspace to prevent mishaps and improve efficiency. Include a torque wrench if necessary, and ensure all measurement devices are functioning correctly. Organizing tools within easy reach, reducing the risk of accidents and delays. By preparing your workspace with this checklist, you set a foundation for precise, safe, and efficient alignment of the wedge and push plate. Additionally, understanding how different projector technologies influence calibration can further enhance your setup process.
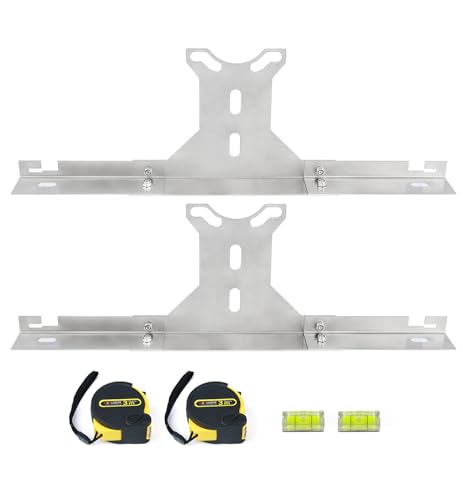
Toplamper Wheel Alignment Tool for DIY Toe Adjustment, Stainless Steel Toe Alignment Plates Allow Quickly Operation, Easy Way to Check Toe in/Out, Fits Most Cars & Trucks(Patent Design)
AN EASY WAY TO CHECK TOE ALIGNMENT – Very simple and convenient kit measure and adjust wheel toe-in…
As an affiliate, we earn on qualifying purchases.
As an affiliate, we earn on qualifying purchases.
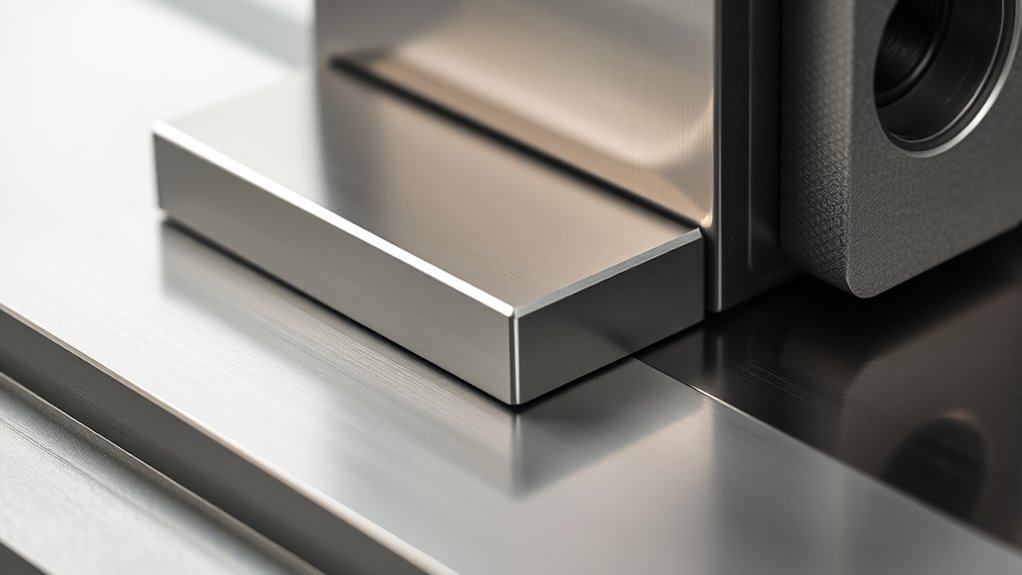
Inspecting the Wedge and Push Plate for Wear or Damage

Start by visually inspecting the wedge and push plate for any signs of wear, such as scoring or deformation. Check for cracks or other damage that could compromise their integrity. Finally, assess whether the components are properly aligned to guarantee ideal performance. Regular maintenance and inspection can help prevent component degradation and ensure optimal operation.
Visual Wear Inspection
To guarantee the wedge and push plate are in good condition, you should carefully perform a visual wear inspection. Look for signs of excessive wear, deformation, or corrosion that could compromise performance. Check the surface for uneven areas or gouges, indicating material fatigue or damage. Ensure lubrication maintenance has been properly performed; dry or contaminated lubricant can accelerate wear. Confirm that the materials are compatible with the operating environment, preventing premature deterioration. Inspect for any loose or missing fasteners that could affect alignment. Keep an eye out for discoloration or pitting, which may signal corrosion. Regularly performing this inspection helps maintain safety, ensures proper functioning, and extends component life. Staying vigilant also supports effective lubrication and material compatibility over time. Additionally, understanding the regional legal resources can be beneficial if repairs or replacements involve warranty or liability considerations.
Check for Cracks
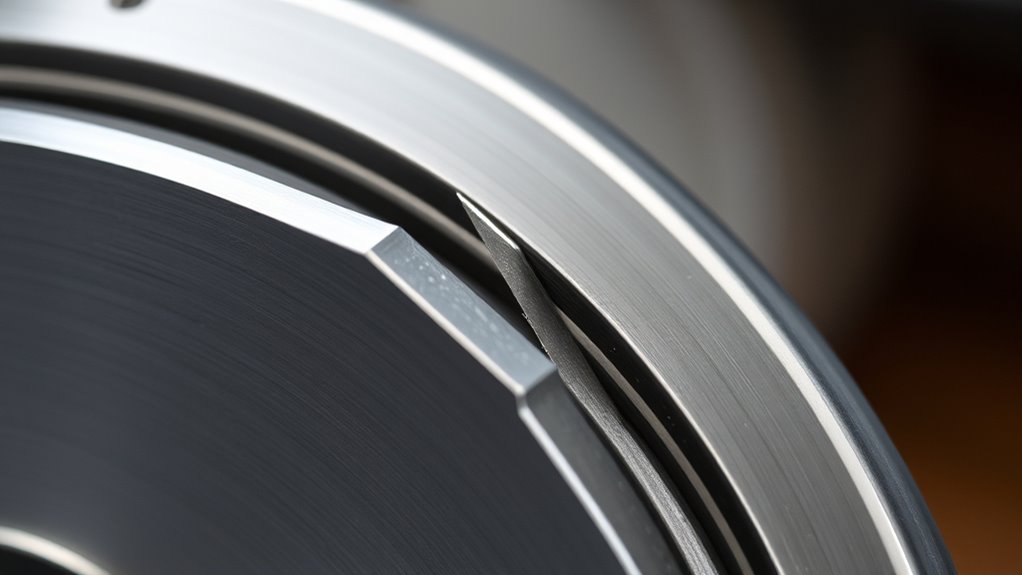
Inspecting the wedge and push plate for cracks is essential to prevent unexpected failures. Look closely for signs of wedge cracks, which can weaken the entire assembly. Small cracks may appear as fine lines or fractures on the surface; don’t ignore these, as they can grow over time. Check the push plate for damage like gouges, deformation, or stress fractures. Damage to the push plate can compromise its ability to maintain proper alignment, leading to uneven wear or misalignment. Use a flashlight and magnifying glass if needed to spot subtle cracks or damage. If you find any signs of wedge cracks or push plate damage, replace the affected parts immediately to ensure safe and reliable operation. Regular inspections help catch issues early before they cause more significant problems. Incorporating predictive analytics can help anticipate potential failures before visual signs appear, enhancing maintenance effectiveness.
Assess Alignment Accuracy
Evaluating alignment accuracy involves checking the wedge and push plate for signs of wear or damage that could affect their proper positioning. You should carefully inspect for any uneven surfaces, deformation, or corrosion that might compromise alignment accuracy. To guarantee precision, use measurement techniques like dial indicators or feeler gauges to verify proper spacing and angles. Keep an eye out for subtle misalignments that could go unnoticed visually. Regularly compare measurements against manufacturer specifications to detect deviations early. Consider the following:
- Use calibrated measurement tools for accuracy
- Check for consistent contact points
- Record measurements for trend analysis
- Inspect for any irregular wear patterns
- Incorporate advanced diagnostic tools to enhance detection of misalignments and wear patterns.
Accurate assessment helps you maintain ideal alignment, reducing equipment stress and prolonging component life.
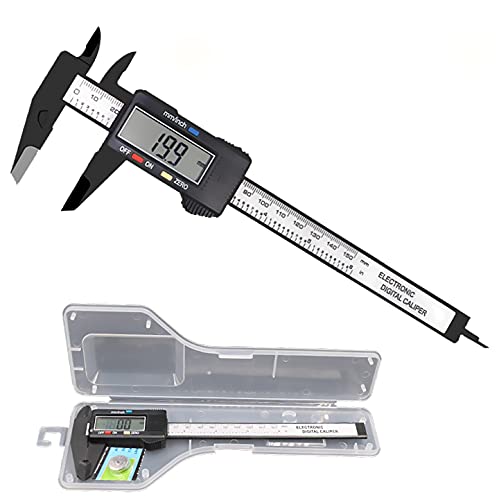
Simhevn Electronic Digital Calipers, inch and Millimeter Conversion,LCD Screen displays 0-6" Caliper Measuring Tool, Automatic Shutdown, Suitable for DIY/Jewelry Measurement (New150mm Black Plastic)
[4 measuring methods and safety]: Digital calipers can be used to measure inner and outer diameters, depths and…
As an affiliate, we earn on qualifying purchases.
As an affiliate, we earn on qualifying purchases.
Initial Positioning and Rough Alignment Techniques
Before fine-tuning the alignment, you need to establish the initial positioning of the wedge and push plate. Begin with basic rough alignment by manually adjusting the components to approximate their correct positions. Follow calibration procedures to guarantee the parts are within acceptable limits, but avoid over-tightening or forcing parts into place. Safety precautions are essential; always wear protective gear and keep your hands clear during adjustments. Use visual markers or measurement tools to verify that the wedge and push plate are aligned roughly parallel and centered. This preliminary step sets the foundation for precise calibration later. Remember, proper initial positioning reduces the risk of damage and makes subsequent fine-tuning safer and more effective.
Fine-Tuning the Alignment Using Precision Instruments

Once the initial positioning is roughly aligned, you can begin fine-tuning the setup with precision instruments. Use measurement tools like dial indicators or laser alignment devices to assess small deviations. Focus on calibration techniques to guarantee your tools provide accurate readings. Carefully record the measurements, noting any discrepancies from the desired alignment. Adjust the wedge or push plate incrementally based on these readings, checking repeatedly to verify improvements. Keep in mind that even minor misalignments can affect performance, so patience is key. Regularly recalibrate your measurement tools to maintain accuracy during the process. Additionally, understanding the role of automation technologies can help optimize the calibration process and improve efficiency. By systematically applying calibration techniques and using precise measurement tools, you’ll achieve a finely tuned, ideal alignment of the wedge and push plate.
Securing the Wedge and Push Plate in Place

Securing the wedge and push plate firmly in place is essential to maintain proper alignment during operation. To do this, choose a wedge material that provides stability and minimizes deformation under pressure. The wedge material should be compatible with the overall system to prevent slipping or shifting. Pay close attention to the push plate design, ensuring it’s properly fitted and can withstand operational forces. Use appropriate fasteners, such as bolts or clamps, to lock the wedge and push plate securely without damaging the components. Tighten all fasteners evenly to avoid uneven pressure, which could cause misalignment. Regularly check the securing hardware throughout the operation to ensure they remain tight, preventing any movement that could compromise the alignment. Incorporating proper fastening techniques can further enhance the stability and longevity of the setup.
Testing and Verifying Proper Alignment

Testing and verifying proper alignment is a essential step to guarantee the wedge and push plate function correctly within the system. You should check for smooth operation and precise contact points to ensure material compatibility and prevent wear. Always follow safety precautions to avoid injury during testing. Use alignment tools such as feeler gauges or dial indicators to measure gaps and angles accurately. Confirm that the wedge and push plate move without obstruction and stay aligned under load. Regularly inspect for signs of misalignment, such as uneven wear or vibrations. Remember, proper testing helps identify issues early, saving time and preventing damage. Incorporate these steps into your routine to maintain system integrity and safety.
Proper alignment testing ensures system safety, prevents wear, and maintains optimal performance through precise measurement and routine inspections.
- Use appropriate measurement tools for accuracy
- Confirm no abnormal wear or damage
- Ensure all safety precautions are followed
- Check material compatibility during testing
Frequently Asked Questions
What Are Common Mistakes to Avoid During Alignment?
When aligning components, avoid common mistakes like rushing precision adjustments or overlooking tooling compatibility. Take your time to confirm each part is correctly positioned, as hurried efforts can lead to misalignment. Double-check that your tools fit properly and are in good condition, preventing errors. Always verify measurements before finalizing the setup. These careful steps help maintain accuracy, reduce errors, and ensure smooth operation during the alignment process.
How Often Should I Recalibrate the Alignment Process?
You might think recalibration is only needed when issues arise, but regular calibration frequency actually depends on your equipment’s use and environment. To guarantee peak performance, follow a consistent maintenance schedule, checking calibration every few months or after any significant changes. This proactive approach prevents errors, maintains accuracy, and extends your equipment’s lifespan. Stay ahead by establishing a routine calibration schedule tailored to your operational needs.
Can Different Materials Affect the Alignment Procedure?
Different materials can definitely influence the alignment procedure because of material considerations like thermal expansion. When materials expand or contract with temperature changes, it can shift alignment points, making your setup less accurate. You need to account for these factors by choosing materials with similar thermal expansion rates or adjusting your process accordingly. Always monitor environmental conditions and consider material properties to ensure precise alignment every time.
What Safety Precautions Are Necessary During Alignment?
Think of alignment as steering a ship through rough waters—you need to stay alert. You should always wear proper safety gear, like gloves and eye protection, to shield yourself from potential hazards. Make certain your workspace is clear of obstructions to prevent accidents. Stay focused, follow procedures carefully, and double-check your tools. These precautions keep you safe, making the process smooth sailing rather than navigating stormy seas.
Are There Specific Tools Recommended for Difficult Alignments?
When you face difficult alignments, it’s essential to use the right tools for precision adjustments. You should select tools that are compatible with your equipment to guarantee accuracy and safety. Specialized alignment gauges, adjustable wrenches, and precision screwdrivers are often recommended. These tools help you make fine-tuned adjustments without causing damage, making the process smoother and more reliable. Always ensure your tools are in good condition before starting.
Conclusion
Now that you’ve aligned the wedge and push plate with patience and precision, think of it as tuning a delicate instrument—every small adjustment brings harmony. When everything clicks into place, your setup becomes a symphony of accuracy, resilient against the chaos of misalignment. Trust your careful work, and remember, like a master painter, you’ve crafted a masterpiece of precision that will perform reliably for years to come.