To replace a broken hydraulic cylinder seal, first identify signs like leaks, fluid contamination, or erratic performance. Gather the necessary tools, new seal, and clean workspace. Safely remove the cylinder, disassemble it carefully, and pry out the damaged seal. Clean all surfaces before installing the new seal, making sure it’s properly aligned and lubed. Reassemble the cylinder, refit it, and test the system for leaks and smooth operation—if you continue, you’ll learn the detailed steps involved.
Key Takeaways
- Diagnose seal failure by inspecting for leaks, fluid contamination, and inconsistent machine performance.
- Disassemble the hydraulic cylinder carefully, draining fluid and removing end caps or fittings while noting component orientation.
- Remove the damaged seal using appropriate tools, ensuring no damage to internal components or cylinder surface.
- Clean the sealing area thoroughly, then install the new seal with proper lubrication and correct orientation for optimal fit.
- Reassemble the cylinder, refill with clean hydraulic fluid, and conduct pressure testing to check for leaks and proper operation.
Identifying Signs of a Faulty Hydraulic Cylinder Seal
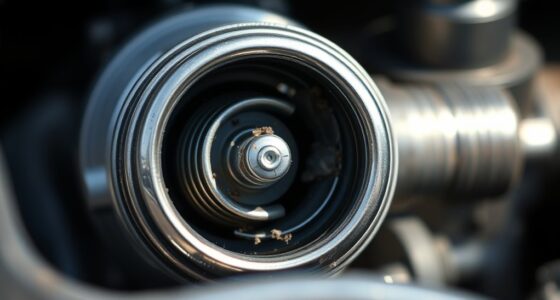
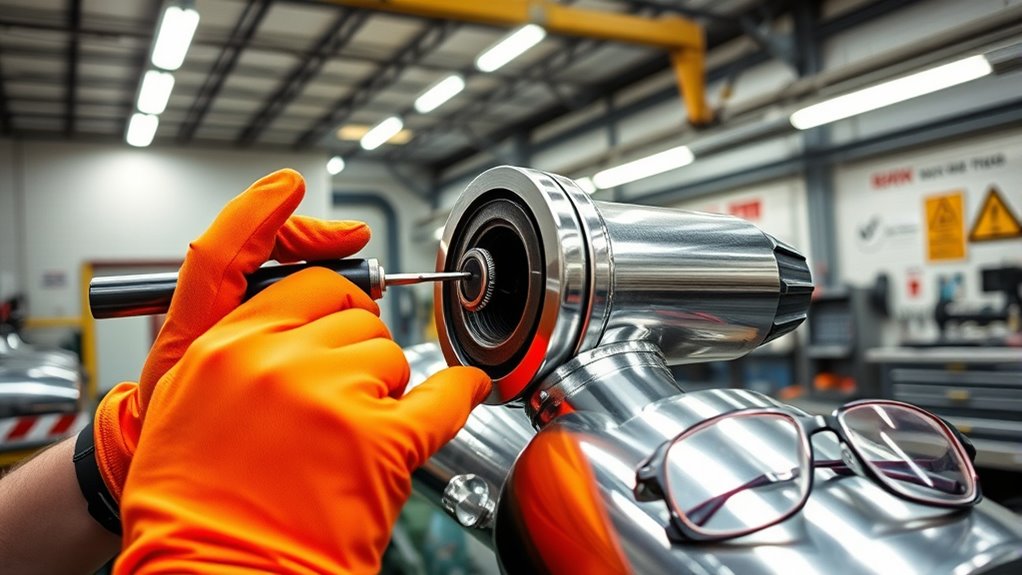
A faulty hydraulic cylinder seal often shows clear signs that you can spot early. One common indicator is hydraulic fluid contamination; if you notice the fluid is darker or gritty, it suggests seal deterioration. Leaks around the cylinder are another red flag, often caused by seal failure. You might also observe inconsistent machine performance, such as erratic movements or reduced pressure, signaling the seal isn’t maintaining proper seal material compatibility. Over time, worn seals can lead to increased wear on other components, so vigilance is key. Regular inspection helps catch these signs early, preventing costly repairs. Recognizing these indicators allows you to act swiftly, ensuring the hydraulic system remains efficient and avoiding further damage caused by compromised seals. Additionally, understanding the importance of proper maintenance can help prolong the life of hydraulic seals and prevent premature failure.
Gathering Essential Tools and Replacement Parts
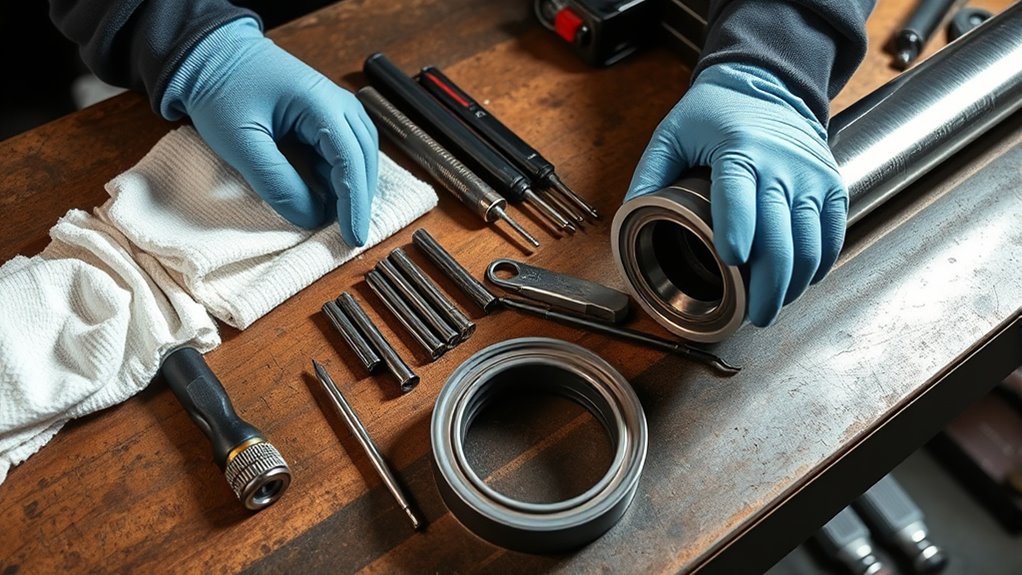
Before replacing a hydraulic cylinder seal, you need to gather the right tools and parts to guarantee a smooth process. Start by collecting essential tools like screwdrivers, wrenches, and a seal removal tool. You’ll also need clean rags and a container for any residual hydraulic fluid. For replacement parts, select high-quality seal materials compatible with your hydraulic fluid and cylinder specifications. Ensure you have the correct size seal to prevent leaks and future failures. It’s also helpful to have a replacement hydraulic fluid on hand for refilling after installation. Having everything ready before starting minimizes delays and ensures a safer, more efficient repair. Double-check your parts against the manufacturer’s specifications to avoid using incompatible materials that could compromise the seal’s effectiveness. Proper hydraulic system maintenance can extend the life of your seals and prevent common failures.
Safely Preparing Your Workspace and Equipment
Start by clearing your work area to prevent accidents and make certain you have enough space to work safely. Carefully inspect your equipment for any damage or leaks before beginning the repair. Taking these steps helps ensure a smooth and safe seal replacement process. Additionally, consider assessing your tools’ compatibility with planter materials or hydraulic components to avoid issues during reassembly.
Clear Work Area
Ensuring your workspace is clear and organized is essential for safely replacing a hydraulic cylinder seal. A tidy work area minimizes hazards and boosts efficiency, supporting workplace safety. Remove unnecessary tools, debris, and obstacles to prevent trips or accidents. Keep hydraulic fluid containers closed and stored properly to avoid spills. Proper hydraulic fluid management reduces slip risks and environmental hazards. Clear space allows you to work comfortably and access tools quickly, reducing the chance of mistakes. Use appropriate lighting to see all components clearly. Additionally, maintaining a clean environment can prevent contamination of hydraulic parts, which is crucial for optimal system performance. By maintaining an organized, clean workspace, you create a safer environment, streamline the seal replacement process, and help prevent accidents or fluid leaks that could compromise safety. This preparation sets the foundation for a smooth, safe repair.
Inspect Equipment Carefully
Careful inspection of your equipment is essential to a safe and efficient seal replacement process. Before starting, review the equipment maintenance records to identify any previous issues or irregularities. Check for signs of wear, leaks, or damage that could complicate hydraulic troubleshooting. Verify all hydraulic lines and connections are secure and free of rust or corrosion. Look for cracks or deformities in the cylinder and surrounding components. Confirm the hydraulic fluid level and quality, as contaminated fluid can hinder repairs. Use proper testing tools to verify pressure and functionality after repairs. Taking these steps minimizes risks, prevents further damage, and guarantees that your hydraulic system operates safely and reliably after the seal replacement. Additionally, conducting a visual inspection of components can help identify potential problems early and ensure the overall integrity of the system.
Removing the Hydraulic Cylinder for Seal Access
To access the hydraulic cylinder seal, you need to remove the cylinder from its mounting. First, drain the hydraulic fluid to prevent spills and messes. Carefully disconnect any hoses or fittings attached to the cylinder, noting their positions for reassembly. Support the cylinder securely to avoid accidents. When lifting it out, pay attention to piston alignment; misalignment can cause damage or difficulty during reinstallation. Keep track of all hardware and parts removed. Once free, place the cylinder on a stable surface. Removing the cylinder exposes the internal components, making it easier to access the seal. Proper handling ensures no further damage occurs, maintaining the integrity of the hydraulic system and simplifying the upcoming disassembly process. Awareness of system components can help prevent issues during reassembly.
Disassembling the Cylinder to Access the Seal
With the cylinder removed and positioned on a stable surface, you can begin disassembling it to access the seal. Start by carefully removing the cylinder end caps or fittings, noting their orientation for reassembly. As you take apart the cylinder, pay attention to the seal material—such as rubber, polyurethane, or other elastomers—and verify compatibility with your hydraulic system. Check the cylinder’s specifications to confirm the parts you’re handling match the original design. Use appropriate tools to avoid damaging the cylinder body or internal components. Keep track of all washers, O-rings, and other small parts. Disassembling carefully ensures that you won’t damage the cylinder or compromise its integrity when replacing the seal. Proper disassembly sets the stage for a successful seal replacement. Additionally, understanding the seal materials involved can help you select the most effective replacement and ensure longevity.
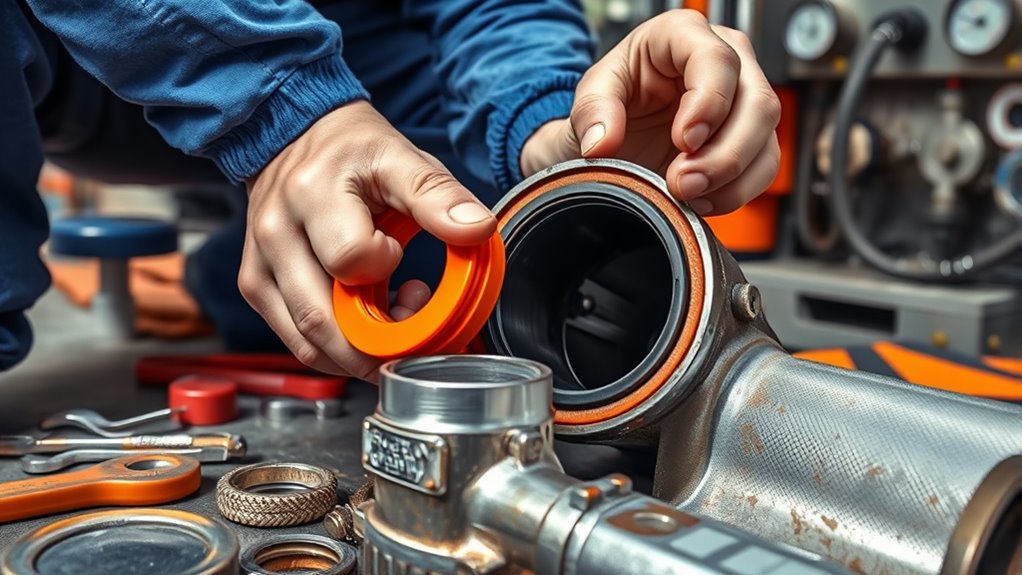
Removing the Damaged Seal Carefully
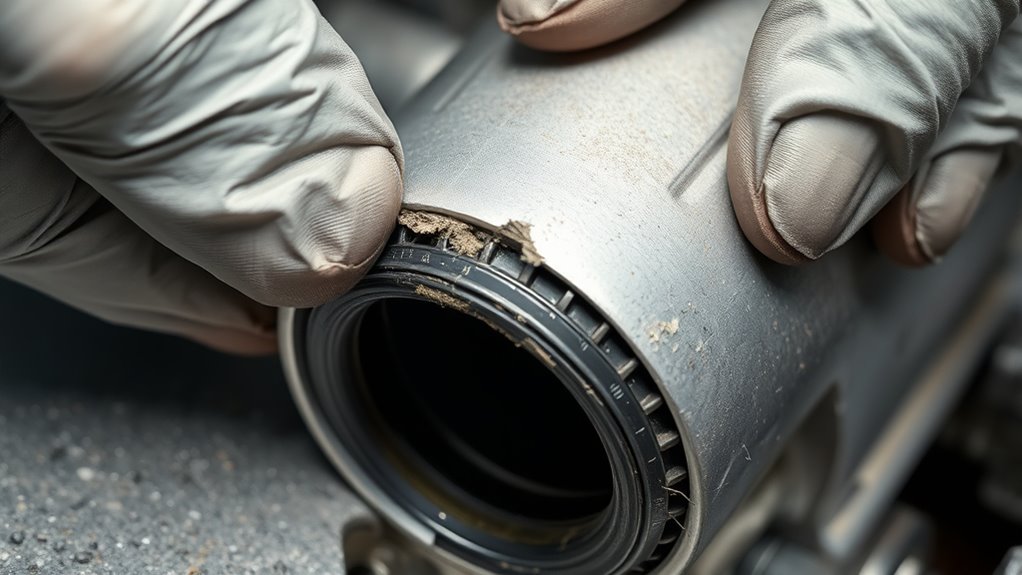
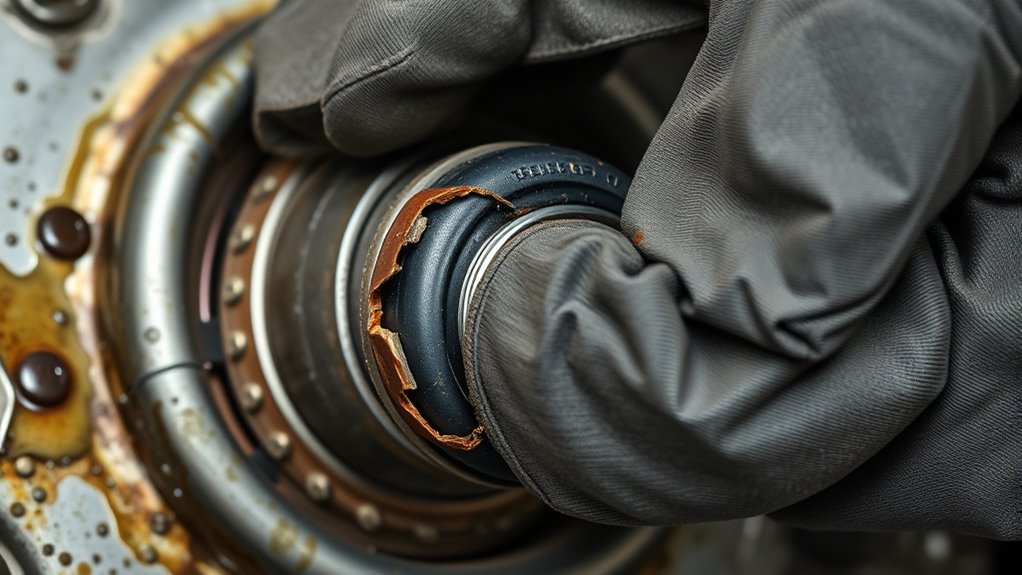
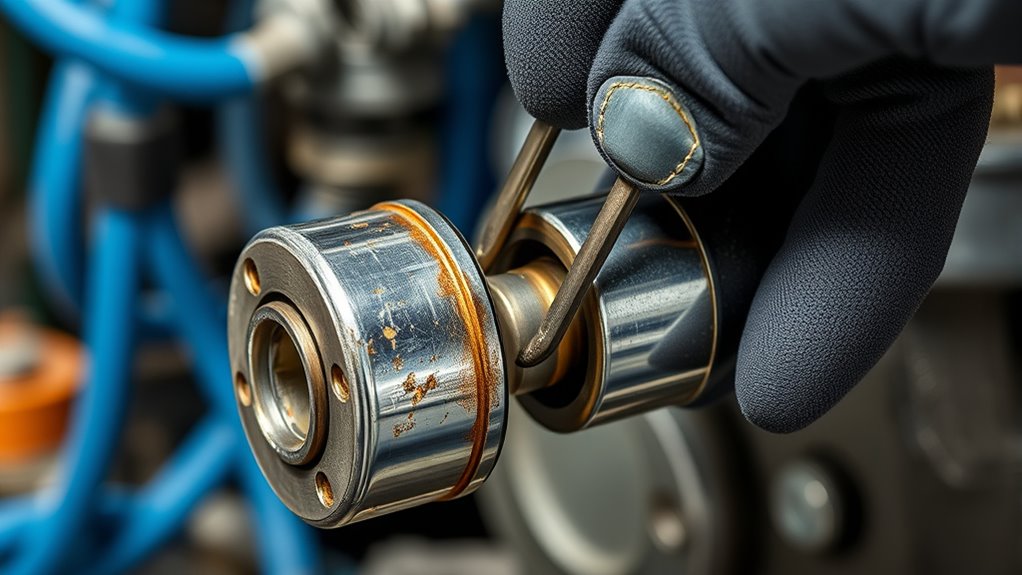
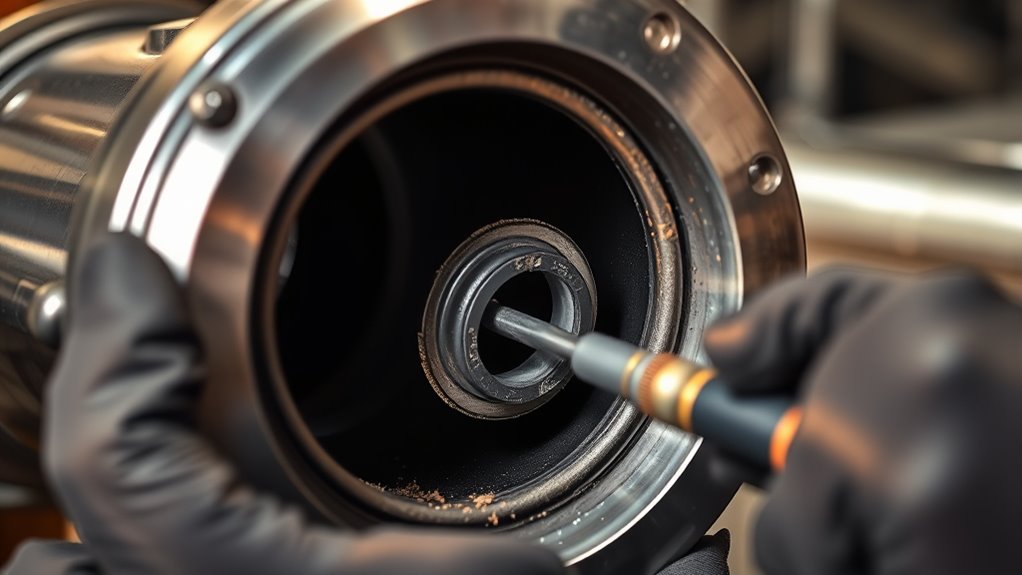
Once you’ve accessed the seal chamber, gently pry or slide out the damaged seal using the appropriate tools, such as a seal puller or a flat-head screwdriver. During seal removal, take care to avoid damaging the surrounding surfaces or the cylinder itself. Carefully inspect the seal and surrounding area for any signs of damage or debris, which is vital for damage assessment. If the seal is stuck, work slowly and apply even pressure to prevent tearing or scratching. Keep track of any pieces that break off, as leftover fragments can cause leaks or damage the new seal. Removing the damaged seal with precision ensures a thorough damage assessment, helping you identify any underlying issues that need addressing before installing the new seal. Additionally, understanding the hydraulic system’s design can help prevent future seal failures and ensure proper installation.
Installing the New Seal Properly
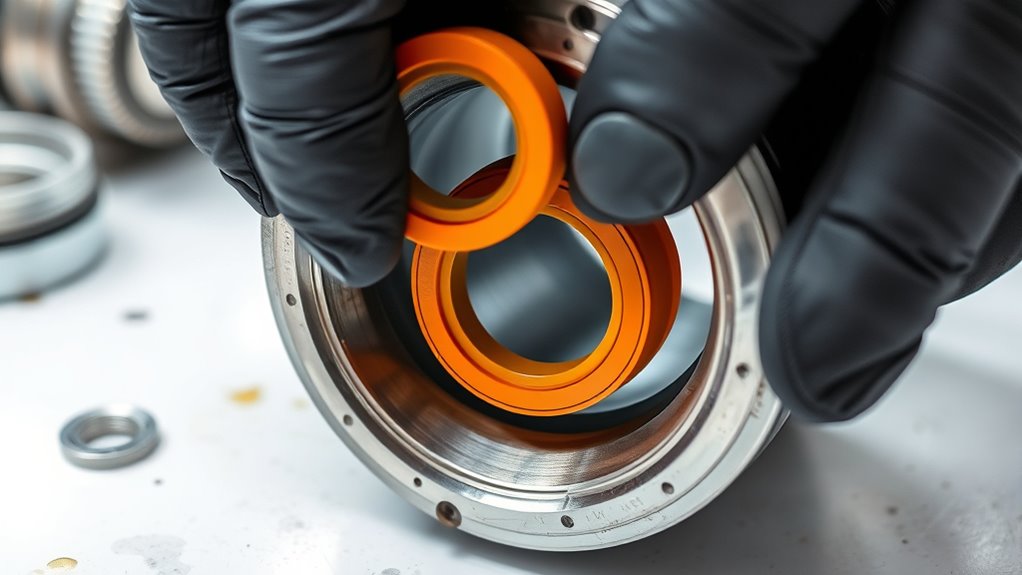
Start by preparing the new seal and cleaning the area thoroughly to guarantee a proper fit. Carefully position the seal, making sure it sits evenly and without twists. Double-check its alignment before completing the installation to prevent leaks or damage. Using a proper tool or your fingers, ensure the seal is seated firmly in place to avoid future issues with installation.
Prepare Seal and Area
Before installing the new seal, make certain the sealing surface and surrounding area are thoroughly cleaned and free of debris, dirt, or old gasket material. Proper preparation ensures the seal material seats correctly and prevents leaks. Apply a light coat of seal lubrication to the new seal’s surface, which helps it slide into place smoothly and reduces the risk of damage. Use a compatible lubricant recommended by the manufacturer to avoid compromising the seal’s integrity. Check that the area is dry and free of any contaminants that could interfere with sealing. Taking these steps guarantees a proper fit and ideal performance of the new seal, setting the stage for a successful repair. Proper area preparation minimizes future leaks and extends the seal’s lifespan. Additionally, inspecting for pet hair management issues beforehand can prevent contamination and ensure a cleaner installation environment.
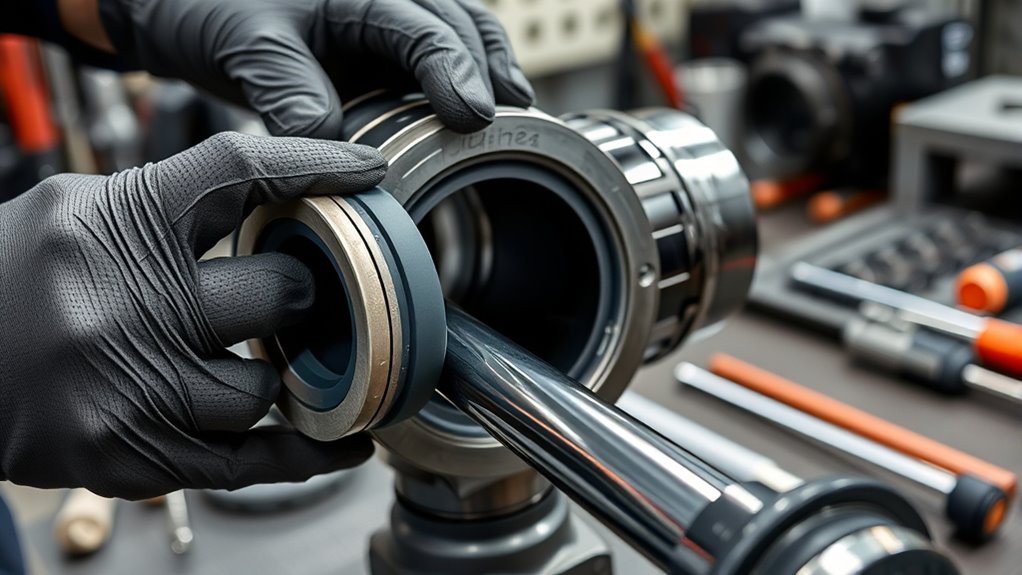
Correctly Position the Seal
To guarantee the seal is positioned correctly, carefully align it with the sealing surface and any guiding features such as grooves or shoulders. Pay attention to the seal material, making sure it isn’t damaged or twisted during installation. Proper seal orientation is essential; check the manufacturer’s markings or instructions to determine the correct side facing the fluid or the piston. Misalignment or incorrect orientation can cause leaks or premature failure. Gently press the seal into place, making sure it sits flush and seated evenly without distortion. Take your time to confirm that the seal material is not pinched or bent. Correct positioning ensures maximum sealing performance and extends the lifespan of the hydraulic cylinder.
Ensure Proper Seal Alignment
Ensuring proper seal alignment is crucial for a successful installation. You should carefully position the new seal, making sure it’s straight and centered within the cylinder. Before installing, apply a thin layer of seal lubrication to reduce friction and prevent damage during insertion. Use your fingers or a soft tool to gently press the seal into place, avoiding any twisting or misalignment. Pay close attention to the seal material, as some types are more flexible and require gentle handling. Proper alignment ensures that the seal’s lips sit correctly against the cylinder wall, preventing leaks and premature wear. Take your time during installation to confirm the seal is seated evenly and securely, setting the foundation for reliable hydraulic performance.
Reassembling the Cylinder and Reinstalling It
Once the new seal is properly installed, you can begin reassembling the hydraulic cylinder. Start by applying a thin layer of seal lubrication to the new seal and surrounding areas to ensure smooth movement and prevent damage during reassembly. Carefully slide the cylinder components back together, making sure they align correctly to avoid misfit or seal damage. As you reassemble, check that the hydraulic fluid ports are clear and free of debris. Use clean hydraulic fluid to lubricate moving parts as needed, which helps prevent future wear. Once everything is aligned and assembled, tighten all bolts and fittings securely, but avoid over-tightening that could damage the seal or cylinder. Finally, prepare for the testing phase to confirm proper operation.
Testing the Hydraulic System for Proper Functionality
After reassembling the hydraulic cylinder, it’s essential to test the system thoroughly before putting it into regular operation. Begin by filling the system with clean hydraulic fluid, ensuring there are no air bubbles. Next, perform pressure testing by gradually increasing the system’s pressure to the manufacturer’s recommended level. Watch for any leaks around the seal area or fittings, as these indicate issues with the repair. Monitor the hydraulic fluid for proper flow and responsiveness of the cylinder. If the system maintains pressure without drops and the cylinder moves smoothly, you’ve successfully restored functionality. Always double-check for leaks and abnormal noises before resuming full operation, ensuring your hydraulic system functions safely and efficiently.
Frequently Asked Questions
How Long Does a Hydraulic Cylinder Seal Replacement Typically Take?
The seal replacement duration varies depending on your experience and the hydraulic system’s complexity. Typically, it takes about 2 to 4 hours, fitting within a standard hydraulic repair timeline. You’ll need to carefully disassemble the cylinder, replace the seal, and reassemble everything. Efficient work can minimize downtime, but make certain you follow proper procedures to prevent future leaks. Overall, plan for a few hours to complete the job correctly.
Can I Reuse the Existing Hydraulic Cylinder Components?
You might think reusing existing hydraulic cylinder components saves time, but it’s risky. Seal material and component compatibility are vital; if the parts aren’t designed for reuse or don’t match precisely, leaks or failures can occur. Always inspect components thoroughly and consult manufacturer guidelines. Reusing parts can be cost-effective only if they’re in perfect condition and compatible, but often, replacing worn parts ensures better reliability and safety.
What Are Common Causes of Seal Failure in Hydraulic Cylinders?
You should know that seal failure in hydraulic cylinders often results from issues like improper seal material selection, which can’t withstand the operating pressure, or from excessive pressure spikes. Contaminants, abrasion, and misalignment also accelerate wear. To prevent failure, guarantee you choose the right seal material suited for your operating pressure and maintain clean, well-aligned components. Regular inspections help catch early signs of deterioration and prolong seal life.
Are There Different Types of Seals Suitable for Various Hydraulic Systems?
Think of seals like a well-tailored suit—different designs fit different needs. You should consider seal compatibility and material selection for your hydraulic system, as various seals suit specific pressures, temperatures, and fluids. From lip seals to piston seals, each type offers unique advantages. Choosing the right seal guarantees durability and efficiency, just like selecting the perfect suit for the occasion. Make sure to match the seal type to your system’s requirements.
How Often Should Hydraulic Cylinder Seals Be Inspected or Replaced?
You should inspect your hydraulic cylinder seals regularly, ideally every 3 to 6 months, depending on usage and operating conditions. During inspections, check for signs of wear, seal lubrication issues, or damage. Make certain seal compatibility with your system to prevent leaks or failure. Regular maintenance helps you catch problems early, extending the seal’s lifespan and maintaining peak system performance. Always follow manufacturer guidelines for specific inspection and replacement intervals.
Conclusion
Once you’ve replaced the seal and tested the system, you might notice how a small fix can unexpectedly prevent larger issues down the line. It’s almost like the broken seal was a hidden warning, and fixing it brings a surprising sense of relief. Sometimes, these simple repairs remind us that paying attention to small details keeps everything running smoothly—like a well-oiled machine. In the end, your hands-on approach turns a potential problem into a smooth, efficient system.