To upgrade your old splitter to electric start, first check compatibility and gather the right parts like a suitable starter motor, wiring harness, and battery. Clear your workspace and disconnect the manual pull cord, then carefully remove manual components. Mount the electric starter securely, connect the wiring, and position the battery nearby. Finally, test the system thoroughly to make sure everything works smoothly. Keep going to discover detailed steps on making this upgrade successful.
Key Takeaways
- Verify engine compatibility and support for an electric start system before beginning the upgrade.
- Remove manual recoil starter components carefully, keeping track of all parts for reassembly.
- Mount the starter motor securely, aligning it properly with the flywheel and ensuring proper wiring connections.
- Choose a suitable battery placement near the starter, and connect the wiring following manufacturer instructions for safety.
- Test the system thoroughly, checking electrical connections, and perform initial engine startup to ensure reliable operation.
Assessing Compatibility and Gathering Necessary Parts
Before upgrading your splitter to include an electric start, you need to determine if the existing machine can support the modification. Start with a compatibility check to see if your splitter’s engine and frame can handle the electric start system. Check the engine’s specifications for mounting points, wiring options, and available space. Next, consider parts sourcing—identify compatible electric start kits, solenoids, and wiring harnesses suited for your model. Confirm that the parts you select match your splitter’s engine type and voltage requirements. Gathering accurate information upfront helps avoid costly mistakes and guarantees a smoother upgrade process. Proper compatibility assessment and sourcing the right parts set a solid foundation for a successful electric start installation.
Preparing the Work Area and Safety Precautions
Before you start working on your splitter, clear the area of clutter to prevent accidents and guarantee easy access. Make sure to set up your workspace in a well-lit, flat location. Always wear protective gear like gloves, safety glasses, and hearing protection to stay safe during the upgrade.
Clear Workspace Setup
To guarantee a safe and efficient upgrade, you need to set up a clear workspace by organizing your work area and prioritizing safety precautions. Clear space helps prevent accidents and makes your tasks easier to manage. Remove clutter, tools, and debris, ensuring there’s enough room to work comfortably. A clean area also promotes better fuel efficiency by reducing unnecessary obstacles that could cause spills or delays. Additionally, a tidy workspace aids in noise reduction, minimizing distractions and protecting your hearing. Keep cords and tools organized to avoid tripping hazards. Adequate lighting is essential for precision. By establishing a well-organized, safe environment, you create ideal conditions for upgrading your splitter with minimal risk and maximum efficiency. Proper workspace setup also aligns with best practices for safety and efficiency, ensuring you work effectively and securely.
Wear Protective Gear
Wearing protective gear is crucial when preparing your work area for upgrading your splitter. Safety precautions help prevent injuries from sharp edges, hot surfaces, or unexpected machine movements. Before starting, put on safety glasses to protect your eyes from debris, and wear gloves to shield your hands from splinters and sharp components. Long sleeves and sturdy footwear also help safeguard your skin and feet. Hearing protection is a good idea if you’ll be working with loud tools or equipment. Always double-check that your protective gear fits well and is in good condition. Taking these safety precautions ensures you minimize risks and work confidently. Ensuring your safety equipment is properly maintained is essential for a safe, successful upgrade process. Remember, investing in proper protective gear is a necessary step toward a safe, successful upgrade process.
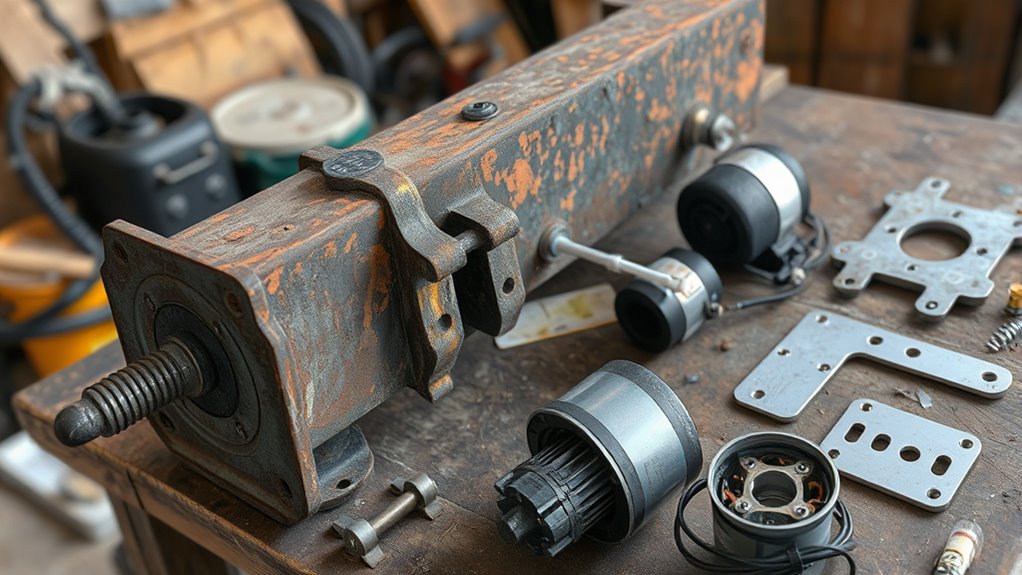
Removing the Existing Pull Cord and Manual Starting Components
Start by disconnecting the pull cord from the starter assembly to prevent accidental starts. Then, remove the starter assembly carefully, making sure to keep track of all parts. Finally, clear away any remaining old components to prepare for the electric start upgrade. Incorporating automation technologies can also streamline the upgrade process and ensure all components are properly integrated.
Disconnecting the Pull Cord
Before installing the electric start system, you’ll need to disconnect the existing pull cord and manual starting components. Begin by locating the manual recoil starter, which is connected to the starter rope. Carefully detach the starter rope from the recoil assembly, making sure not to damage the pulley or recoil spring. Once the starter rope is free, remove any mounting brackets or fasteners holding the pull cord assembly in place. If your splitter has a manual recoil starter, disconnect the cord at the handle and at the pulley, ensuring the old cord is completely removed. This clears the way for the new electric start components and prevents any interference during installation. Be cautious to keep track of all parts removed for future reference. Understanding how to safely disconnect mechanical parts is essential for a smooth upgrade process.
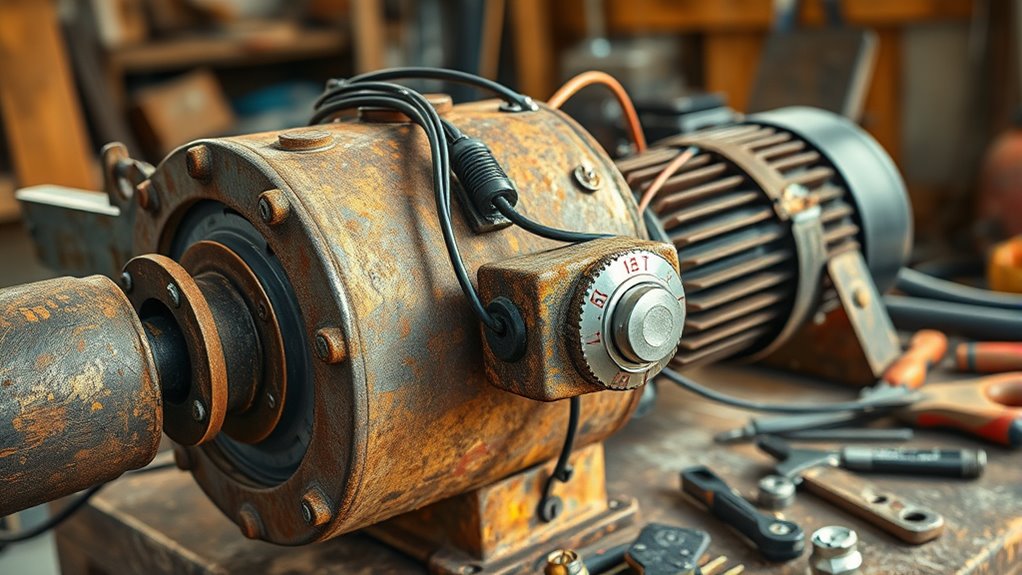
Removing Starter Assembly
To remove the existing pull cord and manual starting components, begin by locating the starter assembly connected to the recoil starter. Carefully detach any screws or bolts holding the assembly in place. Once loose, disconnect the starter motor wiring, ensuring you note where each connector goes. This step is essential for future electrical connections. With the manual components removed, you’ll prepare for the battery installation needed for the electric start system. Keep track of all hardware removed to make reassembly easier. Removing the starter assembly clears the way for installing the electric start components, including the new starter motor. Take your time to avoid damaging surrounding parts. This process sets the foundation for a reliable, upgraded electric start system on your splitter. Additionally, understanding the contrast ratio of your projectors can help optimize your home cinema setup for better image quality.
Clearing Old Components
Have you identified all the components of the pull cord and manual starter? Before installing the electric start, you need to clear out these old parts. Remove the pull cord, handle, and any associated manual starting components carefully. This step is important for engine maintenance, as leftover parts could interfere with the new system. Check the fuel system to ensure no debris or old fuel lines remain that might affect performance. Removing these components makes space for the new electric starter and prevents potential conflicts. Be thorough but gentle to avoid damaging the engine. Clearing out the manual starter setup streamlines the upgrade process and helps ensure your splitter runs smoothly with the new electric start system in place. Additionally, inspecting and cleaning the airless paint sprayer components can prevent future issues and extend the equipment’s lifespan.
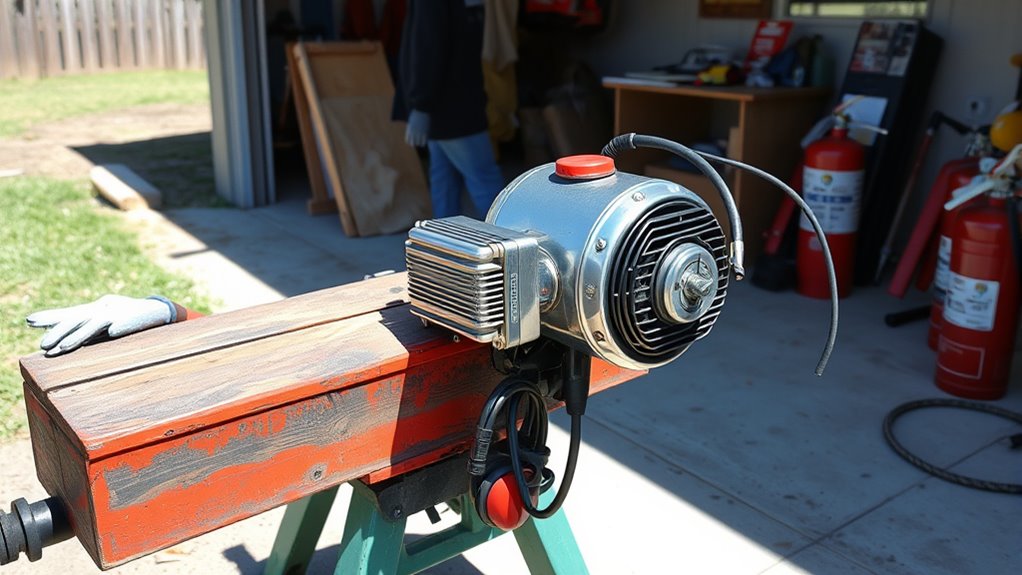
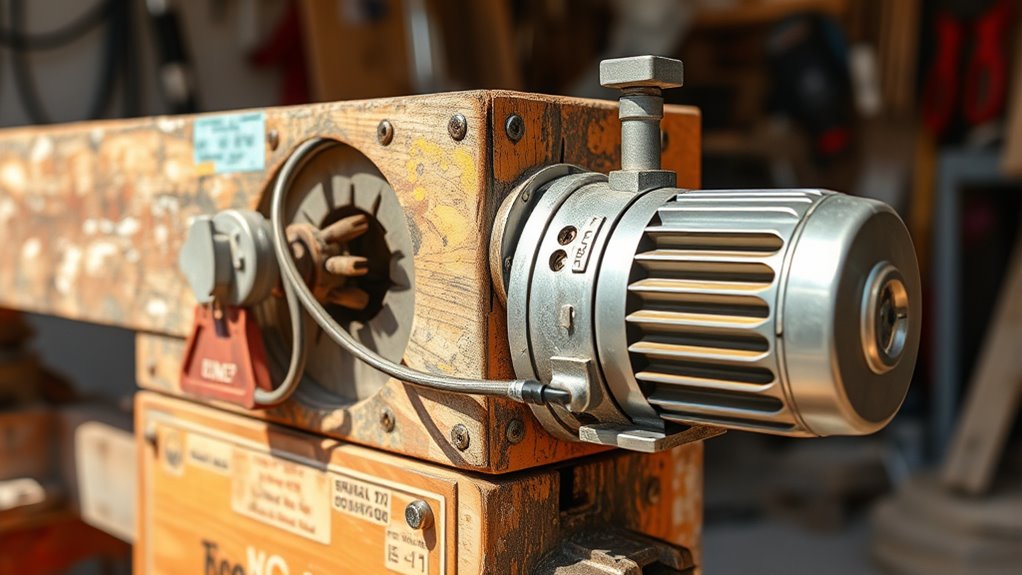
Installing the Electric Start System
Installing the electric start system involves carefully connecting the new components to your splitter’s existing wiring. First, verify your engine has the correct fuel mixture to support reliable starting. Before installation, check engine compression to confirm the engine is in good condition; low compression can hinder starting even with electric assistance. Mount the starter motor securely to the engine, aligning it with the flywheel. Connect the wiring harness according to the manufacturer’s instructions, making sure all connections are tight and insulated. This process bypasses manual starting methods, so double-check that the starter solenoid engages properly. Proper installation ensures the electric start will turn the engine over smoothly, provided the fuel mixture is fresh and the engine’s compression remains sufficient. Once installed, you’re ready for testing and further wiring. Crochet styles for locs can be a helpful reference if you want to add a protective and stylish element to your splitter’s appearance.
Wiring and Electrical Connections
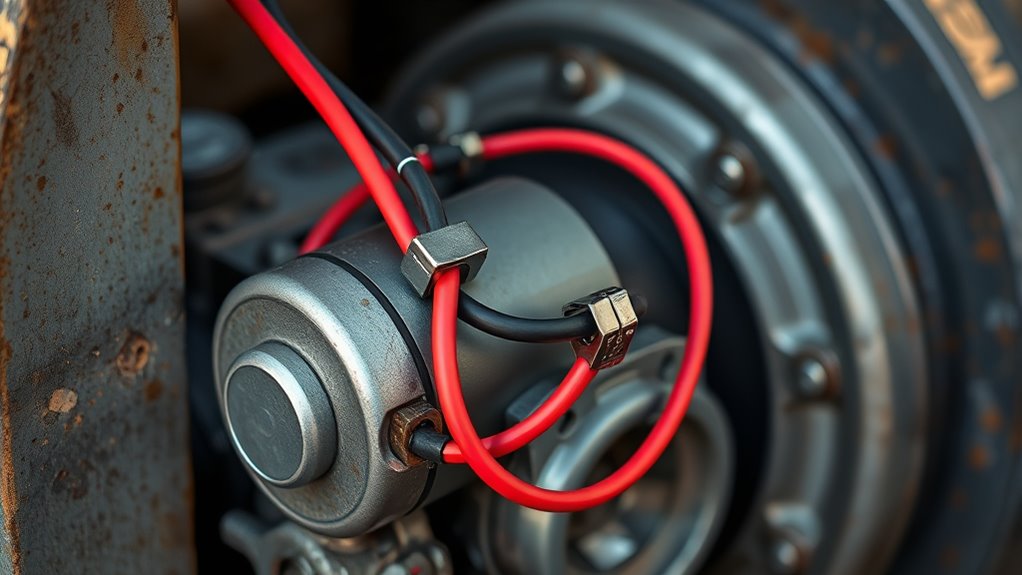
After securing the starter motor, focus on the wiring and electrical connections to guarantee the system functions correctly. Start by choosing an ideal battery placement—near the starter and within easy reach, ensuring good connection points and safety. Refer to your wiring diagram closely as you connect the positive terminal of the battery to the starter solenoid, then link the solenoid to the starter motor. Make sure all grounds are secure, typically to the engine block or chassis. Use appropriate gauge wire to handle the current load and insulate connections properly to prevent shorts. Double-check your wiring against the diagram, confirming that each connection is correct and tight. Proper wiring ensures reliable starts and safe operation of your upgraded splitter, especially considering the importance of electrical connections for system performance.
Testing and Fine-Tuning the Upgraded Splitter
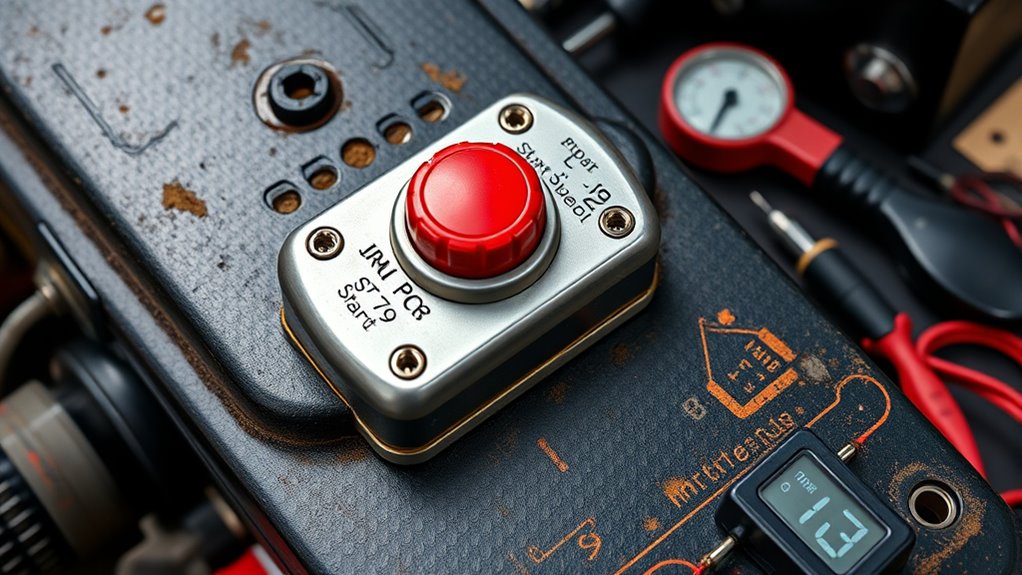
Before fully relying on your upgraded splitter, it’s essential to thoroughly test and fine-tune its operation. Start with battery testing to ensure the new power source provides consistent, reliable energy. Check the voltage and current flow, and replace or recharge the battery if needed. Next, focus on engine calibration to optimize performance. Run the engine and observe its startup and running behavior. Adjust the carburetor, ignition timing, or other settings to achieve smooth operation and efficient splitting. Listen for unusual noises or vibrations, and address any issues promptly. Fine-tuning may involve small tweaks to electrical connections or engine components. Additionally, consulting performance guidelines can help you identify optimal settings for your specific model. Once you’re confident that the battery testing and engine calibration are spot-on, your upgraded splitter will run smoothly and reliably.
Frequently Asked Questions
Can I Upgrade Any Old Splitter to Electric Start?
You can often upgrade your old splitter to electric start with a manual conversion using aftermarket kits. These kits typically include a motor, battery, and necessary wiring, making installation manageable. However, not all splitters are compatible, so check your model’s specifications. If it’s feasible, this upgrade can save you effort and time, providing a more convenient way to start your splitter without needing manual pull-starts every time.
What Is the Typical Cost of Converting to Electric Start?
Imagine turning a simple tool into a powerhouse—converting to electric start costs around $100 to $300, depending on your splitter’s model and parts needed. You should compare costs and consider safety, as electric starters reduce manual effort and risk of injury. A cost comparison helps you decide if upgrading makes sense, and safety considerations guarantee you make a smart, efficient choice for easier, safer operation.
How Long Does the Installation Process Usually Take?
The installation process typically takes about 2 to 4 hours, depending on your experience and the splitter model. You’ll need to follow safety precautions, like disconnecting power and wearing protective gear. Make sure you have the right tool requirements, such as screwdrivers, wrenches, and possibly a wiring kit. By planning ahead and working carefully, you can guarantee a smooth upgrade without rushing, making your splitter safer and easier to start.
Will Upgrading Affect the Splitter’S Warranty?
Warranty implications often depend on manufacturer restrictions. If you upgrade your splitter, it might void the warranty if the modification isn’t approved by the manufacturer. You should check your splitter’s warranty terms before making any changes. Some manufacturers limit coverage for modifications, so understanding these restrictions helps you avoid losing warranty benefits. Always consult the manufacturer or an authorized service provider to guarantee your upgrade doesn’t affect your warranty.
Are There Specific Brands or Models Compatible With Electric Start Kits?
Imagine your splitter as a loyal steed ready to power through snow or logs. When considering electric start kits, you need to check brand compatibility and model considerations. Some brands like Honda or Briggs & Stratton have specific kits designed for their models, ensuring a seamless upgrade. Always verify that the kit matches your splitter’s brand and model to avoid issues, similar to fitting a saddle perfectly on a trusted horse.
Conclusion
Upgrading your splitter to electric start not only makes your work easier but also boosts safety and efficiency. Did you know that manual starting can consume up to 20% more energy and cause fatigue? By adding an electric start, you reduce strain and improve productivity. With proper installation, you’ll enjoy smoother operation and fewer frustrations. Take the leap—modernize your splitter today and experience the difference it makes in your project and overall safety.