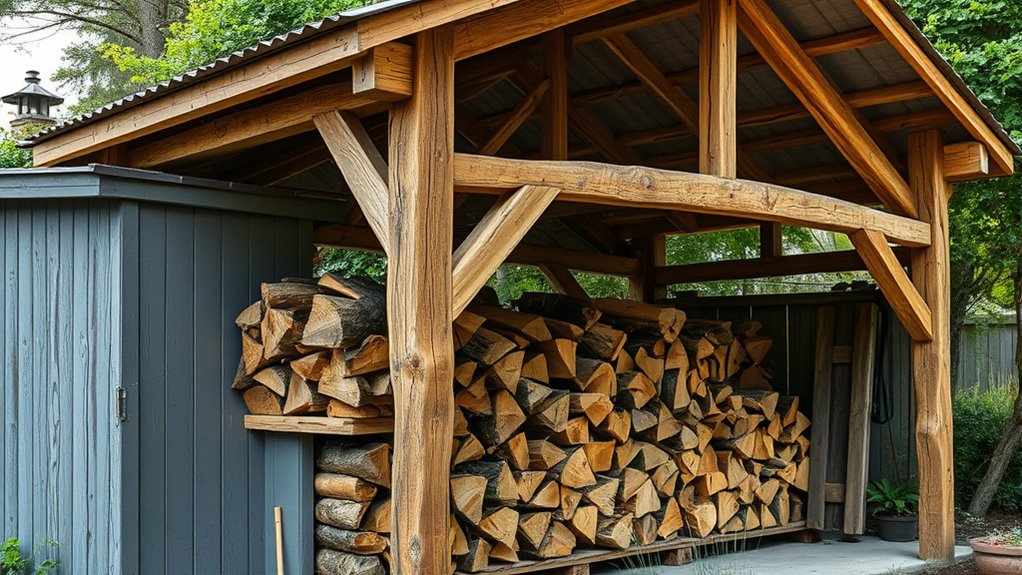

To construct a wood storage lean-to against your shed, start by planning its size and location, guaranteeing it blends well while providing enough space for your needs. Prepare a level foundation, then frame the support structure with weather-resistant lumber, securely attaching it to your shed for stability. Add a waterproof roof and side panels, reinforcing as needed. Finish with protective coatings and proper drainage to ensure durability. Keep exploring for detailed steps to make your project a success.
Key Takeaways
- Plan and position the lean-to to complement the existing shed, ensuring proper alignment and drainage.
- Select durable, weather-resistant materials like pressure-treated lumber and galvanized hardware for longevity.
- Build a stable foundation, such as a concrete slab or piers, to support the structure and prevent shifting.
- Frame the walls and roof with appropriate supports, incorporating ventilation and waterproofing for protection.
- Finish with sealing, painting, or staining, and ensure proper drainage and landscaping for an integrated, durable storage solution.
weather-resistant lumber for outdoor projects
As an affiliate, we earn on qualifying purchases.
As an affiliate, we earn on qualifying purchases.
Planning Your Lean-To Design and Layout
Before building your wood storage lean-to, you need to plan its design and layout carefully. Start by considering aesthetic considerations to ensure the structure complements your shed and yard. A well-designed lean-to enhances visual appeal without overwhelming the existing landscape. Think about the environmental impact, choosing sustainable materials and positioning it to minimize disruption to natural drainage or plant life. Decide on the size and orientation that maximize sunlight exposure while keeping your wood dry and accessible. A clear layout helps you anticipate space for stacking, airflow, and future expansion. Planning ahead ensures your lean-to is both functional and visually appealing, while also being environmentally responsible. Considering building materials and their environmental footprint can help create a more sustainable structure. Incorporating ventilation solutions during the planning phase can improve airflow, keeping your stored wood dry and preventing mold growth. Additionally, understanding hackathon concepts like remote collaboration can inspire innovative design solutions and efficient project planning. Taking these factors into account makes the building process smoother and results in a durable, attractive addition. Engaging with skilled craftsmanship can further ensure your lean-to is both sturdy and aesthetically pleasing.
galvanized hardware for shed attachments
As an affiliate, we earn on qualifying purchases.
As an affiliate, we earn on qualifying purchases.
Gathering Materials and Tools

Before you start building, you’ll need to gather all the essential materials and tools to get the job done efficiently. Make a checklist of necessary supplies, including lumber, fasteners, and any hardware, and guarantee you have the right tools on hand. Additionally, prepare your materials properly to save time and avoid mistakes during construction. Ensuring your digital literacy skills are up to date can also help you access helpful tutorials and resources during your project. Being familiar with sound healing science concepts can inspire you to incorporate calming auditory elements into your workspace, enhancing your overall environment. Incorporating knowledge of mindfulness techniques can also improve your focus and patience throughout the building process, especially when selecting effective skin care products like eye patches to maintain your well-being during breaks. Furthermore, understanding grocery savings strategies can help you budget effectively for any additional supplies you might need during the project.
Essential Materials Checklist
To build a sturdy wood storage lean-to against your shed, you’ll need to gather all the essential materials and tools beforehand. Focus on sustainable wood sourcing to guarantee eco-friendly construction, and plan for weatherproofing techniques to protect your stored firewood. Here’s a checklist to guide you:
| Materials | Quantity/Details |
|---|---|
| Pressure-treated lumber | For the frame and supports |
| Plywood or weatherproof siding | To shield against elements |
| Galvanized nails and screws | Rust-resistant for longevity |
| Heavy-duty roofing material | To cover and weatherproof |
| Sealant or weatherproof paint | For added weather resistance |
Ensuring proper venting of your wood storage area can help prevent moisture buildup and maintain the quality of your firewood. Adequate ventilation not only improves airflow but also reduces the risk of mold and decay inside your storage space. Proper airflow is especially important during humid seasons to keep your firewood dry and ready for use. Incorporating proper drainage around the structure can further prevent water accumulation and enhance longevity, which is essential for moisture control in outdoor storage solutions.
Necessary Tools List
Gathering the right tools is the next step to guarantee your wood storage lean-to is built efficiently and securely. You’ll need basic hand tools like a hammer, screwdrivers, and a measuring tape, along with power tools such as a cordless drill and a saw for cutting lumber. Safety equipment is essential—wear goggles, gloves, and ear protection during construction. Make sure your power tools are well-maintained to ensure safe and effective operation. A level helps keep your structure straight, while a square ensures accurate angles. Having these tools ready before you start saves time and prevents mishaps. Proper tool selection and safety precautions set a solid foundation for a successful build. Double-check your tools and safety gear before you begin. Using the correct building materials will also contribute to the durability and stability of your lean-to. Additionally, familiarizing yourself with essential oils for construction-related issues can help manage minor discomfort or stress during the project.
Material Preparation Tips
As you get ready to build your wood storage lean-to, assembling the right materials and tools sets the stage for a smooth project. Focus on hardware selection—choose durable, rust-resistant fasteners and brackets. Gather safety precautions like goggles, gloves, and a sturdy ladder. Proper preparation guarantees efficiency and safety during construction.
| Material Type | Purpose | Tips |
|---|---|---|
| Lumber | Frame | Use pressure-treated for longevity |
| Hardware | Fastening | Select galvanized for weather resistance |
| Safety Gear | Protection | Always wear PPE during work |
waterproof roofing for lean-to structures
As an affiliate, we earn on qualifying purchases.
As an affiliate, we earn on qualifying purchases.
Preparing the Site and Foundation
Before building your wood storage lean-to, you need to prepare the site and lay a solid foundation. Clear the area of debris and level the ground to guarantee stability. Consider how the lean-to will blend with your existing landscaping, adding decorative accents like stones or potted plants to enhance visual appeal. Proper site preparation improves drainage, preventing wood rot or water damage. Mark the footprint carefully, aligning it with your shed for seamless integration. If needed, pour a concrete slab or set piers to provide a durable base. Landscaping integration not only boosts curb appeal but also helps manage water runoff. Additionally, selecting the right foundation materials ensures your lean-to remains stable over time. Taking these steps ensures your lean-to stands securely and complements your overall yard design. Incorporating proper drainage solutions can further protect your structure from water-related issues. A well-designed foundation that accounts for soil stability will also contribute significantly to the longevity of your lean-to. To ensure long-term durability, consider consulting a building code specialist to confirm compliance with local regulations. Using a drainage system can help direct water away from the foundation, extending its lifespan.
concrete slab foundation kit
As an affiliate, we earn on qualifying purchases.
As an affiliate, we earn on qualifying purchases.
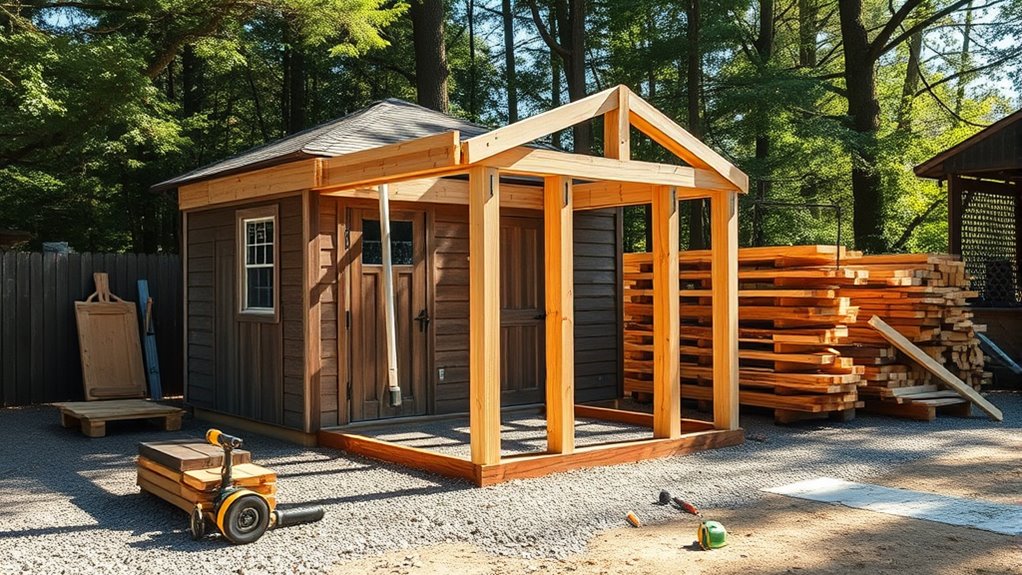
Building the Support Frame
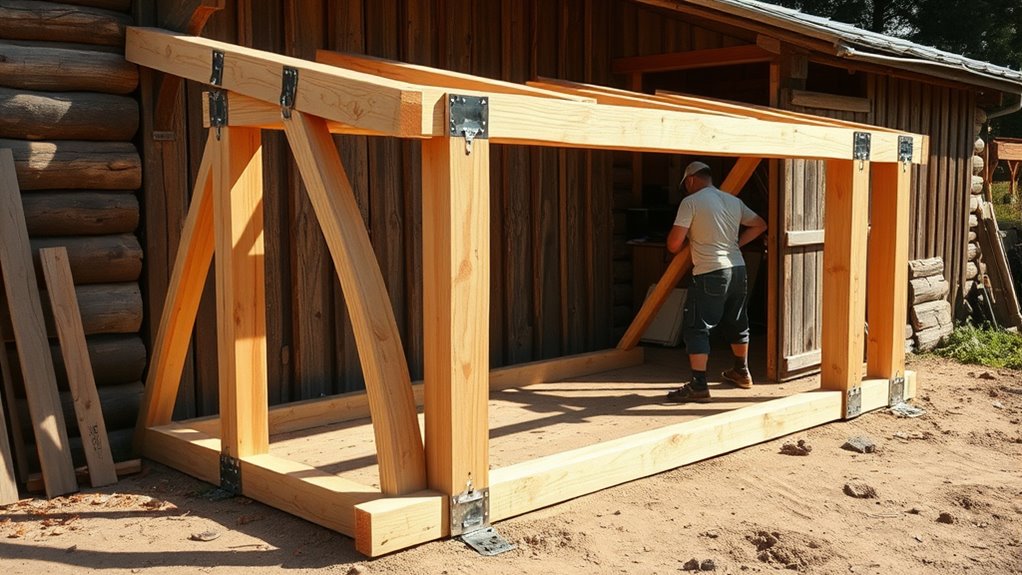
To construct a sturdy support frame, you need to choose the right materials that can withstand weather and weight. Once you have your supplies, assembling the frame carefully guarantees stability and safety. Let’s go over how to select the best materials and put the frame together effectively.
Selecting Suitable Materials
Choosing the right materials for your support frame is essential to guarantee your lean-to is sturdy and durable. You want materials that can withstand weather and support the weight of your wood storage. Pressure-treated lumber is a popular choice because it resists rot and pests. If you’re aiming for a consistent look, select materials that match your shed’s color scheme, creating a cohesive appearance. Consider adding decorative accents, like decorative brackets or painted finishes, to enhance visual appeal. Metal brackets or galvanized fasteners can improve strength and longevity. Always opt for quality materials that suit your climate and budget. Remember, the right selection not only supports your structure but also complements your overall outdoor design.
Assembling the Frame
Start by laying out the support frame on a flat, stable surface, ensuring all your pieces are cut to the correct lengths. Use proper framing techniques to assemble the structure, starting with the base and vertical supports. Join the pieces using wood jointing methods such as lap joints or corner blocks for added strength. Secure each connection with screws or nails, making sure they’re flush and tight. Double-check measurements before attaching each piece to maintain alignment. When framing the support structure, avoid over-tightening fasteners to prevent wood from splitting. Reinforce critical joints with brackets or braces if needed. This precise approach guarantees a sturdy, durable frame ready for the roofing and siding stages of your lean-to project.
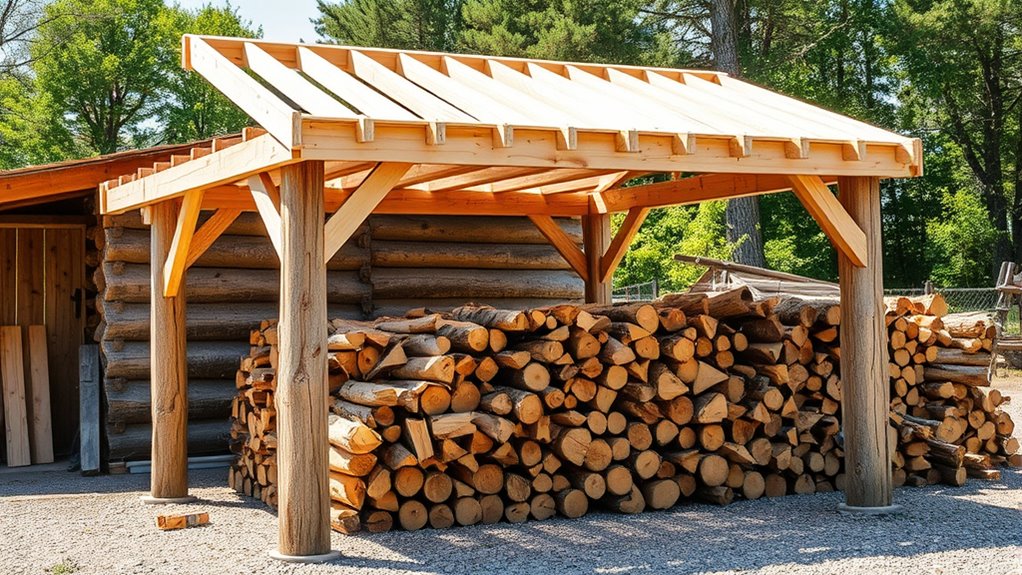
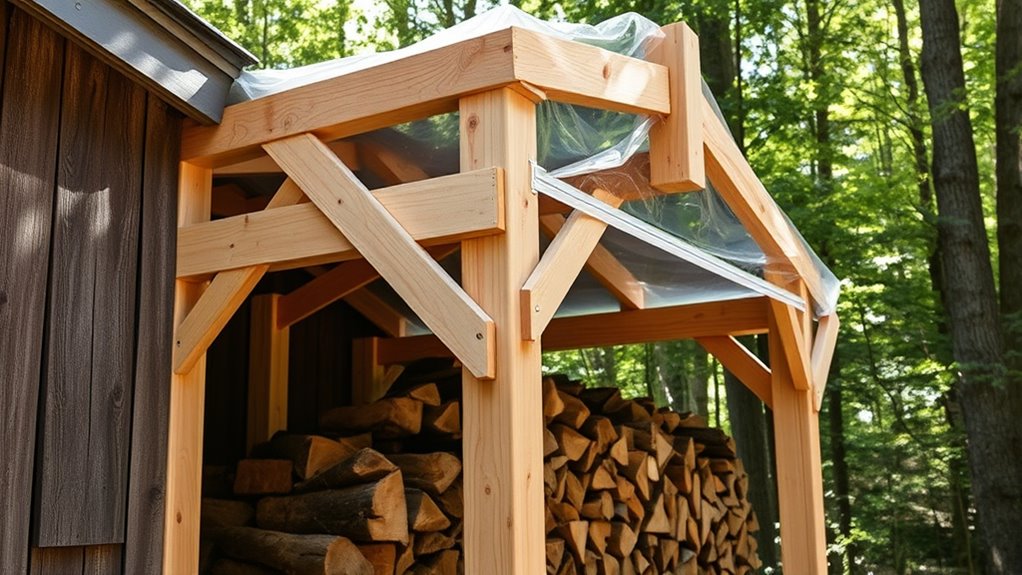
Attaching the Roofing Structure
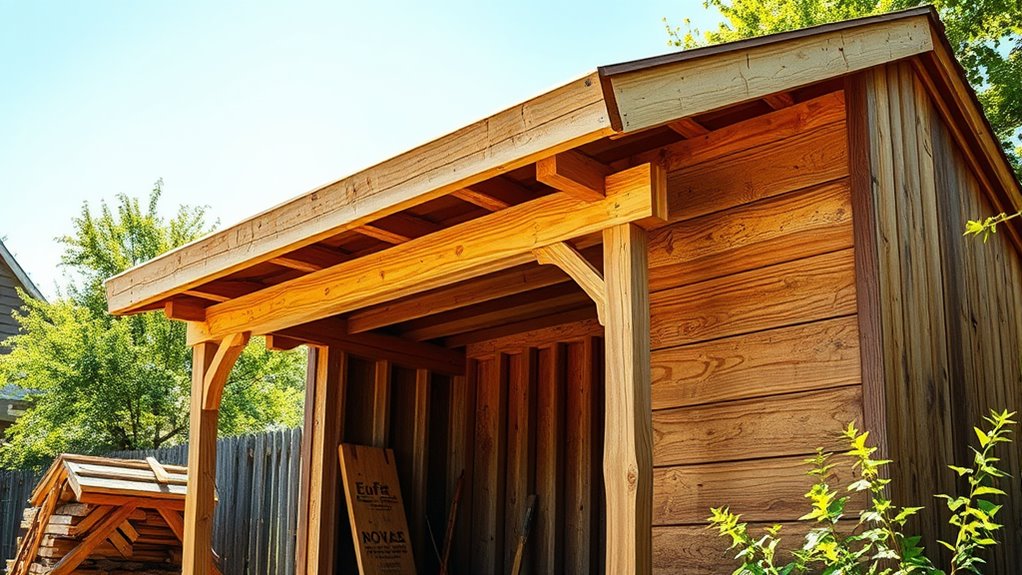
Attaching the roofing structure securely to the shed and the lean-to frame is essential for stability and durability. Proper attachment guarantees it withstands weather conditions and prevents leaks. When installing, consider ventilation options to prevent moisture buildup, which can damage stored wood. Use weatherproofing techniques like sealing joints and applying waterproof paint or membranes to protect against rain and snow. Secure rafters with galvanized brackets and bolts, ensuring a tight fit. To add sophistication, consider the following:
| Step | Action |
|---|---|
| 1 | Attach rafters to the frame using galvanized brackets |
| 2 | Seal joints with weatherproof sealant |
| 3 | Install ventilation gaps or vents for airflow |
| 4 | Cover with waterproof roofing material |
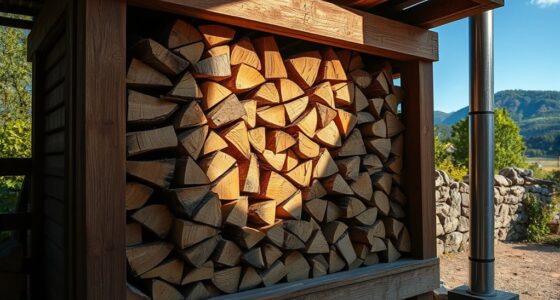
Securing the Walls and Sides
To guarantee your lean-to is stable and protected from the elements, securing the walls and sides properly is essential. Start by reinforcing the walls with additional bracing or diagonal supports to enhance wall reinforcement. This prevents any shifting or bowing over time. Next, focus on side panel fastening, ensuring each panel is tightly anchored to the frame. Use appropriate fasteners like screws or nails to secure the panels firmly, avoiding gaps where water or pests could enter. Check that all joints are flush and well-aligned before fastening, which helps maintain structural integrity. Properly secured walls and sides will withstand wind and weather, keeping your stored wood safe and dry. Take your time to double-check all connections for maximum stability.
Finishing Touches and Maintenance Tips

Once your lean-to is assembled and secured, applying a protective finish such as paint, stain, or sealant can considerably extend its lifespan. This step helps prevent weather damage, rot, and warping. To add a personal touch, consider decorative accents like window trim or colorful hardware, which enhance its appearance. Regular maintenance is key—check for signs of pest prevention, like gaps or holes, and seal them promptly to keep out insects and rodents. Keep the wood clean and inspect the roof and walls periodically for damage or wear. Reapply sealant or stain every few years to maintain protection. By staying proactive with these finishing touches and maintenance tips, your wood storage lean-to will stay durable, functional, and attractive for years to come.
Frequently Asked Questions
How Do I Ensure Proper Drainage Around the Lean-To?
To guarantee proper drainage around your lean-to, you need to create a slight drainage slope away from the structure, ideally about 1 inch per foot. Install water barriers like gravel or a weed barrier fabric to prevent moisture buildup and direct water away. Regularly check the slope and barriers, especially after heavy rain, to make sure water flows away efficiently, keeping your wood dry and your shed protected.
What Are the Best Materials for Long-Term Wood Storage?
You might think only expensive materials guarantee long-term wood storage, but that’s not always true. Durable options like pressure-treated lumber, metal, or concrete offer great longevity and resist rot and pests. Consider your budget carefully—while concrete lasts forever, it can be costly. Metal is affordable and durable, making it an excellent choice if you want longevity without overspending. Choose materials based on durability and your budget for the best results.
How Can I Make the Structure Wind-Resistant?
To improve wind resistance, you should focus on sturdy anchoring techniques like using ground anchors or concrete footings. Guarantee the structure is securely fastened to the foundation with heavy-duty bolts or brackets, and consider reinforcing joints with steel braces. Additionally, choose a design with a low profile and aerodynamic shape to minimize wind impact. Regularly inspect and tighten all connections to maintain stability during storms.
What Permits or Regulations Are Needed for This Build?
You need to check your local building codes and zoning regulations before starting your project. These rules specify what permits are required and any restrictions on size, height, or placement. Visit your city or county planning office or their website to find the necessary permits. Failing to follow these regulations can result in fines or having to undo your work. Always secure proper approvals to guarantee your build is legal and safe.
How Do I Prevent Pests From Damaging Stored Wood?
To prevent pests from damaging your stored wood, focus on pest prevention and wood preservation. Keep your wood off the ground using a raised platform or pallets to avoid moisture and pests. Cover the top but leave sides open for ventilation. Regularly inspect for signs of pests, and consider applying a pest-resistant treatment or preservative. Properly stored, your wood stays dry, pest-free, and preserved longer.
Conclusion
As you stand back and admire your new lean-to, remember it’s more than just a shelter—it’s a guardian for your wood, a steadfast shield against the elements. Like a sturdy tree standing tall in a storm, your work now holds your supplies safe and dry. With each piece secured, you’ve built not just a structure, but a symbol of your effort and patience—ready to shelter your firewood, just as roots anchor a tree through every season.