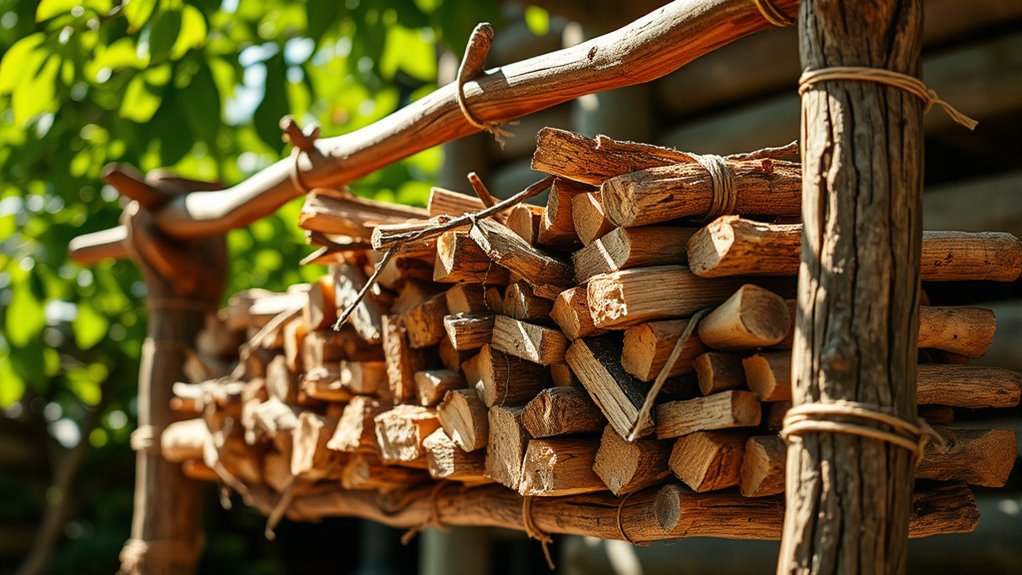

To build a drying rack for kindling, start by choosing durable materials like wood or metal and create a sturdy frame with proper spacing to allow airflow. Elevate the rack on pallets or platforms to prevent ground moisture and position it in a dry, well-ventilated area shielded from rain. Organize the kindling loosely for quick drying and check moisture levels regularly. Continue exploring for detailed steps to make sure your kindling dries efficiently and safely.
Key Takeaways
- Select durable materials like wood or metal to construct a sturdy, well-ventilated frame with proper spacing for airflow.
- Elevate the rack on pallets or platforms to prevent ground moisture from affecting the kindling.
- Position the rack in a dry, well-ventilated area protected from rain and excessive humidity.
- Ensure the structure is stable and securely assembled, and handle materials carefully during construction.
- Organize kindling loosely with proper spacing to promote airflow, monitor drying progress regularly, and maintain safety.
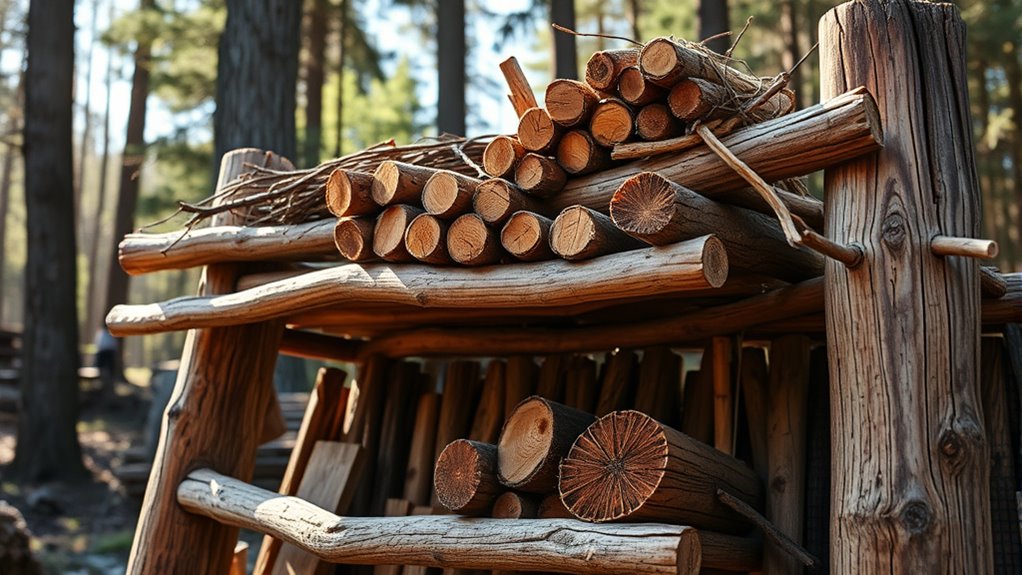
If you want reliable firewood, building a drying rack for your kindling is a smart and straightforward project. Properly dried kindling not only ignites more easily but also enhances your overall fuel efficiency when starting fires. When constructing your drying rack, keep safety precautions in mind to prevent accidents and ensure a durable, effective setup. Using simple materials like wood or metal, you can create a sturdy frame that allows air to circulate freely around your kindling, speeding up the drying process. It’s essential to choose a location that’s dry, well-ventilated, and protected from rain or excessive moisture, which can hinder drying and cause mold or rot.
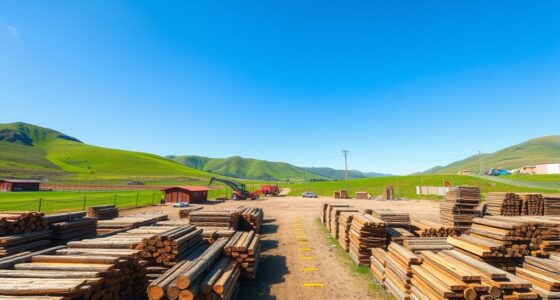
To maximize fuel efficiency, make sure your rack is designed with proper spacing between the pieces of wood. Overcrowding slows down drying and leads to damp, inefficient firewood. When stacking your kindling, keep it loosely arranged to promote airflow, helping the moisture evaporate quickly. This efficiency means you’ll use less wood over time, saving you money and reducing smoke emissions. Additionally, avoid stacking your kindling directly on the ground; elevate it slightly on a platform or pallets to prevent moisture absorption from the soil and to keep pests away.
Selecting a suitable drying method, such as using a dedicated kitchen app or journal for tracking drying times, can help you stay organized and ensure your kindling dries thoroughly before use. Safety precautions are vital during construction and use. When building your drying rack, wear protective gear like gloves and safety glasses, especially if you’re cutting or hammering materials. Ensure the structure is stable and secure to prevent collapses, which could cause injuries or damage. When handling firewood or kindling, be aware of sharp edges and splinters, and keep your workspace clear of clutter to avoid trips. Also, position your drying rack away from your home’s foundation or any combustible materials. Proper placement reduces fire hazards and allows you to keep an eye on your kindling without risking accidental fires.
Frequently Asked Questions
What Materials Are Best for a Homemade Kindling Drying Rack?
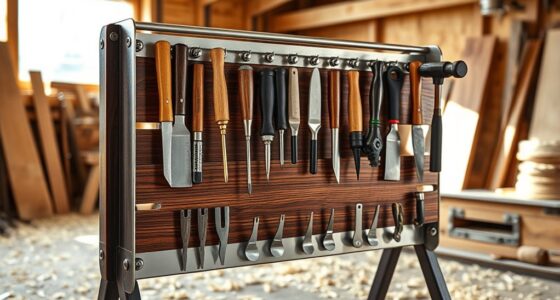
You should use wooden slats and wire mesh for your homemade kindling drying rack. Wooden slats provide a sturdy, breathable surface that allows air circulation around the kindling, helping it dry faster. Wire mesh adds ventilation and supports the wood slats, preventing mold and decay. Combine these materials for a durable, effective drying rack that keeps your kindling dry and ready for use.
How Long Does It Typically Take for Kindling to Dry?
It usually takes about 24 to 48 hours for kindling to dry completely, but fire safety and weather play vital roles. If it’s damp or rainy, it could take longer, so make certain your drying rack is in a well-ventilated, dry spot. Avoid drying in direct sunlight or extreme weather, as wet or overly dry wood can be unsafe for fires. Proper drying minimizes smoke and creosote buildup, keeping your fires safer.
Can I Use an Indoor Space for Drying Kindling Safely?
Yes, you can use an indoor space for drying kindling safely if you guarantee proper indoor ventilation and moisture control. Keep the area well-ventilated with open windows or fans to prevent humidity buildup. Regularly check that moisture levels stay low to avoid mold or mildew. Avoid drying in enclosed spaces without airflow, and consider using a dehumidifier to maintain a dry environment, ensuring safe and efficient drying of your kindling indoors.
How Do I Prevent Mold and Pests on the Drying Rack?
Think of your drying rack as a fortress against mold and pests. To prevent mold, guarantee good airflow and dry your kindling thoroughly before storage. Use pest control methods like cedar chips or natural repellents to keep pests at bay. Regularly inspect your rack, clean it, and avoid moisture buildup. This proactive approach keeps your kindling safe, dry, and pest-free, turning your indoor space into a secure, well-defended storage area.
What Are Some Space-Saving Designs for Small Areas?
You can save space by choosing a vertical storage drying rack, which utilizes height instead of floor area. Opt for a collapsible design that folds flat when not in use, making it perfect for small areas. These options help you maximize limited space while keeping your kindling dry and accessible. Look for lightweight, durable materials to guarantee easy setup and storage, making your drying process efficient without cluttering your space.
Conclusion
Now that you’ve built your perfect kindling drying rack, you’ll be surprised how simple it was—and how much easier it is to get that cozy fire going. Who knew that a few spare materials and some effort could save you from soggy, frustrating mornings? So go ahead, enjoy that crackling fire, and marvel at your handy work. Ironically, it’s the little things—like a dry pile of kindling—that make your evenings so much warmer.