Turn split wood into rustic shelves by selecting pieces with interesting grain patterns, knots, and natural contours, then thoroughly dry and sand them for texture. Mount them on sturdy brackets or anchors suited for your wall type, ensuring proper spacing and stability. Finish with natural oils to highlight the wood’s character. For a personalized touch, add decorative items that complement the rustic look. Keep exploring for step-by-step tips to craft the perfect shelves.
Key Takeaways
- Select split wood with interesting grain patterns and natural features like knots for authentic rustic shelves.
- Smooth rough edges and surfaces with sandpaper, emphasizing the wood’s natural texture and grain.
- Design the shelves to highlight irregular shapes, organic contours, and prominent knots for character.
- Properly mount with sturdy brackets and ensure level installation for stability and safety.
- Finish with natural oils or matte sealants to enhance wood beauty while maintaining a rustic look.
Gathering and Selecting the Perfect Wood

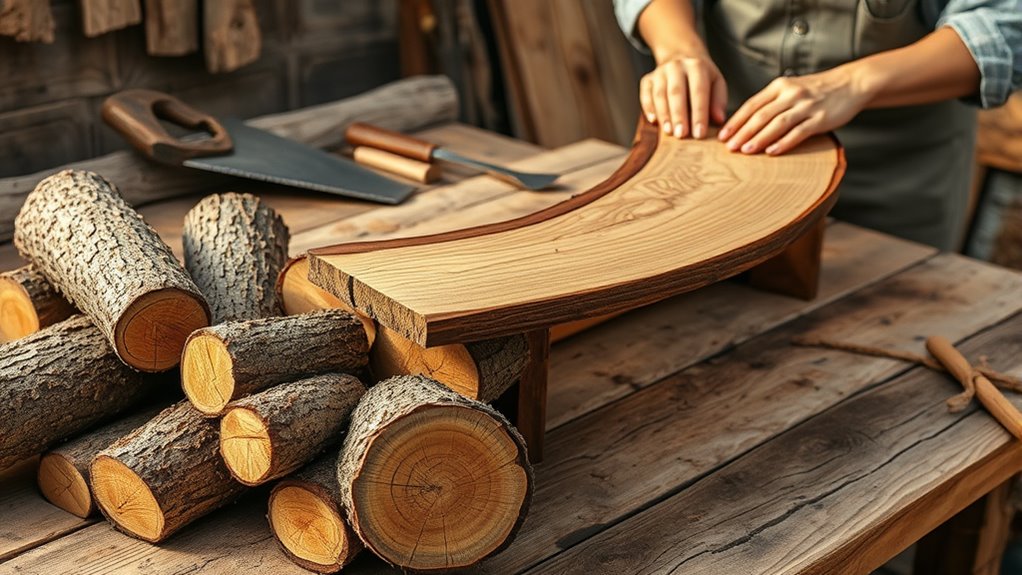
To create beautiful rustic shelves from split wood, start by gathering the right pieces. Look for wood with interesting grain patterns that add character and charm. The wood grain reveals the natural flow and movement of the timber, giving your shelves a unique, textured appearance. Pay attention to knot patterns, which can serve as focal points or charming imperfections that enhance the rustic look. Select wood with knots that aren’t too large or loose, ensuring stability and durability. Choose pieces with varied grain directions for visual interest. Avoid wood with cracks or rot, as these can compromise strength. The right selection of split wood with appealing grain and knot patterns sets the foundation for stunning, authentic rustic shelves that will stand out in your space. Additionally, considering the wood grain direction can help you achieve a more cohesive and visually appealing finished shelf, especially as recent advancements in neural networks can assist in analyzing and predicting optimal grain patterns for woodworking projects. Being aware of local wood characteristics can also guide your selection process to ensure durability and aesthetic harmony. Furthermore, understanding AI security considerations can help safeguard your woodworking plans from digital vulnerabilities when sourcing or sharing project designs online.
Preparing the Split Wood for Shelves

Before attaching the split wood to your shelves, you need to prepare it properly. First, verify the wood has dried thoroughly to prevent warping or splitting over time. Proper wood drying might take several weeks if the wood is fresh, so be patient and store it in a well-ventilated area. Always follow safety precautions when handling tools like saws or sanders, wearing gloves and eye protection. Smooth rough edges and surfaces with sandpaper to avoid splinters and create a clean look. Check for any loose or weak spots that could compromise the shelf’s stability. Preparing your split wood carefully will ensure your rustic shelves are both durable and safe to use. Proper drying and safety measures set the foundation for a successful project. Additionally, understanding the properties of contrast ratio can help you choose the right finish to enhance the natural beauty of your wood. Recognizing wood stability is also essential for ensuring your shelves remain sturdy over time. Paying attention to wood characteristics can guide your selection of the best treatment and finishing techniques, especially considering humidity levels that affect wood behavior. Incorporating techniques like wood treatment can improve the longevity and appearance of your rustic shelves.
Designing Your Rustic Shelf Layout
When designing your rustic shelf layout, think about how to space your shelves for both function and style. You’ll want to balance visual weight so the shelves feel stable and appealing. Incorporate natural shapes to enhance the rustic charm and create a cohesive, organic look. To achieve an authentic feel, consider the use of ambient sounds or natural acoustic effects to complement your rustic aesthetic, drawing inspiration from sound design techniques. Integrating the right office plants can also add a touch of greenery and warmth to your space, enhancing the overall rustic vibe. Additionally, maximizing space and organization can help keep your shelves tidy and functional, preventing clutter from detracting from the rustic appeal. Recognizing signs of emotional distance in relationships can also inspire more mindful organization, fostering a welcoming environment. Incorporating Kia Tuning options into your vehicle might seem unrelated, but just like well-tuned cars enhance performance, properly planned shelf layouts optimize your space and aesthetic.
Arranging Shelf Spacing
Arranging shelf spacing is a crucial step in creating a balanced and functional rustic shelf layout. Proper shelf spacing ensures that each piece has enough room to breathe while maintaining overall visual balance. You should consider the height of items you plan to display and leave enough space between shelves so they don’t look cluttered or sparse. Varying the gaps slightly can add visual interest, but avoid uneven spacing that disrupts harmony. Keep in mind that consistent spacing helps create a clean, cohesive look, making your shelves easier to organize and access. Take your time to experiment with different distances until you find a layout that feels right, balancing practicality with aesthetic appeal. Proper shelf spacing makes your rustic shelves both attractive and functional.
Balancing Visual Weight
Balancing visual weight is essential to creating an appealing and harmonious rustic shelf layout. You want each shelf to feel balanced, not lopsided or cluttered. Use color contrast to draw attention to key pieces or to create focal points, which can help distribute visual weight evenly. Incorporate visual symmetry by arranging items so that their sizes, shapes, and colors mirror each other across the shelf. For example, place a larger object on one side and balance it with a smaller, similarly colored piece on the other. Varying the height and depth of objects also helps distribute weight more naturally. Remember, a well-balanced shelf feels comfortable to look at and invites viewers to explore the entire display. Additionally, paying attention to wall organization techniques can enhance the overall aesthetic and functionality of your rustic shelves. Incorporating proper storage solutions can also help maintain a tidy appearance and prevent clutter from disrupting the visual harmony. Utilizing visual hierarchy strategies can further emphasize focal points and create a dynamic, balanced display. Considering cybersecurity when sharing your design ideas online can also protect your creative work from unauthorized use.
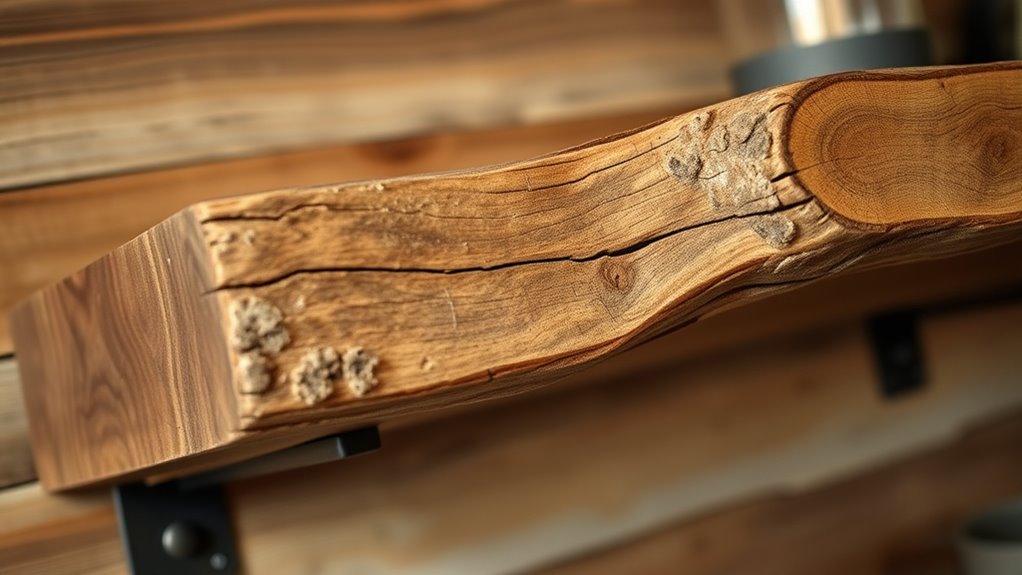
Incorporating Natural Shapes
Incorporating natural shapes into your rustic shelf layout brings an organic, authentic feel that enhances its charm. Use the unique wood grain and knot patterns to highlight each piece’s character. Let irregular edges and organic contours guide your arrangement, creating a sense of flow and harmony. Emphasize the natural beauty by selecting shelves with prominent knots or distinctive grain directions. Mix different shapes and sizes for visual interest. Consider the following ideas:
| Idea | Description | Effect |
|---|---|---|
| Curved edges | Use split wood with natural curves | Soft, flowing look |
| Knots as accents | Highlight prominent knots | Adds character |
| Irregular shapes | Combine asymmetrical pieces | Creates visual interest |
| Grain patterns | Arrange to showcase unique grain | Enhances authenticity |
Additionally, paying attention to the natural features of the wood, such as wood grain patterns, can greatly enhance the overall rustic aesthetic.
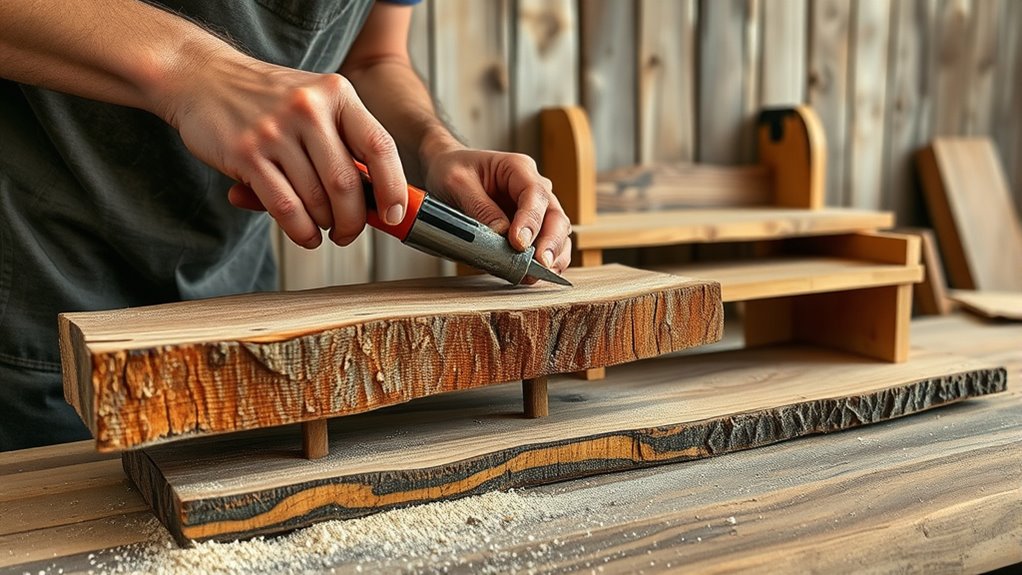
Sanding and Finishing the Wood for a Rustic Look

To achieve a genuine rustic look, you’ll want to focus on sanding and finishing your split wood carefully. Start by lightly sanding the surface to highlight the wood grain enhancement, which adds character and texture. Use coarse grit sandpaper initially, then move to finer grits for a smooth finish without removing the natural roughness that gives rustic charm. When applying natural wood finishes, choose oils or matte sealants that enhance the wood’s organic beauty and preserve its texture. Avoid glossy finishes, as they can detract from the rustic aesthetic. Remember, the goal is to enhance the wood’s natural features, so keep the finishing subtle and simple. Proper sanding and finishing will guarantee your shelves look authentic and inviting.
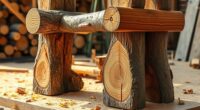
Mounting Hardware and Installing the Shelves

Choosing the right mounting hardware is essential to guarantee your shelves stay secure and stable. You’ll want to pick sturdy brackets or anchors suited for your wall type. Once you have the hardware, focus on proper installation techniques to keep your rustic shelves safe and level. Paying attention to cost behavior analysis during installation can help you understand and control expenses related to mounting materials. Additionally, selecting hardware with certifications and endorsements from beauty experts can ensure durability and safety for your shelves.
Selecting Mounting Hardware
Selecting the right mounting hardware is vital to guarantee your rustic shelves stay securely in place. You’ll want sturdy mounting brackets that can support the weight of the split wood shelves, especially if you plan to hold heavier items. Wall anchors are essential if you’re mounting into drywall, providing added stability and preventing the brackets from pulling out. Choose anchors that match your wall type and the weight capacity you need. Heavy-duty toggle bolts or molly bolts work well for thicker drywall, while plastic anchors suffice for light loads. Make certain your brackets and anchors are rated for the weight you expect to place on the shelves. Proper hardware selection prevents accidents and keeps your rustic display safe and secure.
Secure Installation Techniques
Once you’ve gathered the appropriate mounting hardware, it’s crucial to follow proper installation techniques to guarantee your rustic shelves stay secure. First, choose the correct drill bit size based on your wall anchors or screws to ensure a snug fit. Second, use wall anchoring techniques suited for your wall type—drywall, brick, or plaster—to maximize support. Third, mark precise drilling points with a level for even shelves. When drilling, apply consistent pressure and avoid forcing the bit to prevent damage. For added stability, install wall anchors before inserting screws, especially in hollow walls. Always double-check the mounting points’ alignment, and test the shelf’s stability before fully loading it. Following these steps ensures your shelves are securely installed and will last.
Styling and Caring for Your New Rustic Shelves
To keep your rustic shelves looking their best, it’s important to regularly dust and clean them with a soft cloth or gentle wood cleaner. This helps preserve the natural wood grain and prevents dust buildup that can dull the finish. When styling your shelves, consider arranging items to highlight the unique character of the wood. Mix decorative pieces with functional items for a balanced look. Keep shelf styling simple and avoid overcrowding, which can obscure the beauty of the split wood’s texture. If you notice any spots or stains, address them promptly with a mild cleaner. To maintain their rustic charm, avoid harsh chemicals or excessive moisture. With proper care and thoughtful styling, your shelves will continue to showcase their natural beauty for years to come.
Tips for Customizing and Personalizing Your Shelves

Personalizing your rustic shelves allows you to create a space that reflects your style and personality. To do this effectively, explore various personalization options and decorative accents. First, consider adding unique finishes like staining or painting to match your decor. Second, incorporate decorative accents such as vintage signs, small plants, or framed photos to give your shelves character. Third, customize the arrangement by mixing different wood textures or shapes for visual interest. These touches make your shelves more than just storage—they become a reflection of your personality. By thoughtfully selecting personalization options and decorative accents, you’ll craft a distinctive look that complements your space and showcases your taste.
Frequently Asked Questions
How Do I Prevent the Wood From Cracking During Drying?
To prevent cracking during wood drying, you need to control the moisture loss rate. Guarantee proper air circulation and store the wood in a cool, shaded area. Stacking the wood with spacers helps promote even drying and reduces stress. Seal the ends with wax or paint to slow moisture evaporation. These steps help with crack prevention, ensuring your wood dries evenly and remains intact for your project.
Can I Use Treated Wood for Rustic Shelves?
You can use treated wood for rustic shelves, but consider the benefits and drawbacks. Treated wood resists moisture and pests, making it durable for shelving. However, potential drawbacks include chemical odors and possible surface residues that may affect the rustic look. If you choose treated wood, guarantee proper sealing and sanding to maintain the aesthetic. This way, you get durability without compromising the rustic charm.
What Tools Are Essential for Shaping Split Wood?
Shaping split wood is like sculpting with nature’s own tools. You’ll need essential tools like a hatchet or axe for wood splitting techniques, ensuring clean, controlled cuts. A drawknife or spoke shave helps refine the shape, while a mallet or hammer assists in precise carving. Always prioritize hand tool safety—wear gloves and eye protection. These tools empower you to turn rough splits into beautiful rustic pieces, making your project both safe and successful.
How Can I Reinforce the Shelves for Heavier Loads?
To reinforce your shelves for heavier loads, you should use sturdy metal brackets that provide extra support. Opt for thicker planks, which naturally hold more weight and add stability. Secure the brackets firmly into wall studs to prevent sagging or collapse. Additionally, consider adding a back brace or support strips underneath the shelves for added strength. These steps make sure your rustic shelves can safely hold heavier items without compromising their charm.
What Are Eco-Friendly Finishes Suitable for Rustic Wood?
When choosing eco-friendly finishes for rustic wood, you should consider natural oils and water-based finishes. Natural oils like tung or linseed oil penetrate the wood, enhancing its beauty while providing protection. Water-based finishes are low in VOCs, making them safer for the environment and your home. They dry quickly and maintain the wood’s rustic charm. These options give your shelves a durable, eco-friendly finish that highlights the wood’s natural character.
Conclusion
By embracing the charm of split wood, you’ve created a warm, inviting space that feels uniquely yours. Your rustic shelves tell a story of craftsmanship and natural beauty, adding character to any room. With a little care and personal touches, they’ll become cherished highlights in your home. So, enjoy the process and let your creativity shine—after all, it’s the small details that truly make your space special.