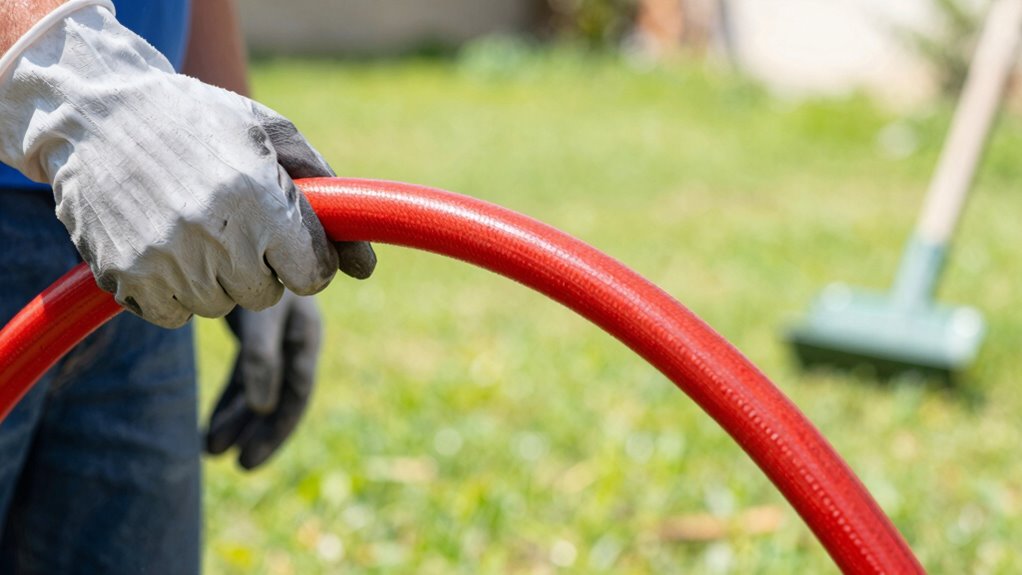

In under five minutes, you should start by visually inspecting the entire hose for cracks, fraying, swelling, or soft spots, paying close attention near fittings and bends. Next, give the hose a gentle squeeze to feel for brittleness or internal weak spots. Conduct a quick pressure test by increasing pressure slightly and watching for leaks or bulges. Listening carefully for hissing sounds helps catch subtle leaks. If you want to guarantee safe, reliable operation, there’s more to check—keep going.

Get tools and workshop supplies delivered free — and shop member deals
- Fast, free delivery on millions of items
- Access to Prime Big Deal Days deals on October 6–7
- Prime Video, Amazon Music and more included
Key Takeaways
- Visually check for cracks, fraying, swelling, or wear, focusing on fittings and stressed areas.
- Perform a quick pressure test to detect leaks, bulges, or pressure drops.
- Listen for hissing sounds or unusual noises indicating leaks or internal damage.
- Inspect the entire length for soft spots, blistering, or signs of internal deterioration.
- Ensure all fittings and connectors are secure and free from damage or wear.
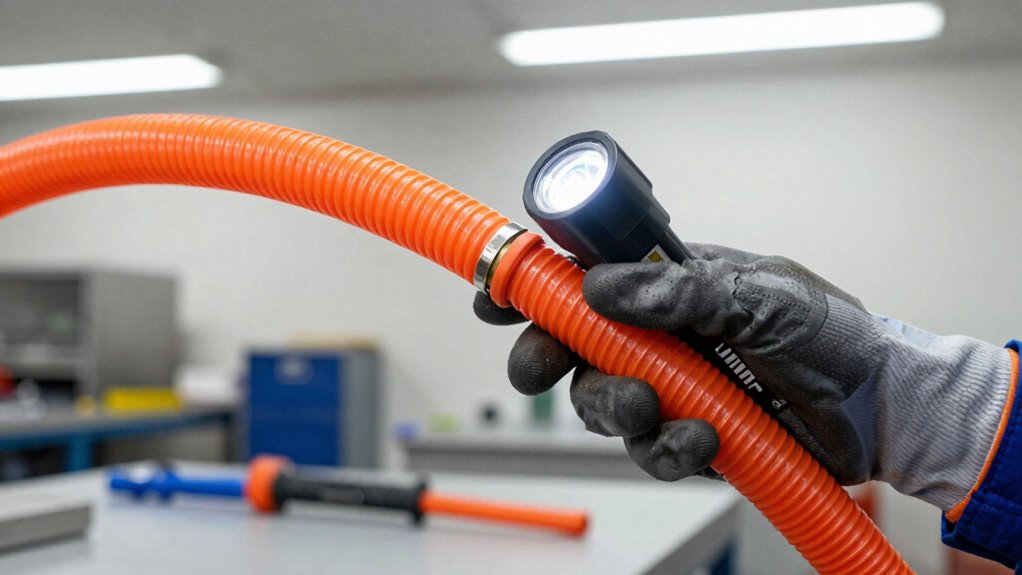
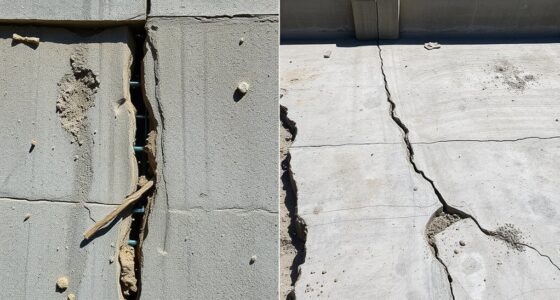
Ever wonder if you can quickly guarantee your hoses are safe and functioning properly? You absolutely can with a swift, focused inspection that takes less than five minutes. The key is knowing what signs to look for and how to efficiently evaluate your hoses’ condition. First, start with a visual check—look for any obvious signs of material degradation. Over time, hoses can develop cracks, brittleness, or fraying, especially around fittings and bends. If the outer layer appears worn or brittle, it’s a red flag that the material might be compromised, increasing the risk of failure under pressure.
Conduct quick visual checks for cracks, brittleness, or fraying, especially around fittings and bends, to ensure hose safety.
Next, examine the entire length of the hose for any swelling, blistering, or soft spots. These can indicate internal damage or weakening of the hose material. Pay particular attention to areas near connectors or fittings, where stress and wear are often more intense. If you notice any of these issues, it’s best to replace the hose before it causes a failure. Remember, material degradation often happens gradually, but early signs are usually visible if you know what to look for. Regularly checking the hose integrity helps catch issues before they escalate. Additionally, understanding how material degradation impacts hose safety can help you better identify potential problems during your quick inspection. Incorporating visual and physical checks into your routine allows for a comprehensive evaluation within minutes.
After the visual inspection, perform a quick pressure test if your setup allows. This involves temporarily increasing the pressure within the hose to the recommended working level, then observing for leaks, bulges, or drops in pressure. If the hose holds the pressure steadily without any signs of leaking or deformation, it’s a good indicator that the internal structure is still intact. Conversely, if you notice any leaks or pressure drops, it’s a clear sign the hose may be compromised and needs replacing. Keep in mind, pressure testing isn’t about pushing the hose to its maximum—it’s about confirming it can handle its normal operating conditions safely. Incorporating a regular inspection routine can significantly reduce unexpected failures and safety hazards.
While performing these checks, also listen carefully. A hissing sound or other unusual noises during pressure testing can indicate small leaks or weak spots. These auditory cues can sometimes reveal issues that aren’t immediately visible. Additionally, maintaining proper vacuum and pressure levels can help extend the lifespan of your hoses and prevent premature failure. If you follow this simple routine—visual inspection for material degradation, a quick pressure test, and attentive listening—you can confidently determine whether your hoses are fit for use in just minutes. Regular, rapid inspections like this help prevent accidents, reduce downtime, and extend the lifespan of your equipment. In the end, a quick, thorough check is your best defense against unexpected failures caused by unnoticed damage or internal weakness.
As an affiliate, we earn on qualifying purchases.
Frequently Asked Questions
How Often Should I Perform a Hose Inspection?
You should perform a hose inspection at least once a month, depending on the hose material and usage. Regular inspection frequency helps you catch signs of wear, cracks, or leaks early. Check for damage, guarantee fittings are secure, and look for abrasions or bulges. Frequent inspections keep your hoses in good condition, prevent failures, and ensure safety during operation. Adjust inspection frequency based on how often and intensely you use the hoses.
What Tools Are Needed for a Quick Hose Check?
Think of your hose as a health check-up; you need simple tools for a quick glance. Grab a flashlight to spot cracks or wear, your hands to feel for soft spots or bulges, and a magnifying glass for detailed inspection of hose material. These inspection techniques help you identify leaks, abrasions, or damage, ensuring your hose remains reliable. With these basic tools, you can keep your hose in top shape effortlessly.
Can Minor Damages Be Repaired On-Site?
Yes, minor damages can often be repaired on-site using proper repair techniques suited for your hose material. For example, if your rubber hose has small leaks, you can use a patch or sealant designed for rubber. For plastic or PVC hoses, a strong adhesive or heat welding may work. Always confirm the damage is clean and dry before applying repairs, and follow manufacturer instructions for the best results.
What Are Signs of Imminent Hose Failure?
Signs of imminent hose failure include visible cracks, bulges, or leaks in the hose material. You should also pay attention to any unusual stiffness or soft spots. Conduct pressure testing regularly to detect weak spots that could give way under stress. If any of these signs appear during inspection, replace the hose promptly to prevent failure. Regularly checking hose material and performing pressure tests can save you from costly and dangerous failures.
How Do I Safely Disconnect a Hose for Inspection?
Think of disconnecting a hose like carefully unwrapping a delicate gift. First, turn off the water supply and relieve pressure to avoid surprises. Wear safety gloves and eye protection as safety precautions. Then, loosen the fittings slowly and steadily, using a wrench if needed. Keep the hose supported to prevent kinks during hose cleaning or inspection. Always handle with care to avoid damage and guarantee safety throughout the process.
Conclusion
In just five minutes, you can catch potential hose issues before they turn into costly problems. Think of your hose as a lifeline—neglect it, and you risk losing essential connections. A quick inspection is like a heartbeat check, ensuring everything flows smoothly. Don’t wait for a leak to tell you something’s wrong; be proactive. Remember, a well-maintained hose isn’t just a tool; it’s the bridge to safe, efficient work.
Fall yard work Picks
leaf blowers
As an affiliate, we earn on qualifying purchases.