To repair a cracked I-beam weld, start by thoroughly inspecting the damage with nondestructive testing to determine its extent. Next, prepare the area by cleaning and removing any rust or debris, then carefully remove the damaged weld section. Afterward, select the proper welding process and guarantee proper technique for a strong, durable fix. Conduct post-weld inspections and testing to confirm quality. For more detailed steps and safety tips, continue exploring the repair process.
Key Takeaways
- Inspect the crack using nondestructive testing to assess severity and locate hidden flaws before repair.
- Remove damaged weld material and clean the area thoroughly, ensuring a rust- and contaminant-free surface.
- Properly bevel the edges if needed, then apply controlled welding with correct settings for full penetration.
- Conduct post-weld nondestructive testing to verify weld integrity and detect any hidden defects.
- Perform load testing or stress analysis to confirm the repair restores structural safety and durability.
Assessing the Extent of the Damage

Before attempting any repairs, you need to thoroughly assess the extent of the damage to the cracked I-beam weld. Start by examining the material properties of the steel, as these influence how cracks develop and propagate. Check for signs of fatigue or corrosion that may weaken the weld’s integrity. Use nondestructive testing methods like dye penetrant or ultrasonic testing to detect hidden cracks and determine their size and depth. Pay close attention to weld stress patterns, as areas experiencing high stress are more prone to cracking. Understanding the material’s behavior under load helps you gauge whether the damage is superficial or critical. Additionally, evaluating the material properties can provide insight into how the steel will respond to repair processes. Accurate assessment guarantees you choose the right repair method and prevent future failures.
Safety Precautions Before Starting Repairs
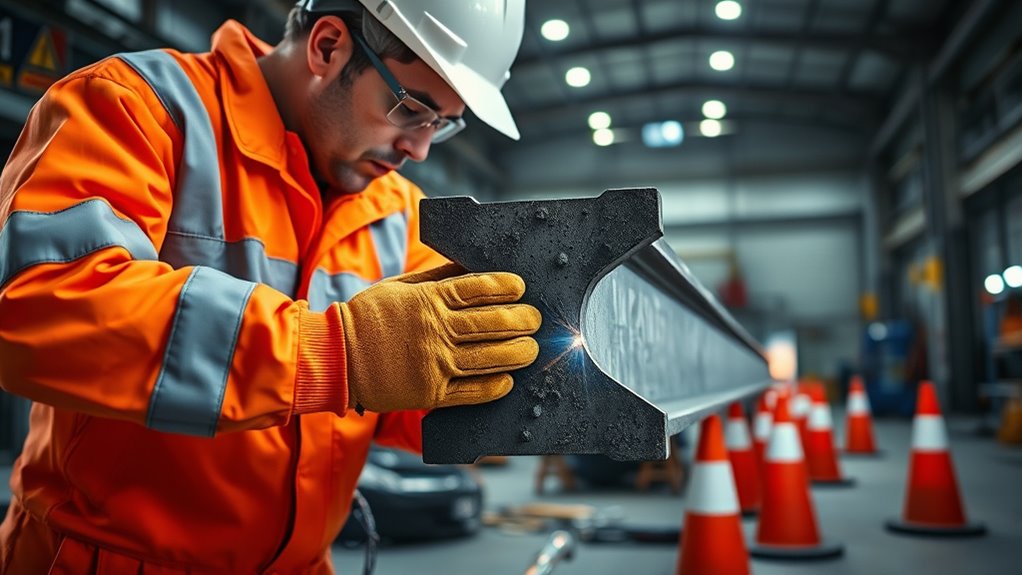
Ensuring safety is paramount before you begin repairing a cracked I-beam weld. You should wear appropriate personal protective equipment, including gloves, safety goggles, and a welding helmet, to protect against sparks, fumes, and hot surfaces. Verify that your workspace is well-ventilated to avoid inhaling harmful fumes. Familiarize yourself with emergency procedures, such as the location of fire extinguishers and first aid kits, in case an accident occurs. Make sure electrical devices are properly grounded, and check all tools for damage before use. Clear the area of unnecessary personnel to prevent accidents. Taking these precautions helps prevent injuries and ensures a safe environment, allowing you to focus on the repair process effectively and confidently. Additionally, understanding the importance of contrast ratio in projectors can improve your ability to evaluate the quality of visual aids used during safety training sessions.
Preparing the Work Area and Materials

To effectively repair a cracked I-beam weld, you need to thoroughly prepare your work area and gather the necessary materials. Start by clearing the space of debris and clutter to ensure safety and ease of access. Wear your protective gear—gloves, goggles, and a respirator—to shield yourself from sparks, dust, and fumes. Organize your tools—grinders, welding equipment, clamps—so everything is within reach and properly maintained. Check your materials, including filler metals and cleaning supplies, to confirm they meet the project requirements. A tidy, well-prepared work area minimizes hazards and streamlines the repair process, allowing you to focus on precision. Proper preparation guarantees safety, efficiency, and a quality weld repair. Additionally, understanding trust issues and establishing clear communication can prevent misunderstandings during collaborative repair projects.
Removing the Damaged Weld Section

Start by marking the boundaries of the cracked weld with a permanent marker or chalk to clearly define the area that needs removal. This guarantees you stay within the damaged weld material and avoid unnecessary cutting into the surrounding metal. Use your repair tools, such as a grinder or cutting torch, to carefully remove the compromised weld section. Keep your cuts precise, focusing only on the weld material that shows cracks or defects. Removing the damaged weld thoroughly is essential to prevent future issues and create a clean surface for the new weld. Make sure to work steadily and double-check your markings before cutting. Proper removal minimizes risks and sets a solid foundation for the subsequent repair steps. Additionally, understanding the welding process and its principles can help ensure a stronger, more durable repair.
Cleaning and Inspecting the Area
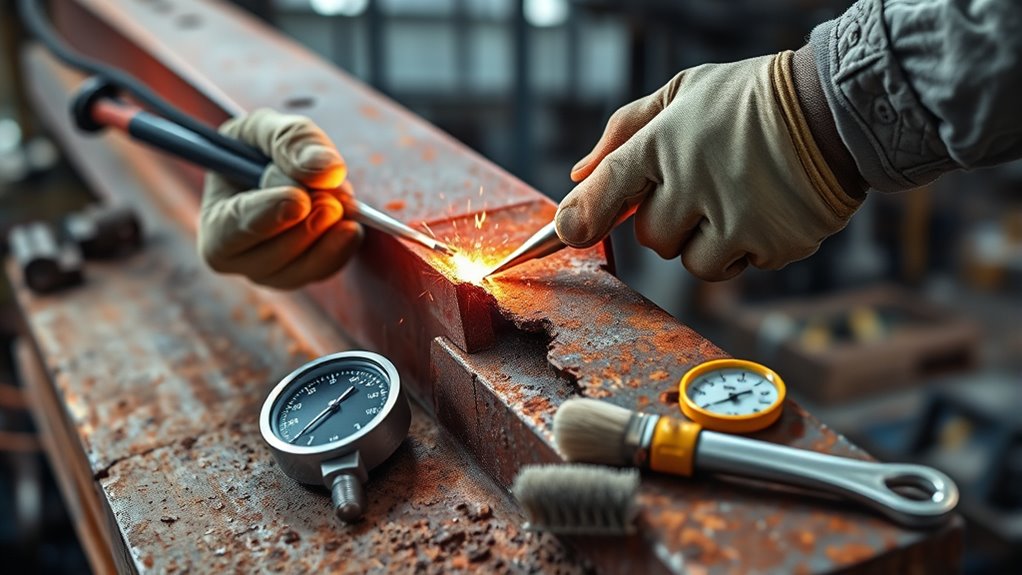
After removing the damaged weld section, it’s crucial to thoroughly clean the area to remove any debris, rust, or oil that could interfere with a strong bond. You should focus on eliminating surface contamination, which can compromise weld quality. Use a wire brush or grinder to remove corrosion and rust, ensuring the metal surface is clean and smooth. Wipe the area with a solvent or degreaser to eliminate oil or grease residues. Carefully inspect the cleaned surface for any remaining corrosion or contamination. Proper cleaning ensures the new weld will adhere properly, preventing future failures. Take your time to verify the area is free of debris and corrosion; a clean, contamination-free surface is essential for a durable, high-quality repair. Additionally, understanding welding best practices can significantly improve the success of your repair.
Selecting the Appropriate Repair Method
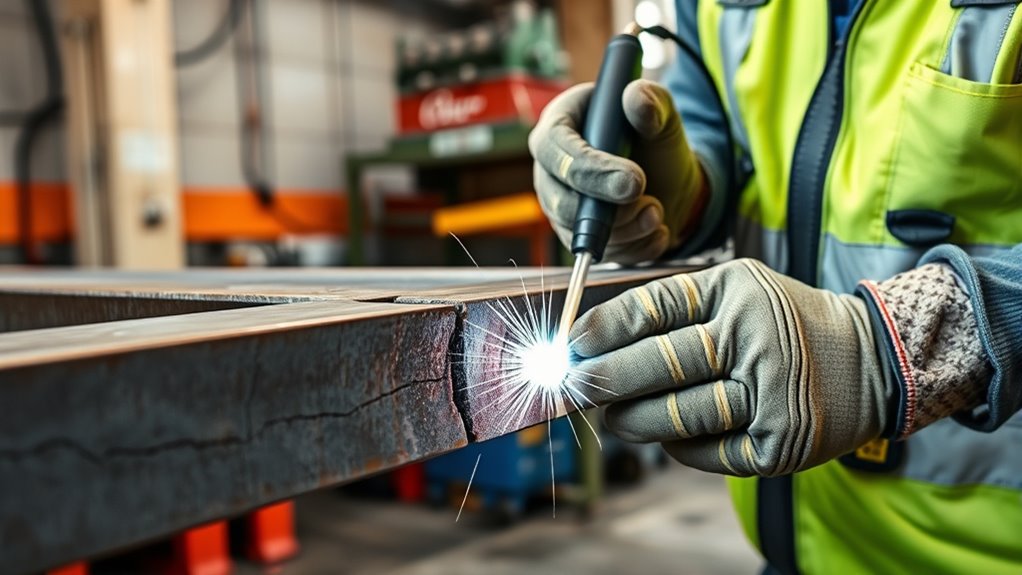
When choosing a repair method, you need to consider the different options available and how they fit your specific situation. Material compatibility is vital to guarantee the repair bonds properly and lasts over time. By weighing these factors carefully, you can select the most effective approach to restore the I-beam’s strength. Incorporating preventative maintenance techniques can also help prolong the lifespan of the repaired weld and avoid future issues.
Repair Method Options
Choosing the right repair method for a cracked I-beam weld depends on several factors, including the extent of the damage, the type of crack, and the load requirements of the structure. Your options mainly involve different welding techniques, such as GTAW (TIG) or SMAW (stick welding), depending on accessibility and precision needs. Material selection also plays a crucial role; using compatible filler metals ensures strength and durability. Consider the table below to match repair methods with their applications:
| Repair Method | Best For |
|---|---|
| Welding Reinforcement | Small cracks and surface repairs |
| Weld Overlays | Larger cracks needing structural reinforcement |
| Clamping & Welding | Cracks in high-stress zones |
| Partial Replacement | Extensive damage or compromised sections |
Additionally, evaluating the load requirements of the structure helps determine the most appropriate repair approach.
Material Compatibility Considerations
Selecting the right repair method hinges on guaranteeing material compatibility between the existing structure and the repair materials. Alloy compatibility is vital; using a repair material with similar alloy composition prevents issues like galvanic corrosion or weakened welds. Equally important is considering thermal expansion, as mismatched rates can cause stress and cracks over time. You need to choose materials whose thermal expansion coefficients align with the original I-beam to avoid warping or delamination during temperature fluctuations. Before proceeding, verify the compatibility of all materials involved, including filler metals and welding consumables. Proper matching reduces the risk of future cracks, maintains structural integrity, and guarantees a durable repair. Attention to alloy compatibility and thermal expansion helps you select the most effective, long-lasting repair method. Additionally, understanding the material properties involved can aid in predicting how the repair will perform under various conditions.
Executing the Weld Repair
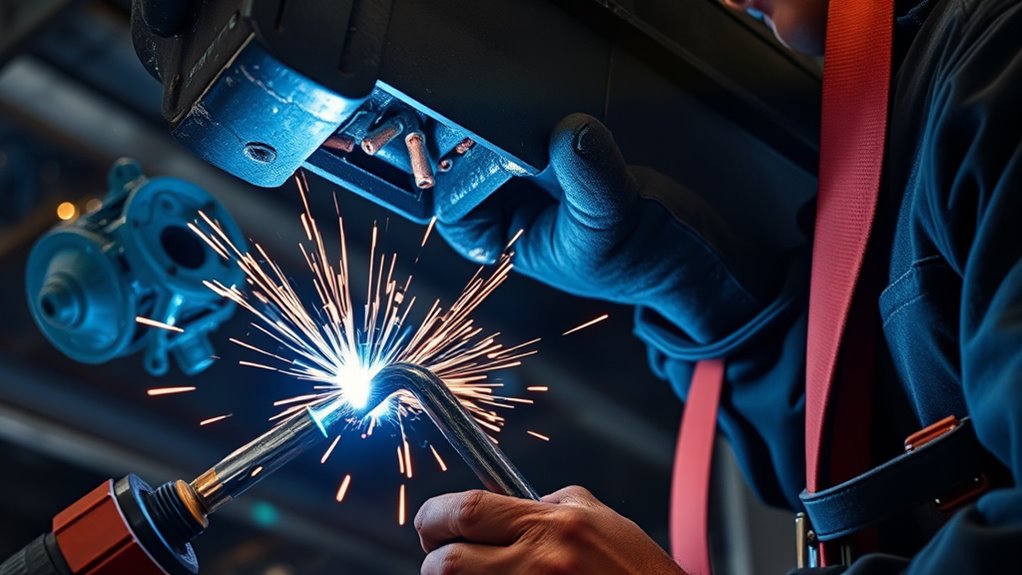
To successfully execute the weld repair, you need to start by preparing the weld area thoroughly, removing any rust, paint, or debris. Next, apply proper welding techniques suited to the material and crack severity to guarantee a strong bond. Finally, inspect the weld quality carefully to confirm it meets safety and durability standards before completing the repair. Incorporating advanced automation can also assist in precision inspections and quality control during the repair process.
Preparing the Weld Area
Before starting the weld repair, making sure to properly prepare the weld area is vital for strong adhesion and a quality fix. Begin with weld preparation by removing any rust, paint, or debris around the crack. Use a grinder or wire brush to clean the surface thoroughly, ensuring no contaminants remain that could weaken the weld. Surface cleaning is essential to expose clean metal and create a solid bonding area. Pay attention to the edges of the crack, beveling them if necessary to allow better penetration of the weld. Proper surface cleaning also helps prevent porosity and weak spots. Take your time to ensure the entire area is free of dirt, oil, or old weld material. Additionally, using the right filtration ensures that no debris enters the welding area, further enhancing weld quality. This preparation sets the foundation for a durable, effective weld repair.
Applying Proper Welding Techniques
Once you’re ready to weld, it’s essential to apply proper techniques to guarantee a strong, lasting repair. Prioritize welding safety by wearing appropriate gear and working in a well-ventilated area. Start with thorough metal preparation to remove rust, paint, and contaminants, ensuring a clean, smooth surface. Use the correct welding process and settings for the material thickness and type. Maintain a steady hand, controlling your heat input to prevent warping or further cracks. Keep your electrode or filler rod at the right angle, and move consistently along the weld joint. Proper technique minimizes defects like porosity or weak spots. Focusing on precise, controlled welds will enhance the strength and durability of your repair, ensuring the crack won’t recur.
Inspecting the Weld Quality
Inspecting the weld quality is a crucial step to guarantee your repair holds strong and lasts. You should carefully examine weld penetration to ensure the weld fully fused with the base metal, preventing future cracks. Proper weld penetration indicates a solid bond, essential for structural integrity. Next, assess the surface finish; it should be smooth, free of porosity, cracks, or undercuts. A clean surface finish not only signifies good welding technique but also reduces stress concentrations that could lead to failure. Use visual inspection tools like magnifying glasses or dye penetrant tests to detect hidden flaws. Confirm that the weld’s appearance meets specifications. Thorough inspection ensures your repair is durable, reliable, and ready to withstand load stresses on the I-beam.
Conducting Non-Destructive Testing

How can you guarantee the weld repair on the I-beam is sound? Non-destructive testing (NDT) provides the answer. By conducting material inspection methods like ultrasonic, magnetic particle, or dye penetrant testing, you can assess weld integrity without damaging the beam. These techniques help detect hidden cracks, porosity, or other defects that might compromise strength. NDT allows you to verify that the repair has restored the weld’s quality to its original standards. It’s essential to perform these tests thoroughly before proceeding to final inspection. Proper material inspection ensures the weld is free of flaws, maintaining the beam’s safety and performance. Using NDT methods improves confidence in your repair, reducing the risk of future failures.
Final Inspection and Load Testing
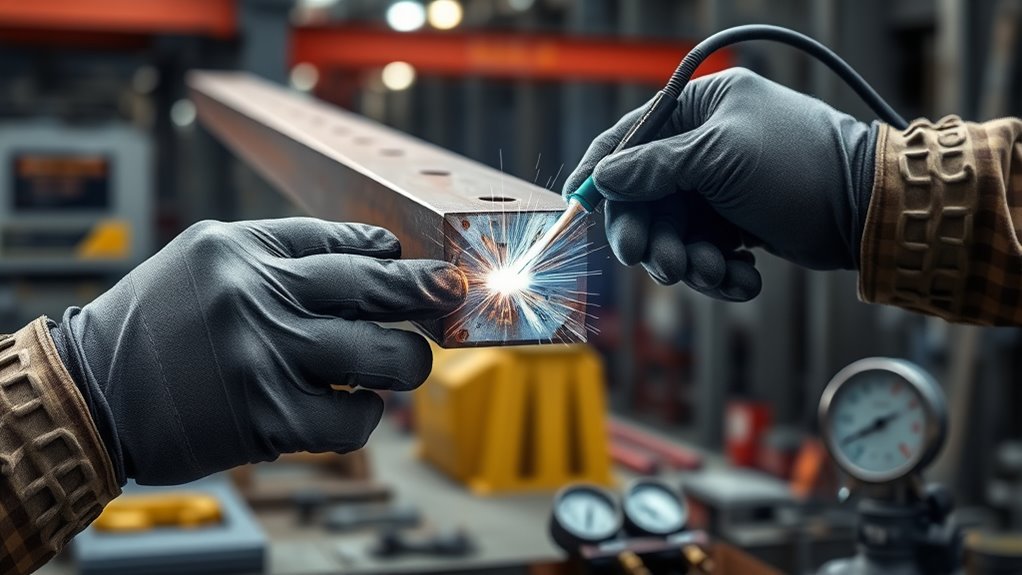
Are you confident that the repaired weld on your I-beam can handle its intended load? During final inspection, examine the stress distribution across the weld area. Look for any signs of uneven stress that could lead to weld fatigue over time. Conduct load testing to verify the beam’s structural integrity under simulated working conditions. Use appropriate methods, like strain gauges or controlled stress cycles, to monitor how the weld reacts under load. Guarantee that the stress distribution remains balanced and that there are no early signs of fatigue or cracking. If the weld passes these tests, it indicates the repair is solid. Remember, thorough final inspection and load testing are vital to prevent future failures and assure the safety of your structure.
Frequently Asked Questions
What Are Common Causes of Cracks in I-Beam Welds?
Cracks in I-beam welds often stem from poor welding techniques, which compromise structural integrity. You might see cracks caused by improper heat control, insufficient pre- or post-weld treatment, or rapid cooling. Additionally, factors like stress concentration, material flaws, or overloading can lead to cracks. To prevent this, guarantee proper welding practices, use the right techniques, and regularly inspect welds for early signs of damage, maintaining the beam’s strength and safety.
How Long Does a Typical I-Beam Weld Repair Take?
Think of repairing an I-beam weld as fixing a tiny crack in a dam—you want to be thorough and precise. The time it takes varies with the extent of the damage and the welding techniques used. Typically, it can take anywhere from a few hours to a few days. Using the right repair materials and proper welding techniques guarantees a swift, durable fix, so your structure stays strong and reliable.
Can Minor Cracks Be Repaired Without Welding?
You might wonder if minor cracks can be fixed without welding. The answer is yes; options like crack mitigation techniques—such as epoxy injections or sealants—can often address small flaws without welding. However, you should always start with a thorough weld inspection to assess crack severity. If the crack is minor and non-structural, non-weld methods can be effective. But for critical structural components, welding repairs are typically advised to ensure safety and durability.
What Are Signs of a Failing Weld That Needs Repair?
Think of a weld as a silent guardian—when it starts failing, signs become clear. You should perform weld inspection regularly, looking for cracks, porosity, or deformation. Stress analysis can reveal hidden weaknesses, especially under heavy loads. If you notice any irregularities or increased vibrations, it’s time to act. Addressing these signs early prevents catastrophic failure, ensuring your structure stays strong and safe.
How Does Temperature Affect Weld Repair Quality?
You should understand that temperature plays a vital role in weld repair quality. Excessive heat during welding causes rapid weld cooling, which can lead to brittle joints or cracking. Proper heat treatment helps control cooling rates, ensuring stronger, more durable welds. Maintaining ideal temperature during welding prevents defects, reduces residual stresses, and improves overall weld integrity. Always monitor temperature closely to achieve the best repair results.
Conclusion
By carefully evaluating damage, following safety protocols, and choosing the right repair method, you can effectively restore your I-beam’s integrity. Notably, some experts believe that properly welded cracks may actually improve the metal’s strength through a process called weld solidification. So, with precision and care, you might not only fix the crack but potentially enhance the beam’s durability. Just remember, thorough testing ensures your repair holds up under real-world stresses.


