
To replace a faulty ignition coil, start by locating the coil near your engine’s cylinder head and disconnecting the battery for safety. Remove the old coil carefully, then install the new one, making sure it’s securely attached and the wiring harness clicks into place. Reconnect the battery, start your vehicle, and check for smooth operation without misfires or warning lights. For detailed steps, you’ll discover essential tips that make the process easier.
Key Takeaways
- Locate the ignition coil near the engine cylinder head using the owner’s manual or diagrams.
- Disconnect the negative battery terminal to ensure safety before removing the faulty coil.
- Carefully detach the wiring harness and remove the coil mounting bolt(s) with appropriate tools.
- Insert the new coil securely, reconnect the wiring harness, and ensure all connections are firm.
- Start the engine to verify smooth operation, check for misfires, and look for warning lights indicating proper installation.
Recognizing the Signs of a Faulty Ignition Coil
A faulty ignition coil can cause a range of noticeable symptoms that alert you to a problem before it worsens. You might notice the engine misfiring, especially during acceleration or idling, which indicates inconsistent spark delivery. Rough idling, difficulty starting, or a sudden loss of power are common signs. Pay attention to the spark plug gaps—if they’re too wide or narrow, it can suggest ignition issues. Additionally, understanding the different ignition coil types can help you identify problems more accurately, as some coils are more prone to failure. An occasional check of these signs can prevent further damage and save you money. If you experience these symptoms, it’s a clear signal to investigate your ignition system and consider replacement.
Tools and Materials Needed for Replacement

Before you begin replacing a faulty ignition coil, gathering the right tools and materials is essential to guarantee a smooth and efficient process. You’ll need basic hand tools and possibly a multimeter to troubleshoot ignition issues effectively. Knowing the different ignition coil types helps ensure you choose compatible replacements.
Here are some essential items:
- Socket set and ratchet for removing engine covers and bolts
- Replacement ignition coil(s) suited for your vehicle’s ignition coil types
- Multimeter for testing and troubleshooting ignition issues
Having these tools ready makes the process easier, especially since different ignition coil types may require specific handling. Proper preparation ensures you can quickly diagnose problems and replace the coil without unnecessary delays.
Locating the Ignition Coils in Your Vehicle
To locate the ignition coils in your vehicle, start by consulting your owner’s manual, which typically includes diagrams and specific locations. Ignition coil locations vary depending on the make and model, but they’re usually found near the engine cylinder heads. In many vehicles, the ignition coils are mounted directly on top of the spark plugs or attached to the valve cover. For a better understanding of your vehicle ignition system, look for wiring connectors leading to small, cylindrical or rectangular components. If you’re unsure, inspecting the engine bay for black or gray boxes with electrical connections can help. Knowing the exact location of your ignition coils is essential before proceeding with any repairs or replacements. Additionally, considering specific vehicle models can provide further insights into coil placement.
Preparing Your Vehicle for the Repair

Ensuring your vehicle is safe and ready for the repair involves a few essential steps. First, you want to prepare your workspace in a well-ventilated area, away from flames or sparks. Next, gather all necessary tools and replacement parts to streamline the process. Finally, check your vehicle’s owner’s manual for specific instructions related to your ignition system. Proper preparation helps maintain fuel efficiency and prevents damage to other components in the ignition system. Additionally, understanding the horsepower of electric dirt bikes can help ensure your vehicle’s engine is operating correctly before and after repairs.
Safely Disconnecting the Battery and Ignition System
Before starting any work, make sure the vehicle is turned off to prevent electrical shocks. Next, disconnect the battery cables to cut power to the ignition system completely. Confirm that the system is dead before proceeding, ensuring your safety throughout the repair. Additionally, using a proper safety protocol helps minimize risks during electrical work.
Turn Off Vehicle Power
When working on your vehicle’s ignition system, disconnecting the battery and ignition system is a crucial safety step. Turning off the vehicle power prevents electrical shocks and accidental engine start-up during repairs. Before proceeding, ensure you’ve identified the correct ignition coil specifications to avoid damage. This step is essential for safe vehicle electrical diagnostics and protects sensitive components.
Here are some key points to remember:
- Turn off the ignition switch and remove the key to cut power completely.
- Engage the parking brake to prevent any movement.
- Confirm all electrical systems are off before touching wiring or connectors.
Disconnect Battery Cables
After turning off the ignition and removing the key, the next step is to safely disconnect the battery cables. This guarantees battery safety and prevents accidental electrical shocks during troubleshooting or repairs. Always disconnect the negative cable first to minimize the risk of sparks or short circuits. Use a wrench to loosen the clamp and carefully remove the cable from the terminal. Repeat for the positive cable. Ensuring the proper sequence helps maintain electrical safety and prevents damage to your vehicle’s electrical system.
Ensure System Is Dead
To guarantee the system is completely dead before working on the ignition or electrical components, you need to properly disconnect the battery and ignition system. This step is vital for electrical safety and accurate diagnostic procedures. Making sure the power is off prevents accidental shocks and damage to sensitive electronics. Additionally, consulting proper skincare ingredients can help you understand how to protect your skin from potential irritation during maintenance work. Here are some tips:
- Always wear insulated gloves and use insulated tools to prevent electrical shorts.
- Double-check that the negative terminal is disconnected first to avoid sparks.
- Wait a few minutes after disconnecting to ensure residual power drains from the system.
Taking these precautions ensures your safety and helps you diagnose issues more effectively. Confirming the system is dead minimizes risks and sets a safe foundation for replacing your ignition coil.
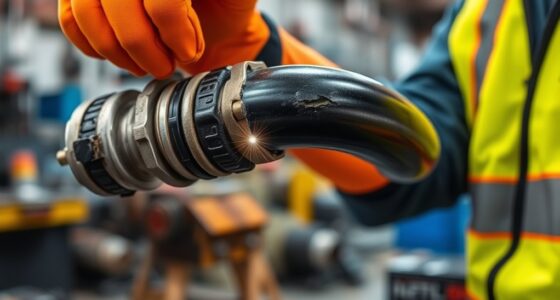
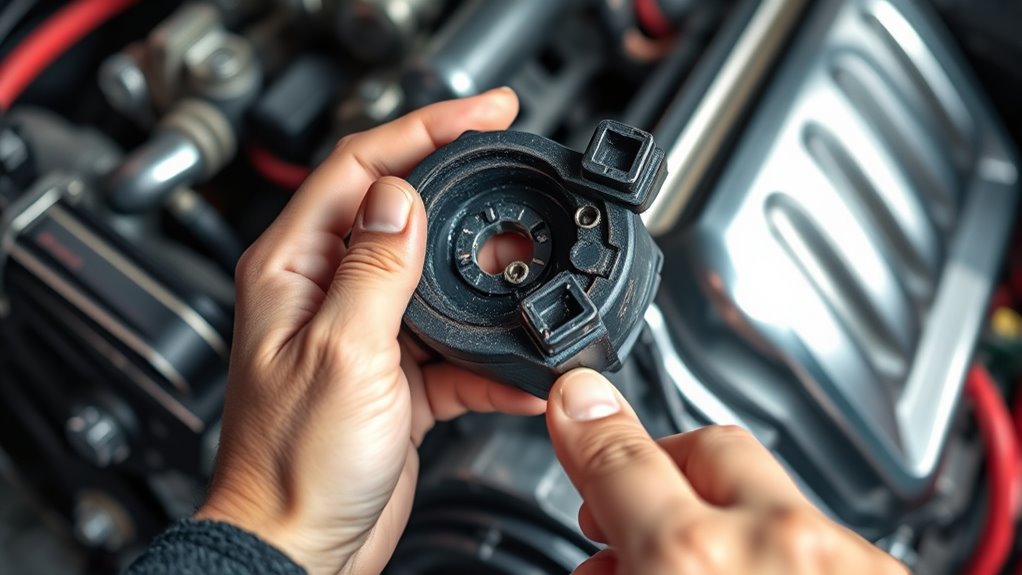
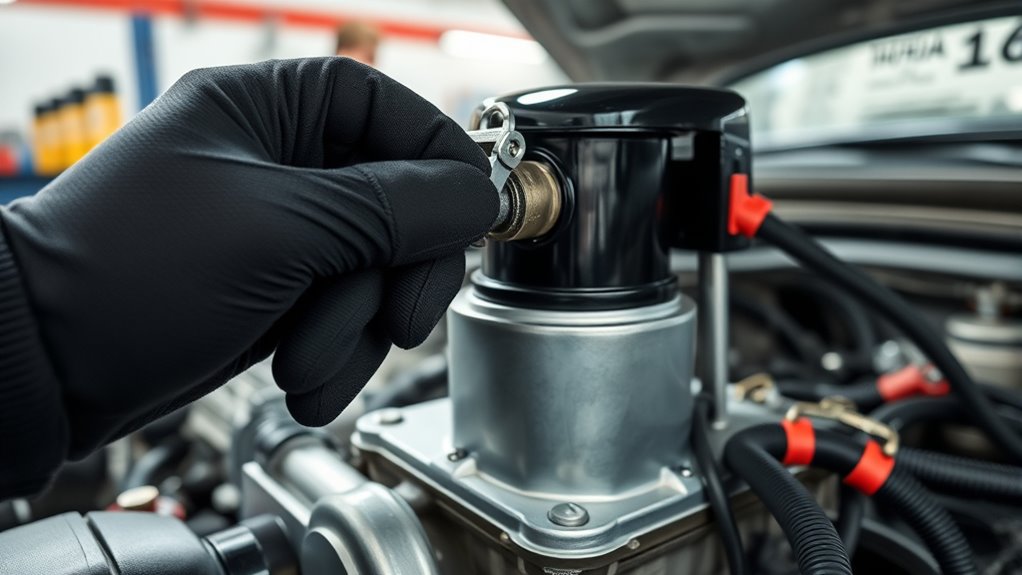
Removing the Faulty Ignition Coil
Before removing the faulty ignition coil, make sure the engine is turned off and cooled down to prevent burns or electrical shocks. Start by locating the coil, typically connected to the vehicle wiring and ignition system. Use the table below to guide your removal process:
| Step | Action | Tools Needed |
|---|---|---|
| 1 | Disconnect vehicle wiring | Screwdriver, pliers |
| 2 | Remove mounting bolts | Socket wrench |
| 3 | Carefully pull out coil | Gloves (optional) |
| 4 | Inspect for damage | Flashlight |
During ignition coil diagnosis, check for corrosion or damage around the wiring. Carefully disconnect and remove the coil, ensuring no damage to surrounding components.
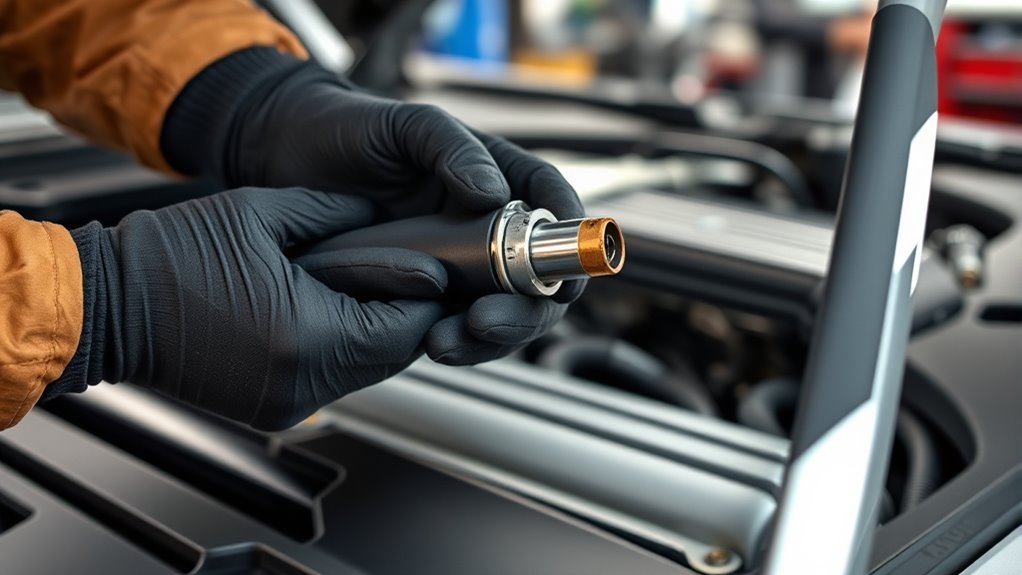
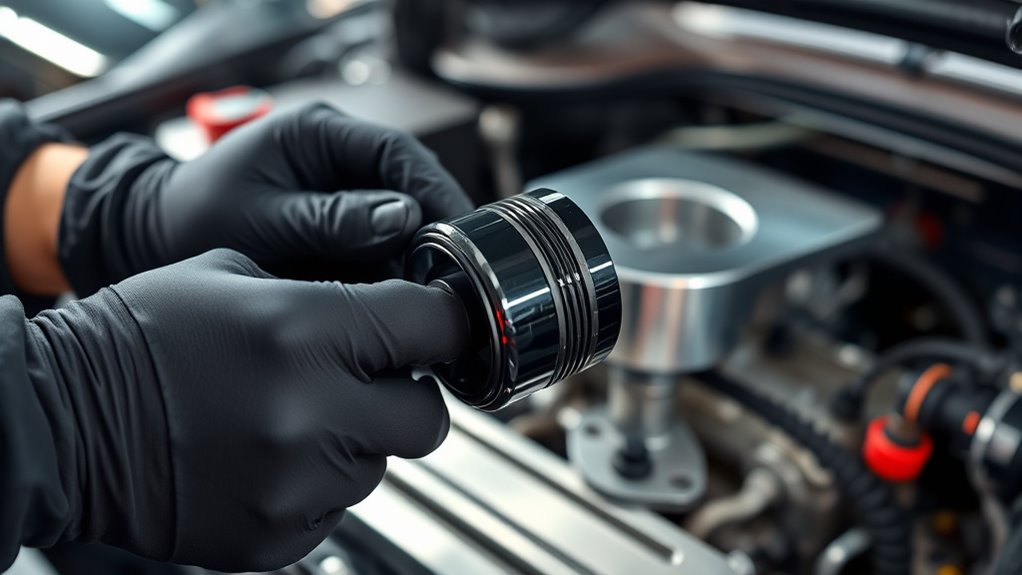
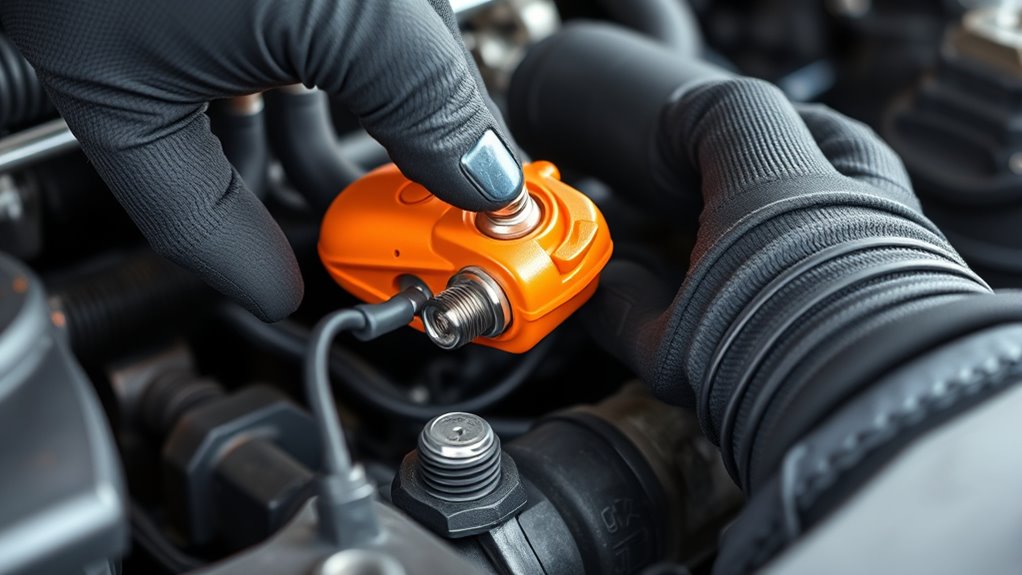
Installing the New Ignition Coil

With the old ignition coil removed, you can now focus on installing the new one. First, verify the coil mounting brackets are aligned properly to secure the coil firmly in place. Before connecting, double-check that the spark plug gap is correct, as this affects ignition performance. Carefully insert the new coil into the brackets, making sure it seats snugly. Attach the wiring harness securely, ensuring the connectors click into place. Keep in mind, a properly gapped spark plug and secure mounting help optimize spark delivery. Take your time to avoid damaging any components, and confirm that everything is aligned before moving on. Proper installation ensures reliable ignition and smooth engine operation. Additionally, inspecting the ignition system components can prevent future issues and enhance overall performance.
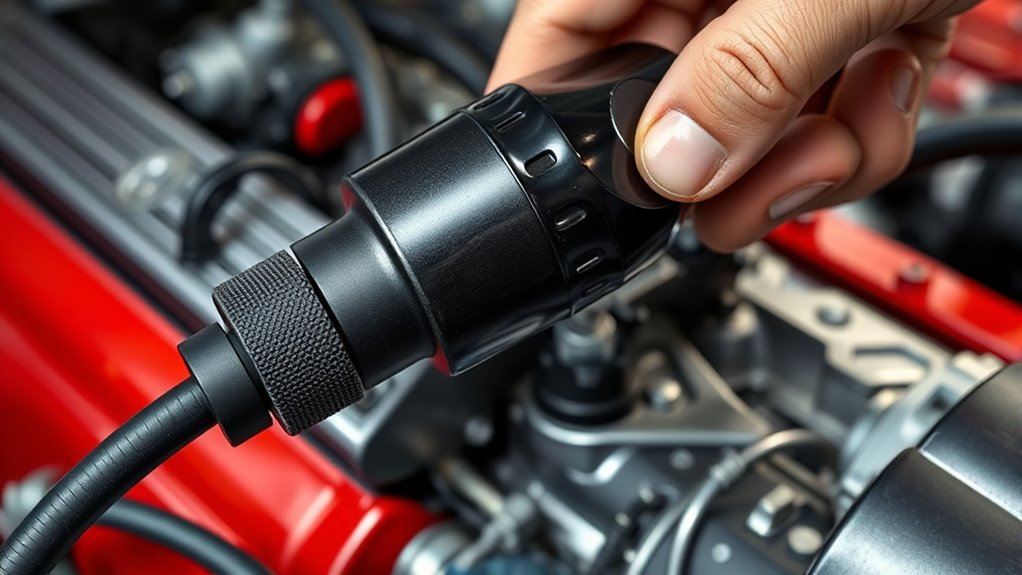
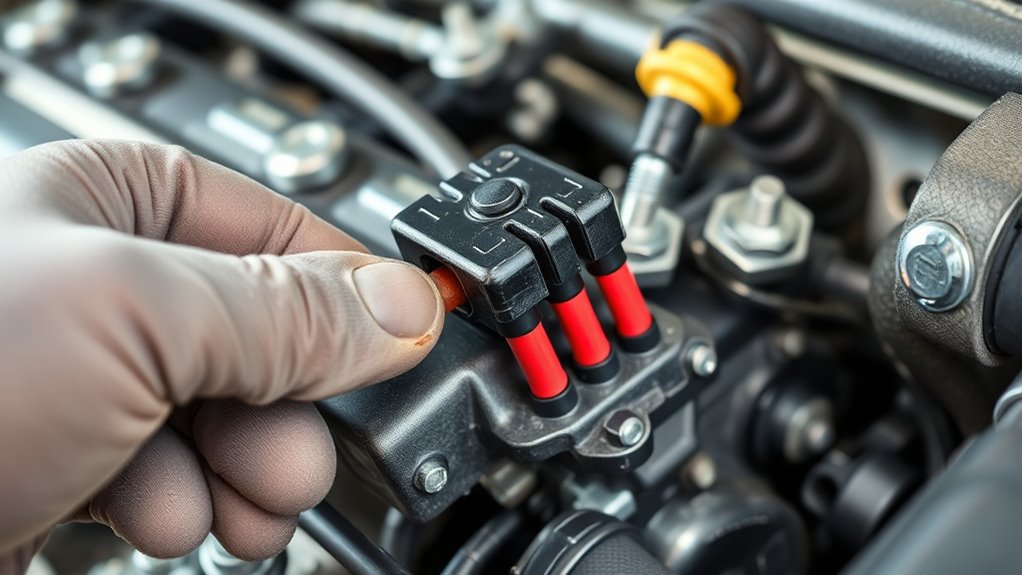
Reconnecting Components and Securing the Coil
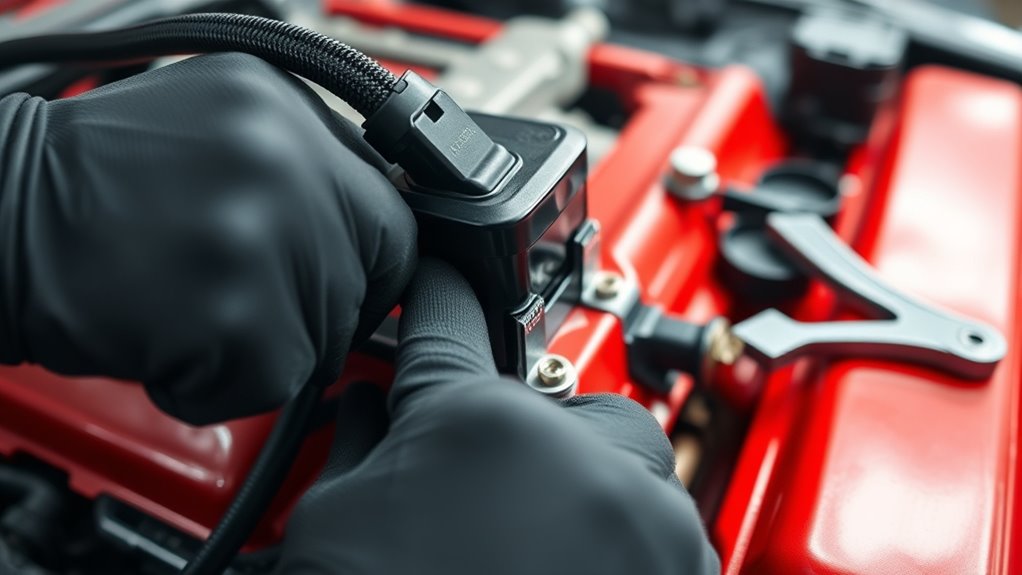
Once you’ve inserted the new ignition coil and secured it in the brackets, it’s important to reconnect the wiring harness properly. Make sure the coil wiring harness matches your vehicle’s ignition system to ensure compatibility. Carefully attach the wiring harness to the coil, pressing firmly until you hear it click into place. Double-check that all connections are secure and correctly aligned to prevent misfires. Proper reconnection ensures the ignition coil functions effectively and avoids electrical issues. If your vehicle has multiple coils, verify each connection is correct before proceeding. Securing the coil and its wiring harness correctly maintains a reliable electrical connection, optimizing engine performance and preventing future problems. Additionally, ensuring that all components are properly connected in sequence is vital for the overall functionality of your vehicle’s ignition system. Take your time to ensure everything is properly secured before moving on.
Testing Your Vehicle After Replacement
After replacing the ignition coil, it is vital to start your vehicle and observe how it runs. Pay close attention to smoothness, acceleration, and any unusual sounds or vibrations. Checking for consistent engine performance helps guarantee spark plug compatibility and confirms the new coil functions correctly. Additionally, monitor for any warning lights on your dashboard, as they can indicate issues with ignition or spark plug performance. Remember, a properly replaced coil can considerably impact ignition coil lifespan and overall engine health.
After replacing the coil, start your engine and monitor for smooth operation and warning lights.
- Listen for misfires or hesitation during acceleration
- Feel for steady engine idling without roughness
- Check for stored error codes using a scanner if necessary
Tips for Maintaining Optimal Ignition System Performance
Maintaining your ignition system is essential for ensuring reliable engine performance and fuel efficiency. Regular ignition coil testing helps identify potential issues before they cause breakdowns. To keep your system running smoothly, follow coil maintenance tips like inspecting your ignition coil connections for corrosion or damage and ensuring the wires are securely attached. Keep your spark plugs in good condition, as worn plugs can strain the coil. Clean any dirt or grime around the coil area to prevent overheating. Avoid short trips that can cause moisture buildup. Additionally, check for any signs of misfiring or rough idling, which may indicate coil problems. Proper maintenance not only prolongs your ignition coil’s lifespan but also keeps your engine running at peak performance.
Frequently Asked Questions
Can a Faulty Ignition Coil Cause Long-Term Engine Damage?
A faulty ignition coil can indeed cause long-term engine damage. When your ignition system isn’t functioning properly, misfires and poor engine performance become common. Over time, this can lead to increased wear on components like spark plugs and pistons, ultimately harming your engine. You should address ignition coil issues promptly to protect your engine’s health and guarantee maximum performance, preventing costly repairs down the line.
How Do I Know if I Need to Replace Multiple Coils?
You’ll want to perform ignition coil testing if your engine misfires, runs rough, or stalls. If multiple cylinders show issues during testing, it’s a sign you might need coil replacement for several coils. Use coil replacement tools to remove and replace coils efficiently. If symptoms persist after replacing one coil, testing the others helps determine if more are faulty, saving you time and preventing further engine damage.
What Are Common Mistakes to Avoid During Coil Replacement?
Replacing ignition coils can feel like steering through a maze of chaos, but avoid common mistakes to make it smoother. First, verify spark plug compatibility before installation; mismatched parts cause issues. Next, use proper coil mounting techniques to prevent damage or misfiring. Don’t rush the process, and double-check connections. These steps help prevent costly errors and keep your engine running flawlessly. Patience and attention to detail are your best tools.
Does Replacing the Coil Require Professional Diagnosis?
When considering if replacing the coil needs professional diagnosis, you should understand that diagnostic tools and a professional inspection can guarantee the issue is correctly identified. If you’re unsure about the symptoms or how to use diagnostic equipment, it’s best to consult a mechanic. They can accurately diagnose the problem, saving you time and money, and ensure the coil replacement is necessary and done correctly.
How Often Should Ignition Coils Be Replaced as Preventive Maintenance?
Think of your ignition coil as the heart of your engine’s electrical system. Typically, its lifespan ranges from 100,000 to 150,000 miles. To keep your engine running smoothly, incorporate preventive maintenance by having it checked regularly. Don’t wait for symptoms; proactive replacement can prevent breakdowns. Generally, replacing your ignition coil every 100,000 miles helps guarantee peak performance and avoids costly repairs down the road.
Conclusion
Now that you’ve replaced your ignition coil, your vehicle should run smoothly like a well-oiled engine. Think of it as tuning a fine instrument—each part working in harmony to deliver a flawless performance. Keep an eye on your ignition system’s health, and it’ll keep your ride humming along like a symphony. With your new coil in place, you’re back in the driver’s seat, steering your car with confidence and power.